文章目录
在es集群中任意一台节点生成即可
1.1 生成ca证书
[root@elk01 ~]# /hqtbj/hqtwww/elasticsearch_workspace/bin/elasticsearch-certutil ca
...
#直接回车即可;
Please enter the desired output file [elastic-stack-ca.p12]:
#这里直接回车,不要设置密码,否则会报错!!
Enter password for elastic-stack-ca.p12 :
设置完成后,会在elasticsearch的家目录下看到新生成的证书elastic-stack-ca.p12
1.2 生成p12密钥
使用上面生成的ca证书"elastic-stack-ca.p12"生成p12密钥
[root@elk01 ~]# /hqtbj/hqtwww/elasticsearch_workspace/bin/elasticsearch-certutil cert --ca /hqtbj/hqtwww/elasticsearch_workspace/elastic-stack-ca.p12
...
#下面三项直接回车即可
Enter password for CA (/hqtbj/hqtwww/elasticsearch_workspace/elastic-stack-ca.p12) :
Please enter the desired output file [elastic-certificates.p12]:
#这里直接回车,不要设置密码,否则es会启动不了
Enter password for elastic-certificates.p12 :

Certificates written to /hqtbj/hqtwww/elasticsearch_workspace/elastic-certificates.p12
...
设置完成后,会在elasticsearch的家目录下看到新生成的密钥elastic-certificates.p12
1.3 拷贝p12密钥到其它es节点
首先在config/目录下创建个certs目录,然后将p12证书移动到certs目录下,方便后面在配置文件里引用
[root@elk01 ~]# cd /hqtbj/hqtwww/elasticsearch_workspace/config/
[root@elk01 config]# mkdir certs/
[root@elk01 config]# mv /hqtbj/hqtwww/elasticsearch_workspace/elastic-certificates.p12 certs/

[root@elk01 config]# chmod -R +755 certs
[root@elk01 config]# ll certs/
total 4
-rwxr-xr-x 1 root root 3443 Jan 12 10:01 elastic-certificates.p12
将p12证书移动到certs目录下后直接将certs目录拷贝到其他es节点
[root@elk01 config]# scp -pr certs root@10.8.0.6:/hqtbj/hqtwww/elasticsearch_workspace/config/
[root@elk01 config]# scp -pr certs root@10.8.0.9:/hqtbj/hqtwww/elasticsearch_workspace/config/
所有es节点都需要配置
[root@elk01 ~]# vim /hqtbj/hqtwww/elasticsearch_workspace/config/elasticsearch.yml
xpack.security.enabled: true

xpack.security.transport.ssl.enabled: true

xpack.security.transport.ssl.verification_mode: certificate
#下面是p12密钥文件的存储位置,建议使用绝对路径,当然相对路径也是可以的:"certs/elastic-certificates.p12"
xpack.security.transport.ssl.keystore.path: /hqtbj/hqtwww/elasticsearch_workspace/config/certs/elastic-certificates.p12

xpack.security.transport.ssl.truststore.path: /hqtbj/hqtwww/elasticsearch_workspace/config/certs/elastic-certificates.p12
3.1 重启es节点
[root@elk01 ~]# systemctl restart elasticsearch.service
3.2 设置用户名密码
在es集群中任意一台节点执行即可
需要在集群状态正常的情况下设置,否则会报错
手动设置各个用户的密码:
[root@elk01 ~]# /hqtbj/hqtwww/elasticsearch_workspace/bin/elasticsearch-setup-passwords interactive
Initiating the setup of passwords for reserved users elastic,apm_system,kibana,kibana_system,logstash_system,beats_system,remote_monitoring_user.
You will be prompted to enter passwords as the process progresses.
Please confirm that you would like to continue [y/N]y
#手动输入每个用户的密码,每个用户需要输入两遍!!!
Enter password for [elastic]:
Reenter password for [elastic]:
Enter password for [apm_system]:
Reenter password for [apm_system]:
Enter password for [kibana_system]:
Reenter password for [kibana_system]:
Enter password for [logstash_system]:
Reenter password for [logstash_system]:
Enter password for [beats_system]:
Reenter password for [beats_system]:
Enter password for [remote_monitoring_user]:
Reenter password for [remote_monitoring_user]:
Changed password for user [apm_system]
Changed password for user [kibana_system]
Changed password for user [kibana]
Changed password for user [logstash_system]
Changed password for user [beats_system]
Changed password for user [remote_monitoring_user]
Changed password for user [elastic]
自动随机生成每个用户的密码命令如下:
[root@elk01 ~]# /hqtbj/hqtwww/elasticsearch_workspace/bin/elasticsearch-setup-passwords auto
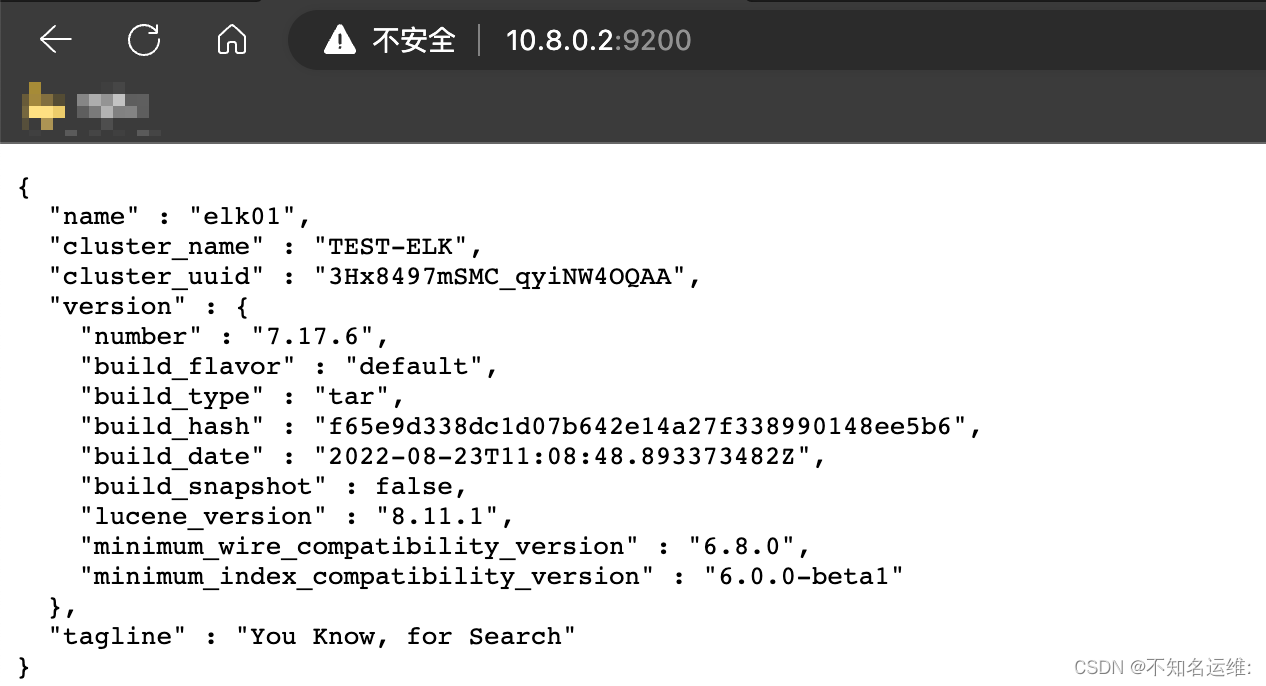
此时es的安全认证已经打开了,我们再去访问es的时候是需要刚刚设置的用户名密码的这里使用elastic账号登录

由于es配置了安全认证,那么kafka是需要去连接es集群的,所以就需要给kibana添加登录es的用户名密码才可以正常访问
#编辑kibana的主配置文件"kibana.yml"
[root@localhost ~]# vim /hqtbj/hqtwww/kibana_workspace/config/kibana.yml
...
#ES的连接地址
elasticsearch.hosts: ["http://10.8.0.2:9200","http://10.8.0.6:9200","http://10.8.0.9:9200"]
#连接ES的用户名
elasticsearch.username: "kibana_system"
#连接es的密码
elasticsearch.password: "123456"
...
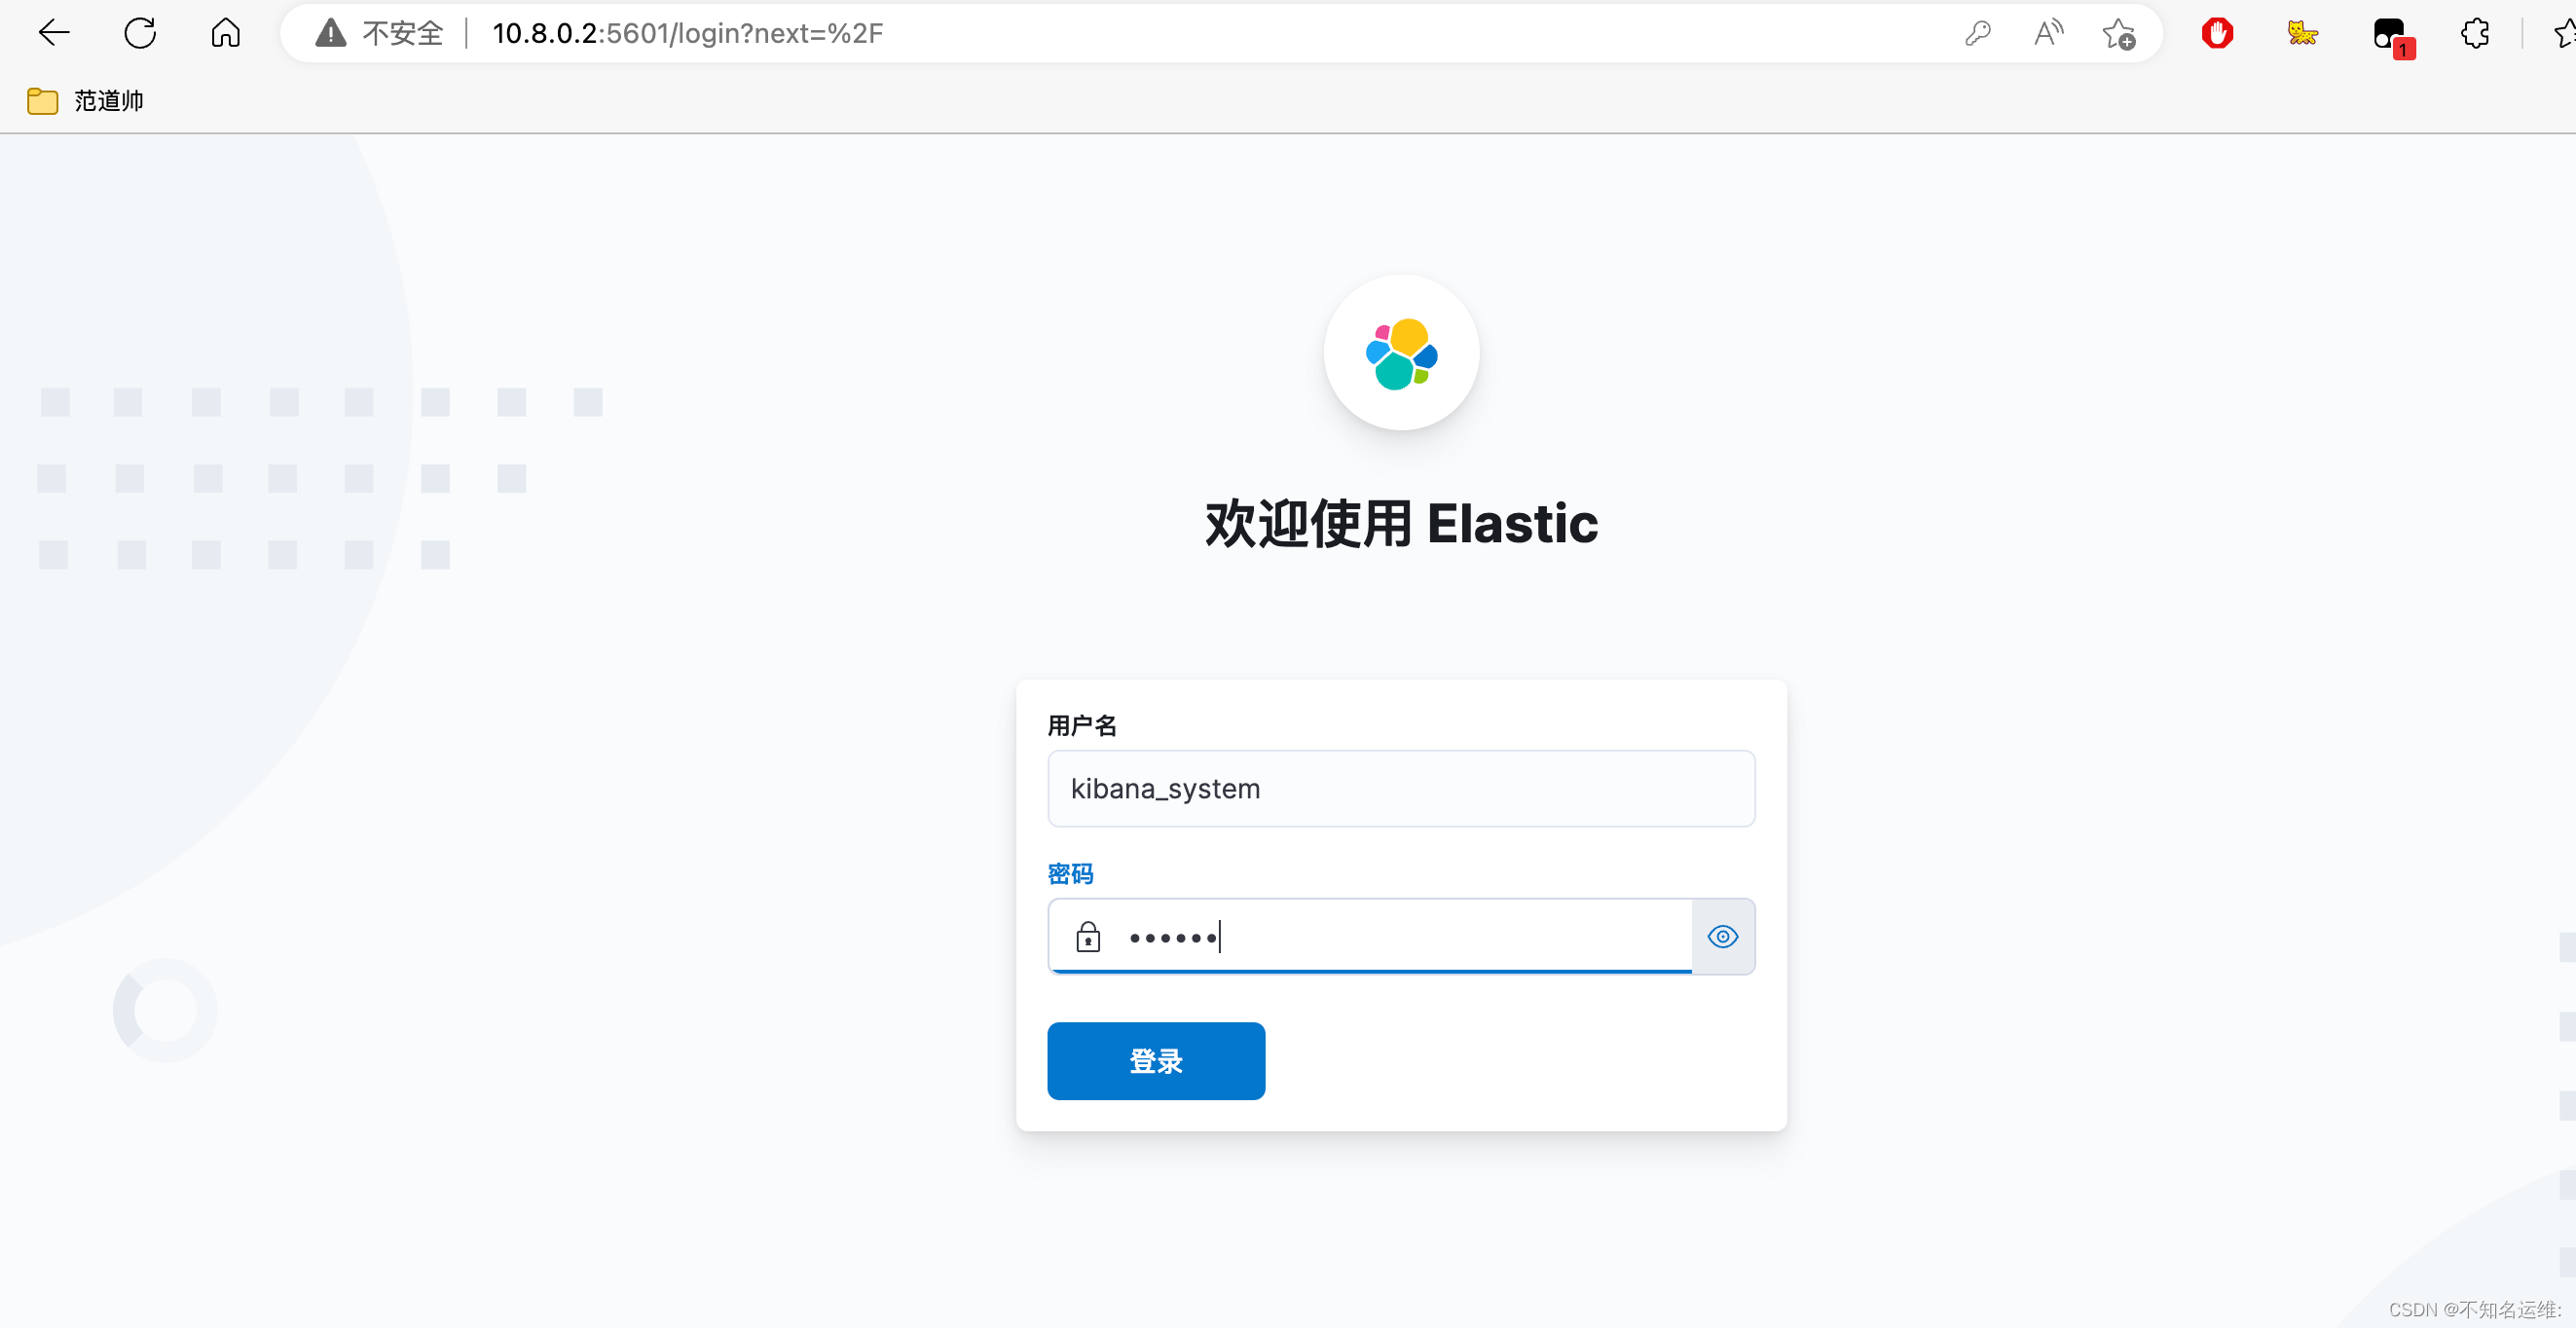
这里的用户名密码可以填上一步设置用户名密码里的"kibana_system"用户;
[root@localhost ~]# systemctl restart kibana.service
输入kibana用户登录
发现可以登录,但是显示没有权限访问
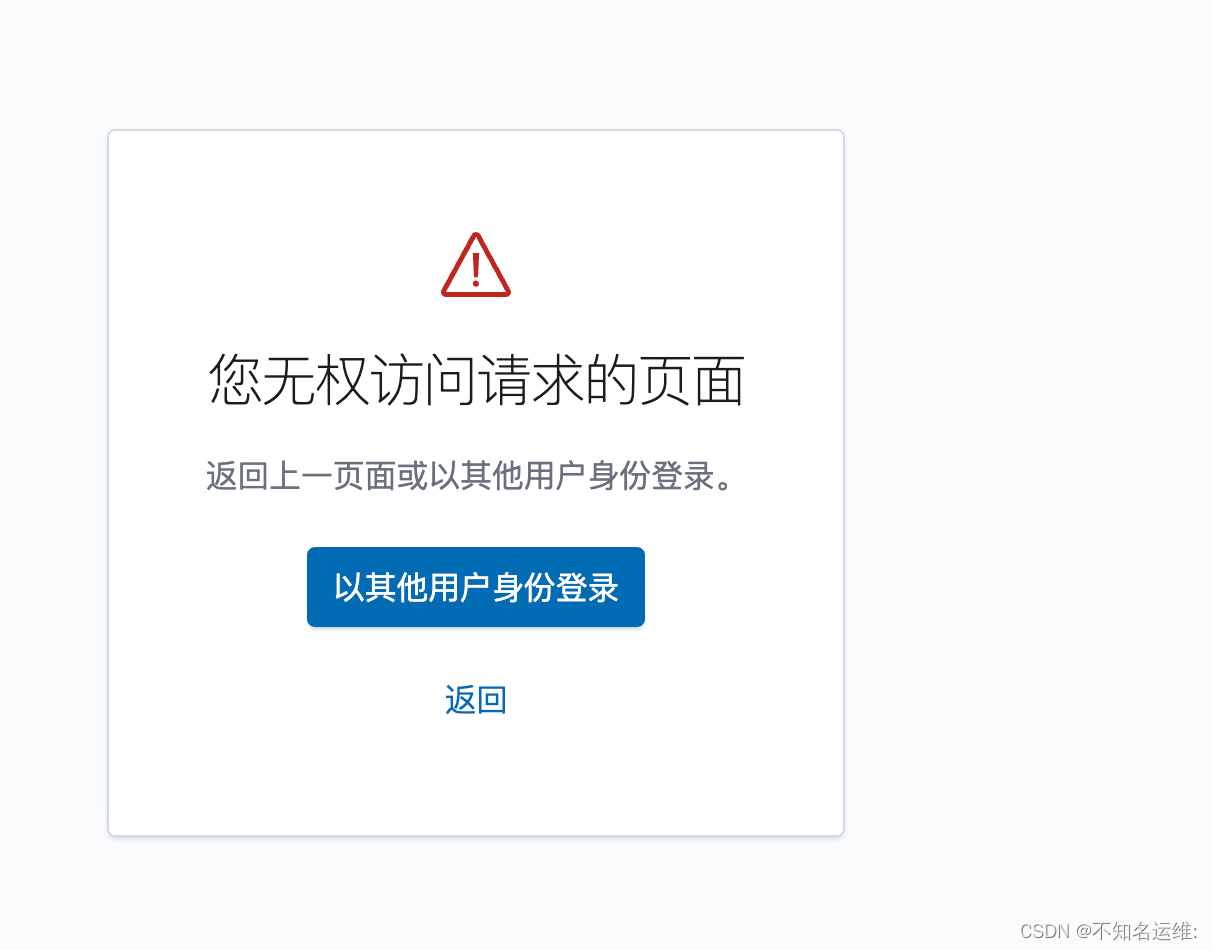
此时需要使用"elastic"用户登录即可成功;
kibana界⾯⿏标依次点击如下:
(1)菜单栏;
(2)StackManagement;
(3)安全;
(4)用户;
即可看到我们上面配置过密码的用户
这些用户都是默认的,无法修改!
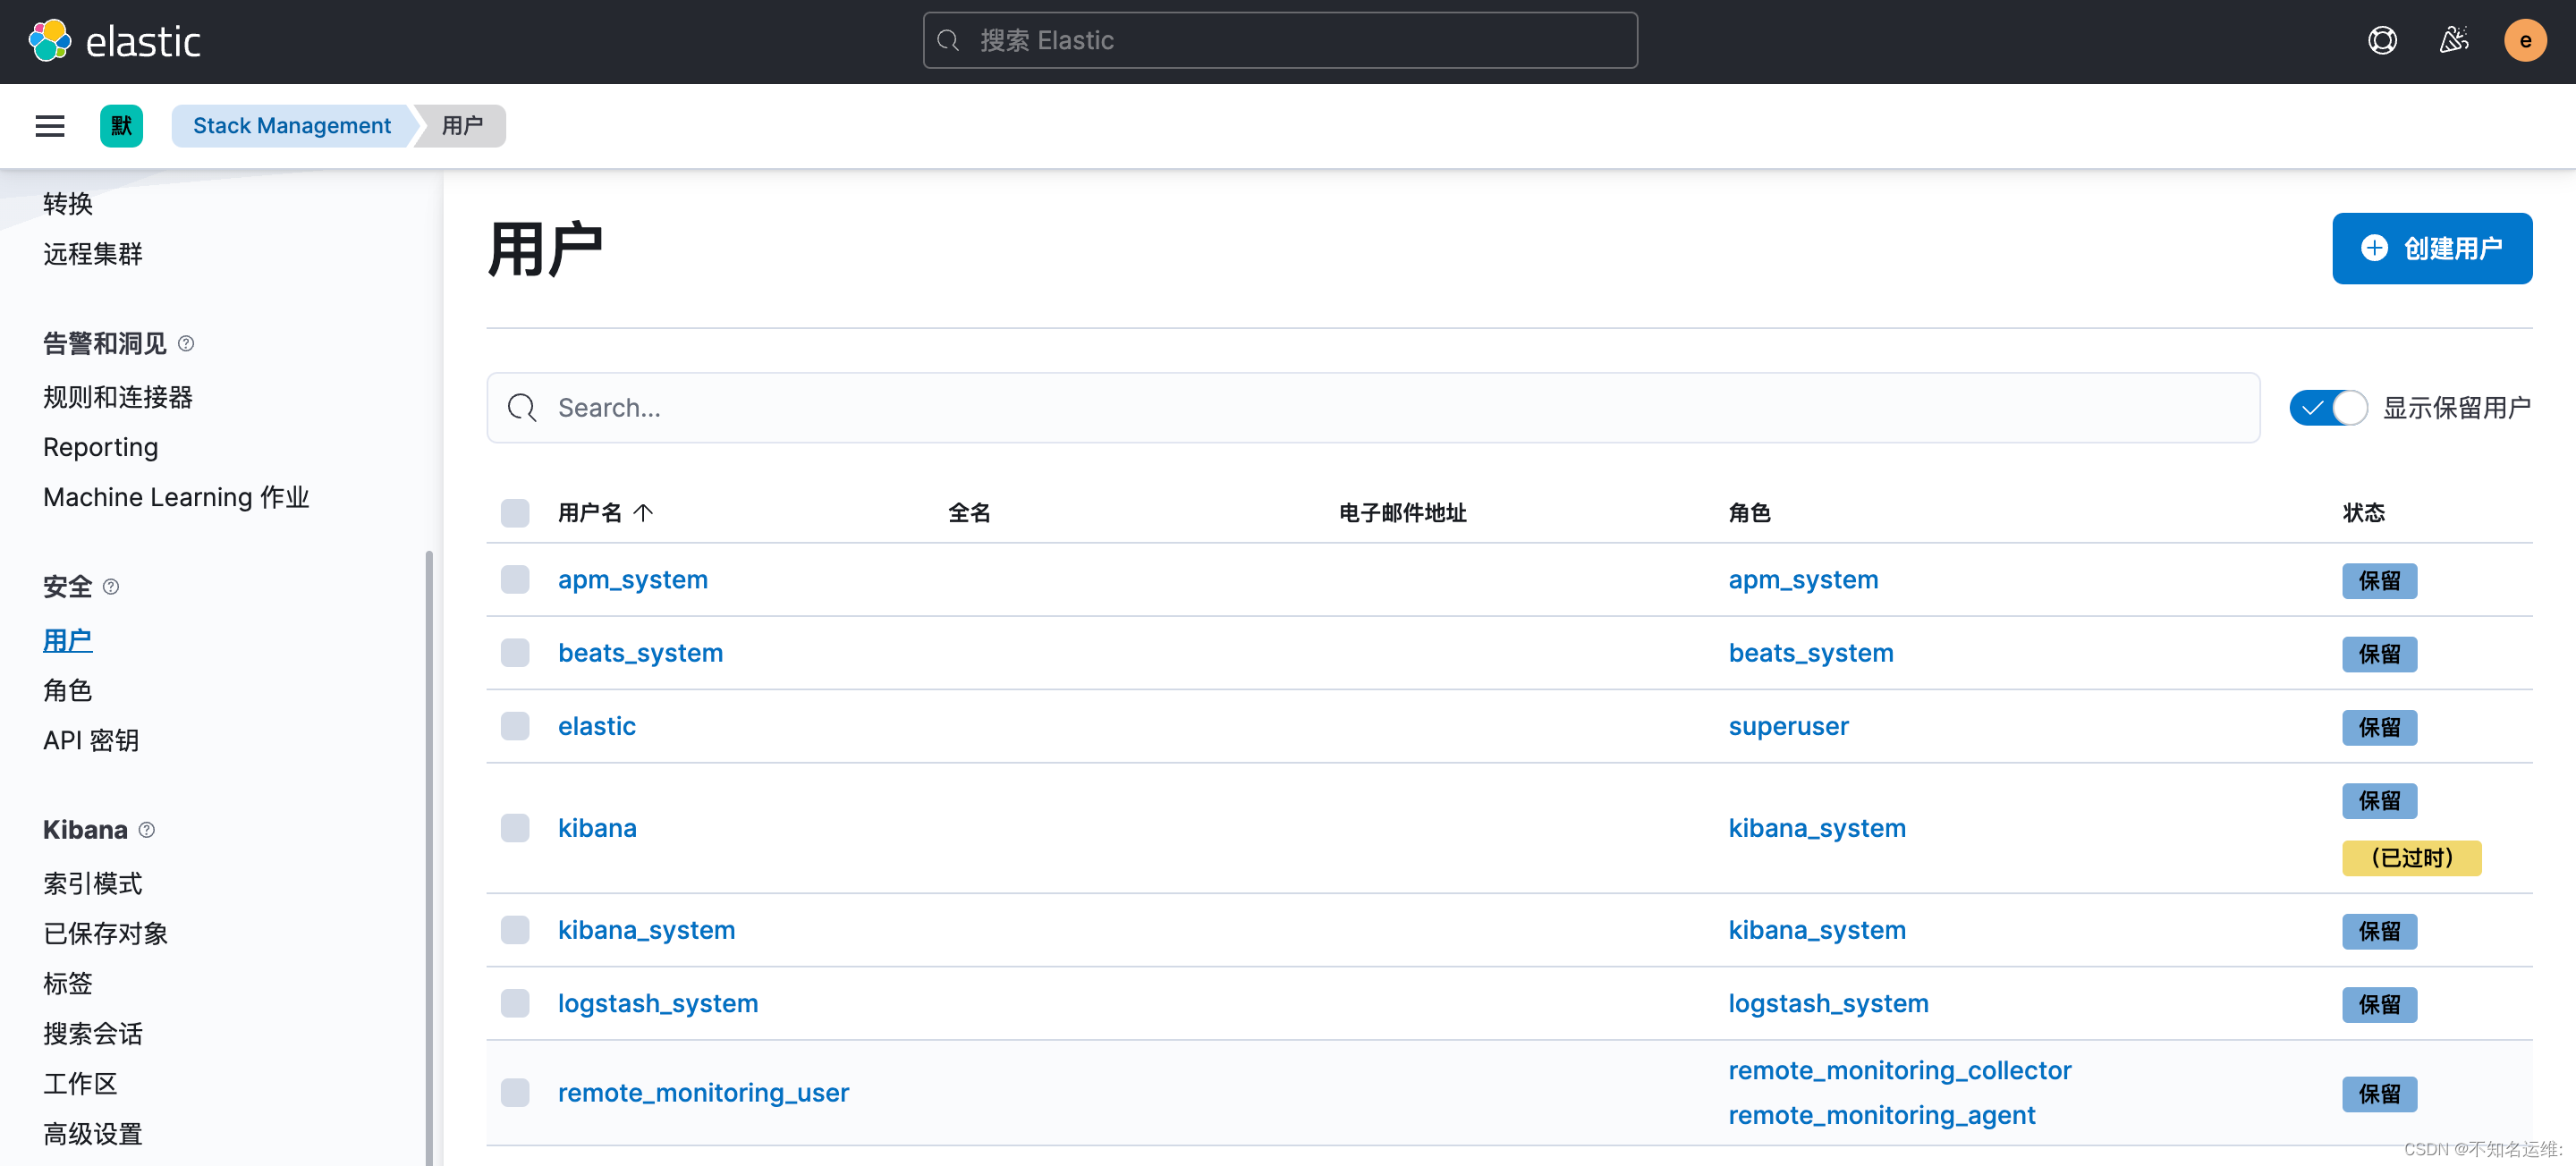
这些用户都是默认的,无法修改!可以自己新建用户和角色来满足自己的需求
只读账号--例如给开发使用
3.1 创建角色;
kibana界⾯⿏标依次点击如下:
(1)菜单栏;
(2)StackManagement;
(3)安全;
(4)角色;
(5)创建角色;
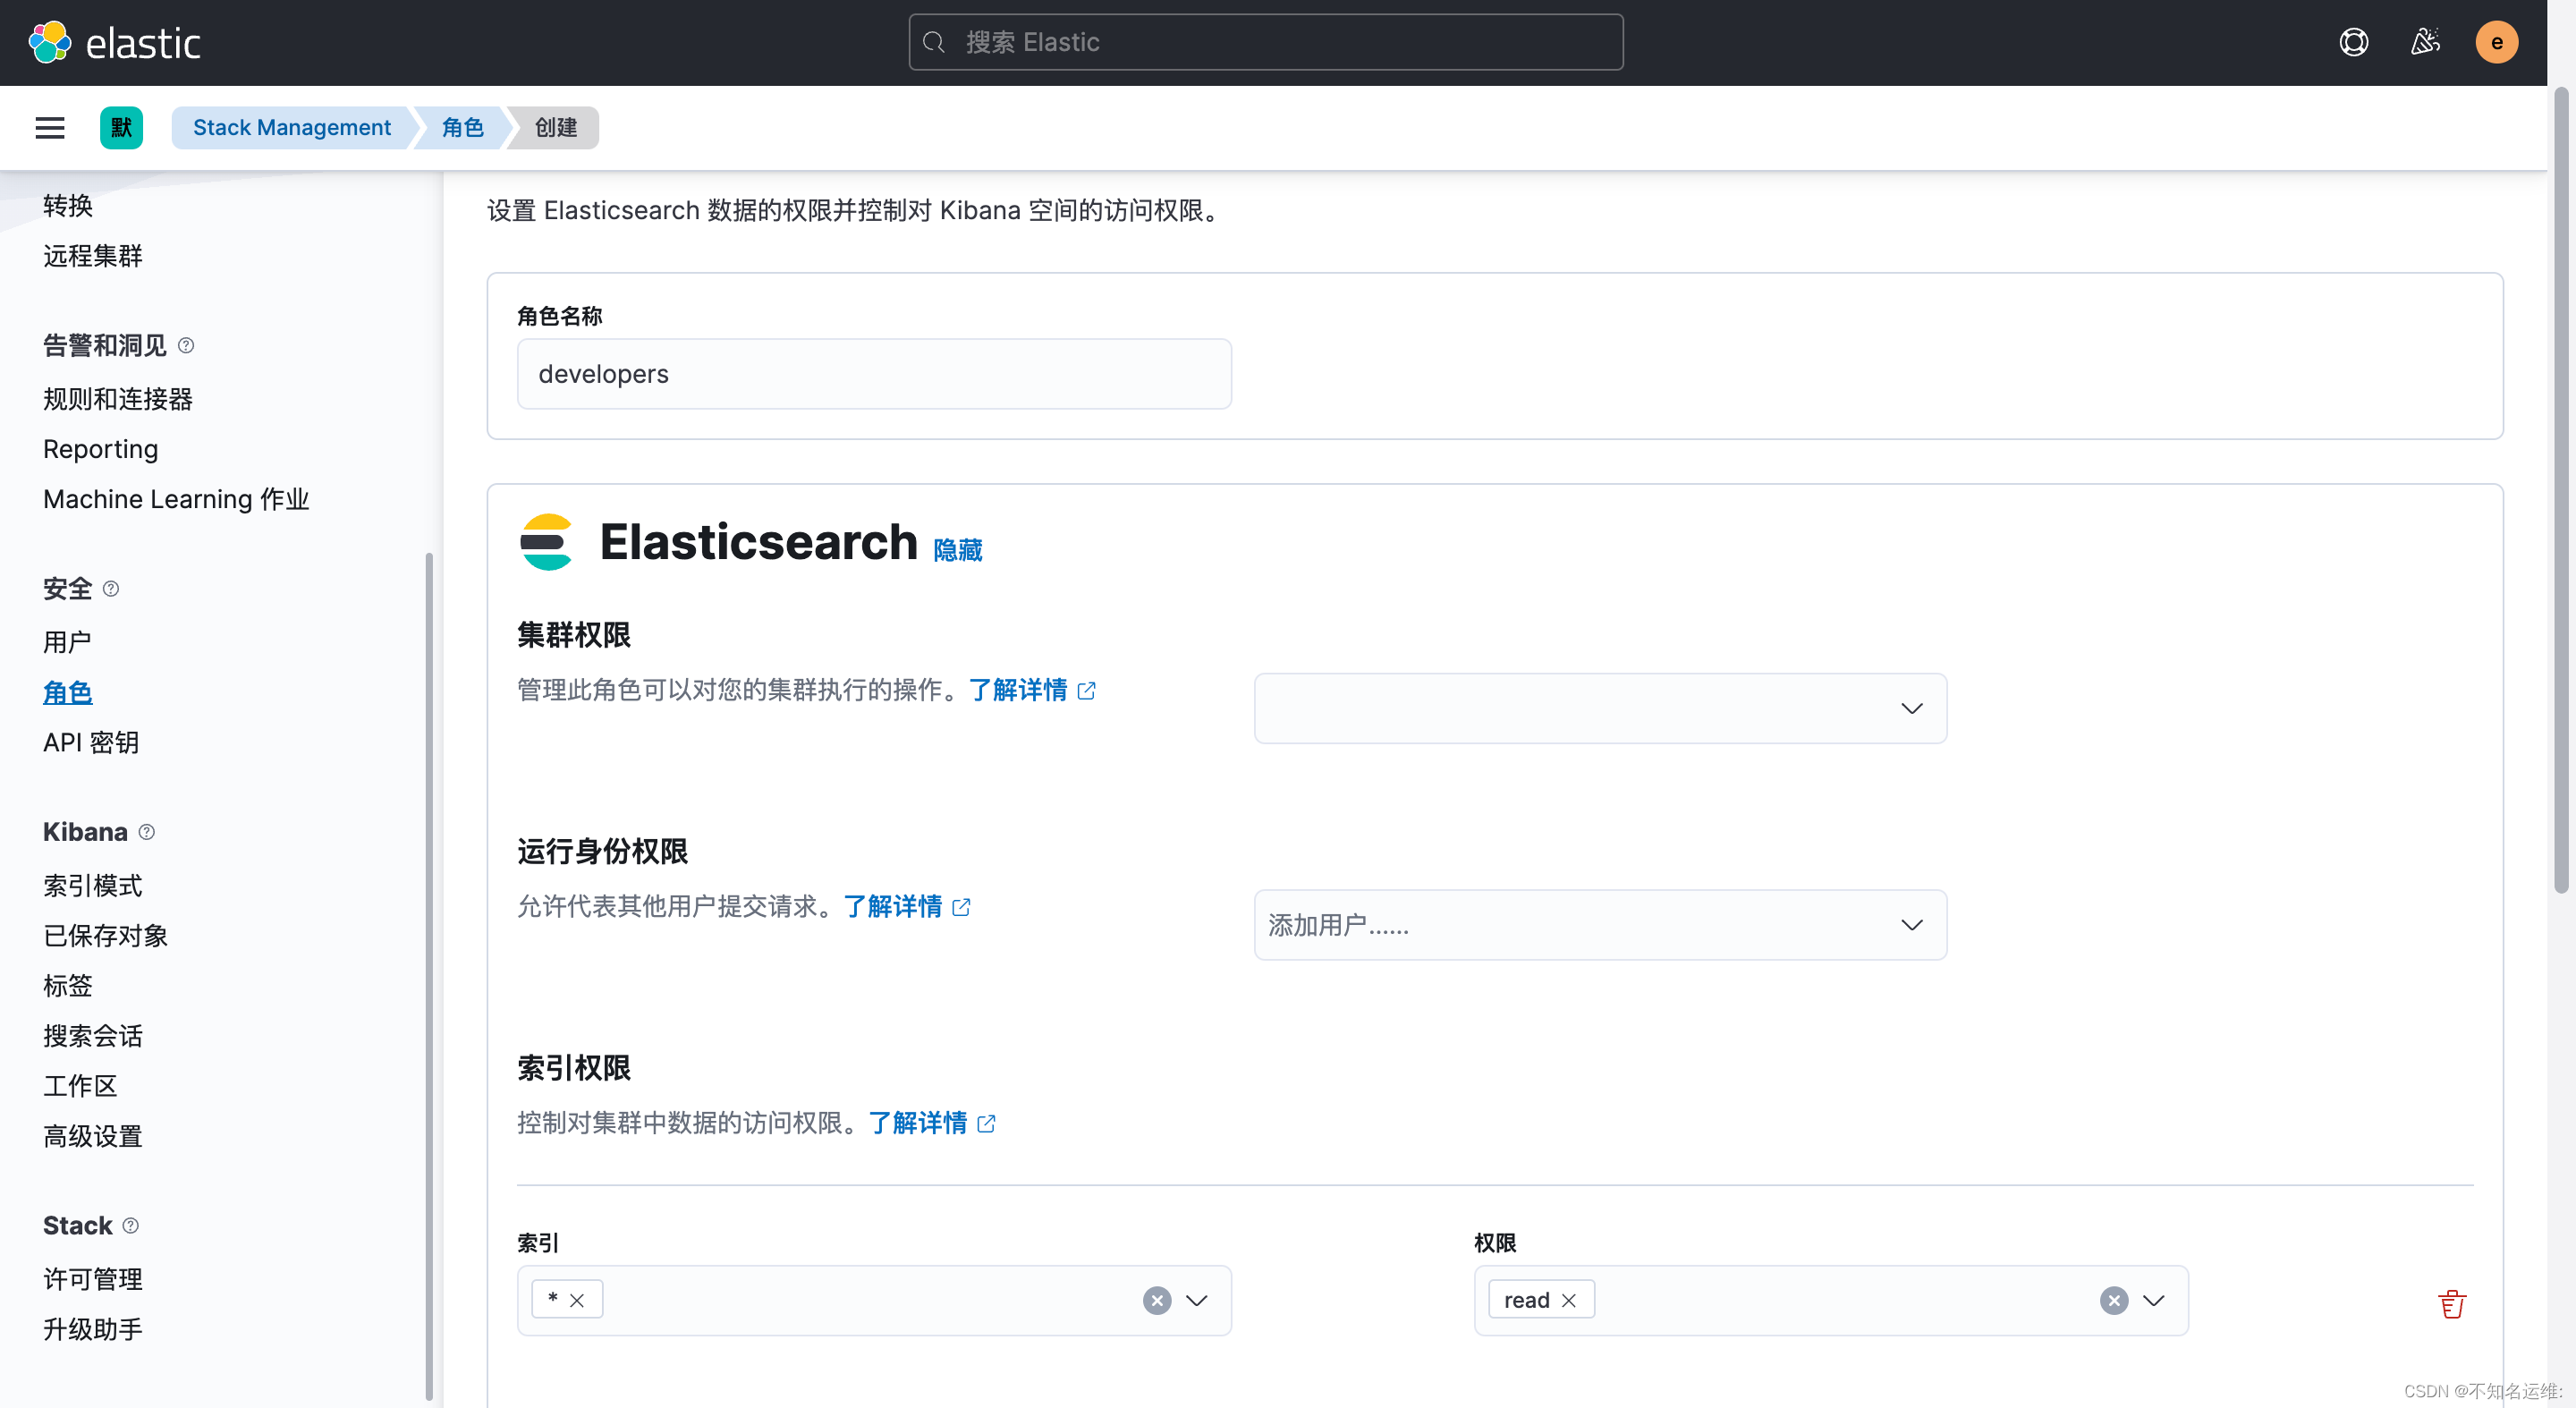
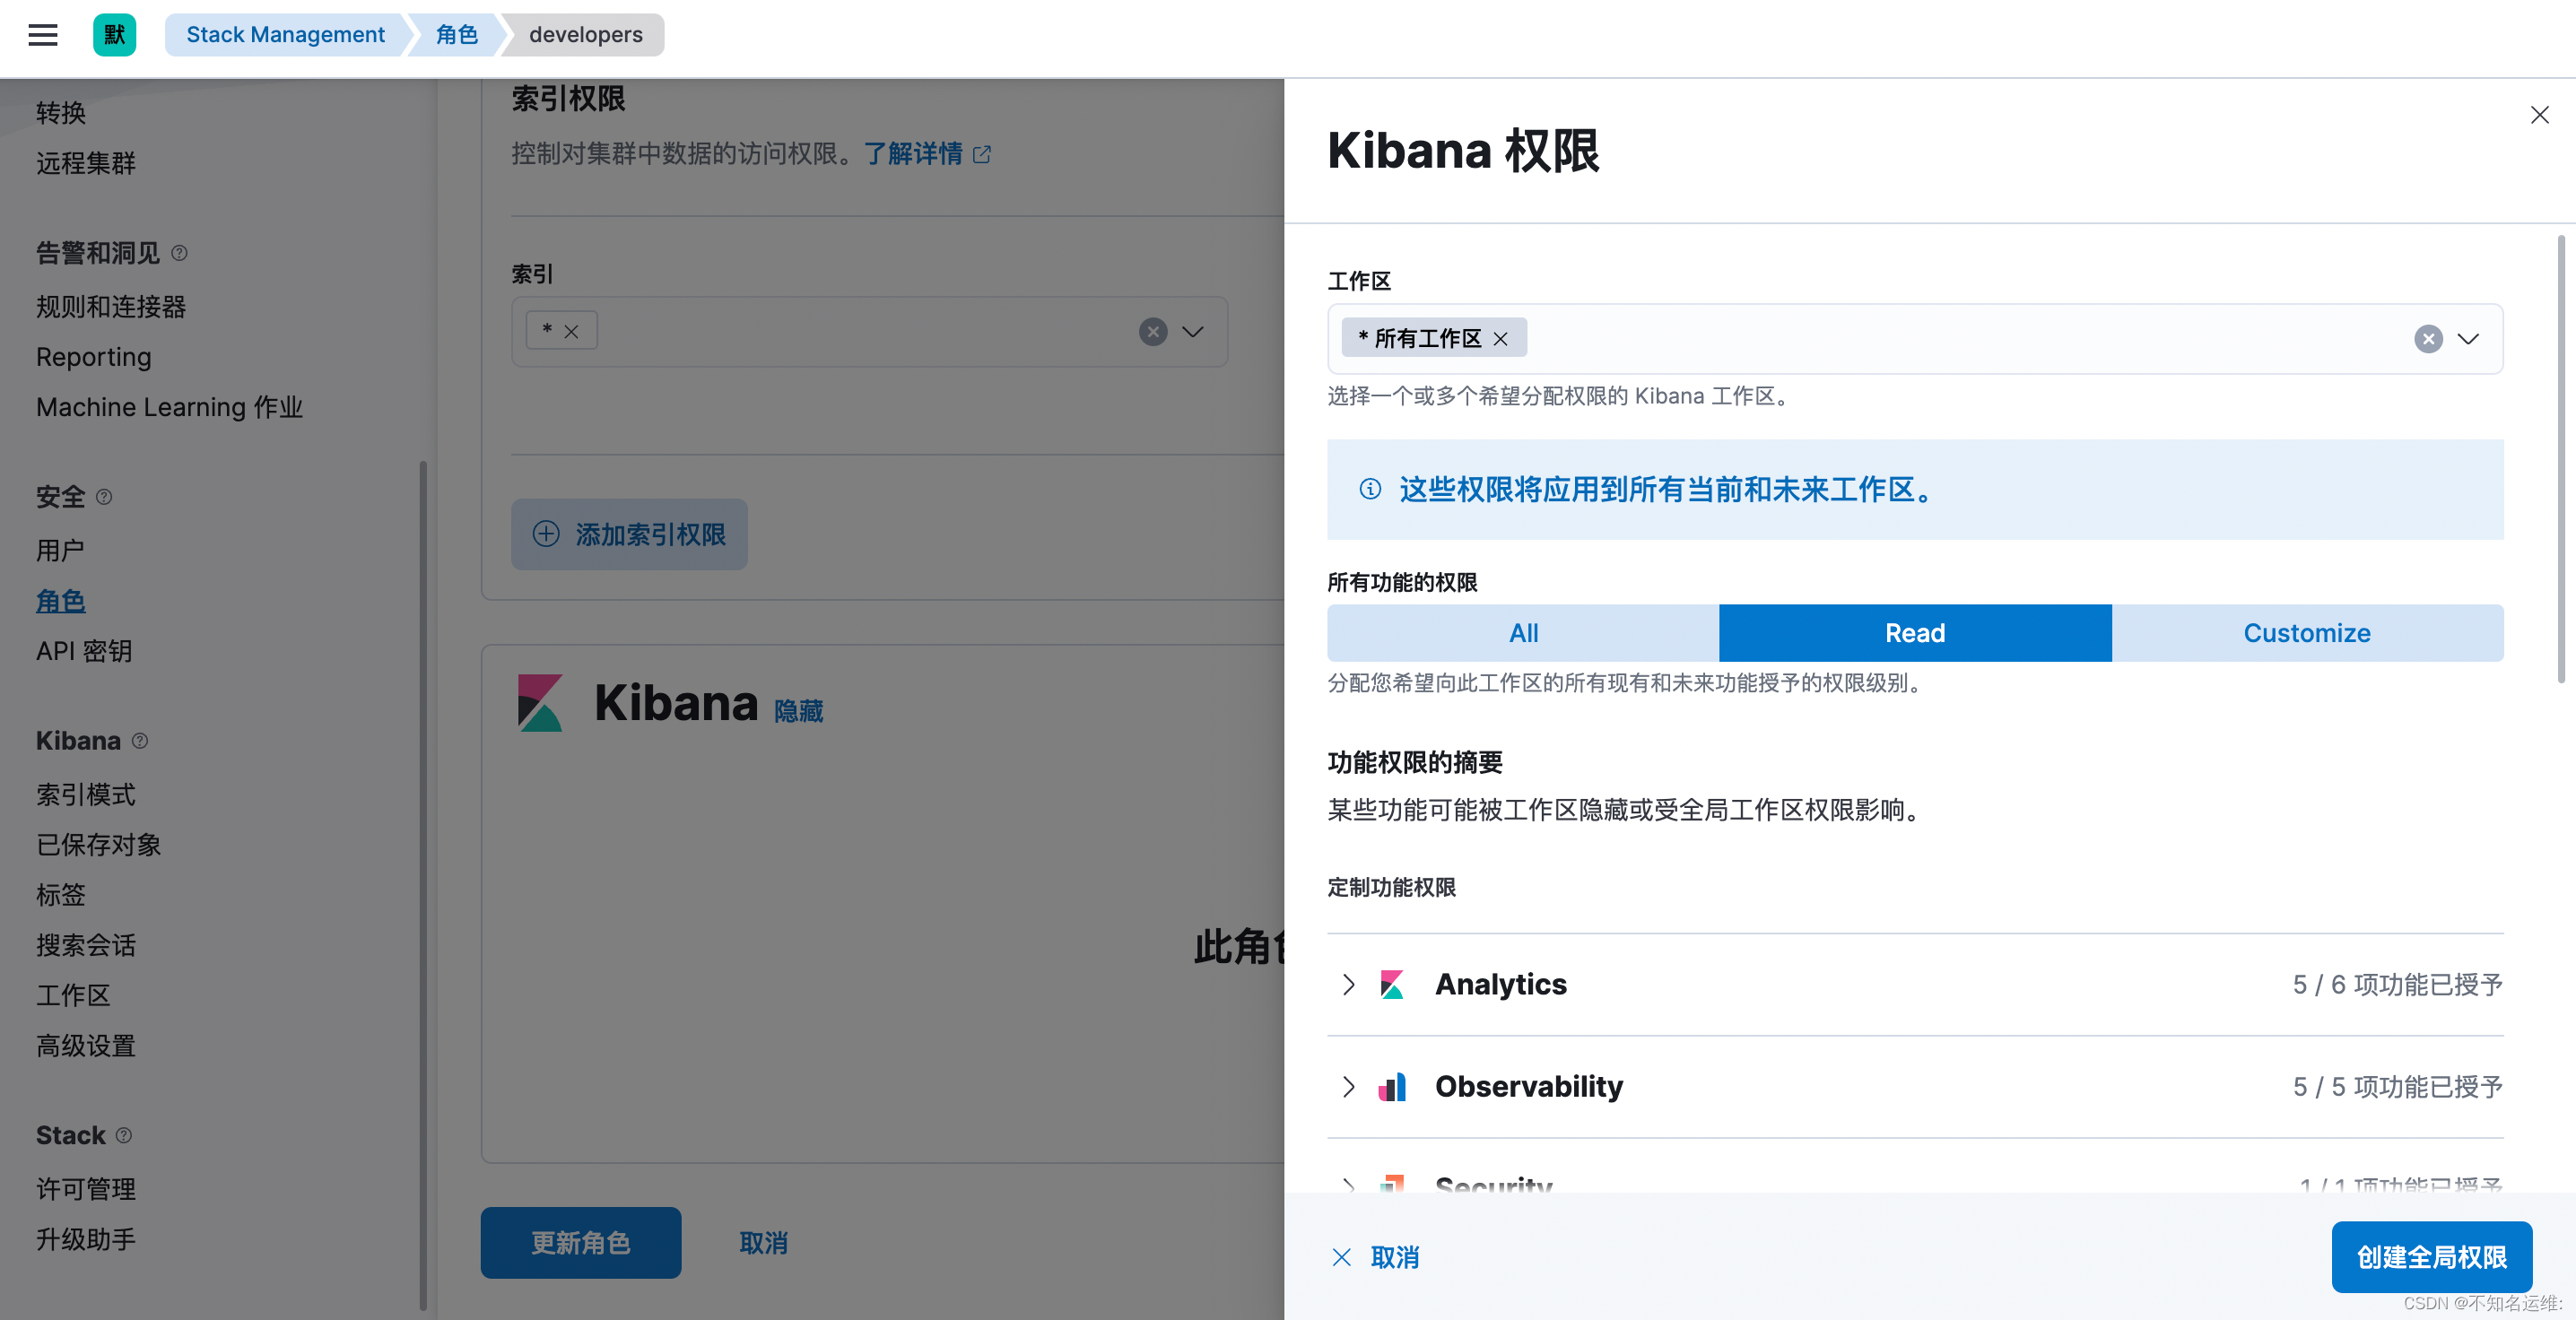
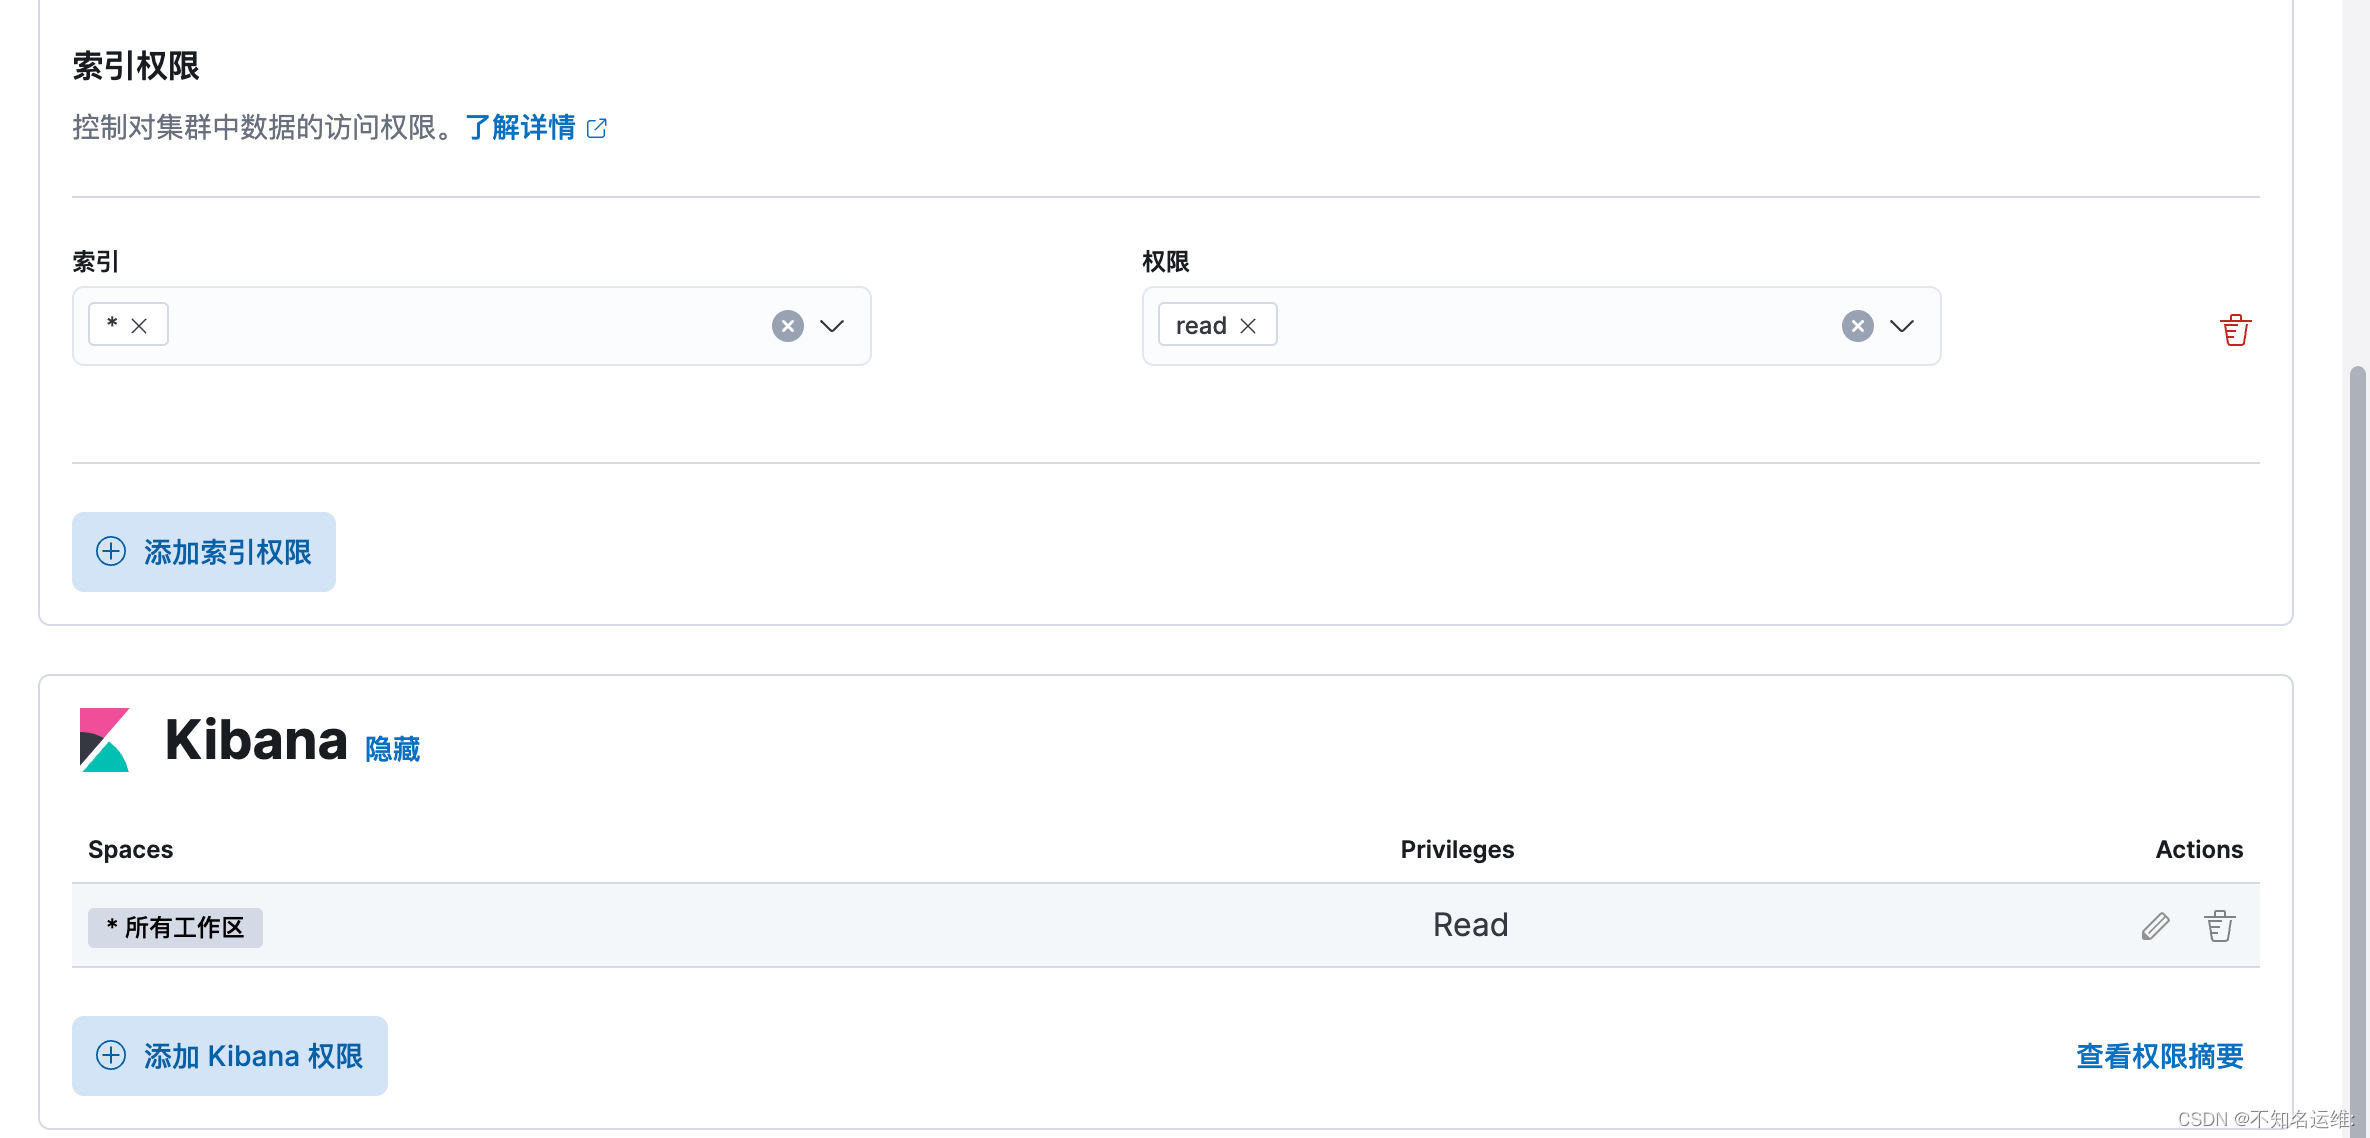
需要给只读角色创建kibana权限,否则拥有此角色的用户登录上来会没有权限
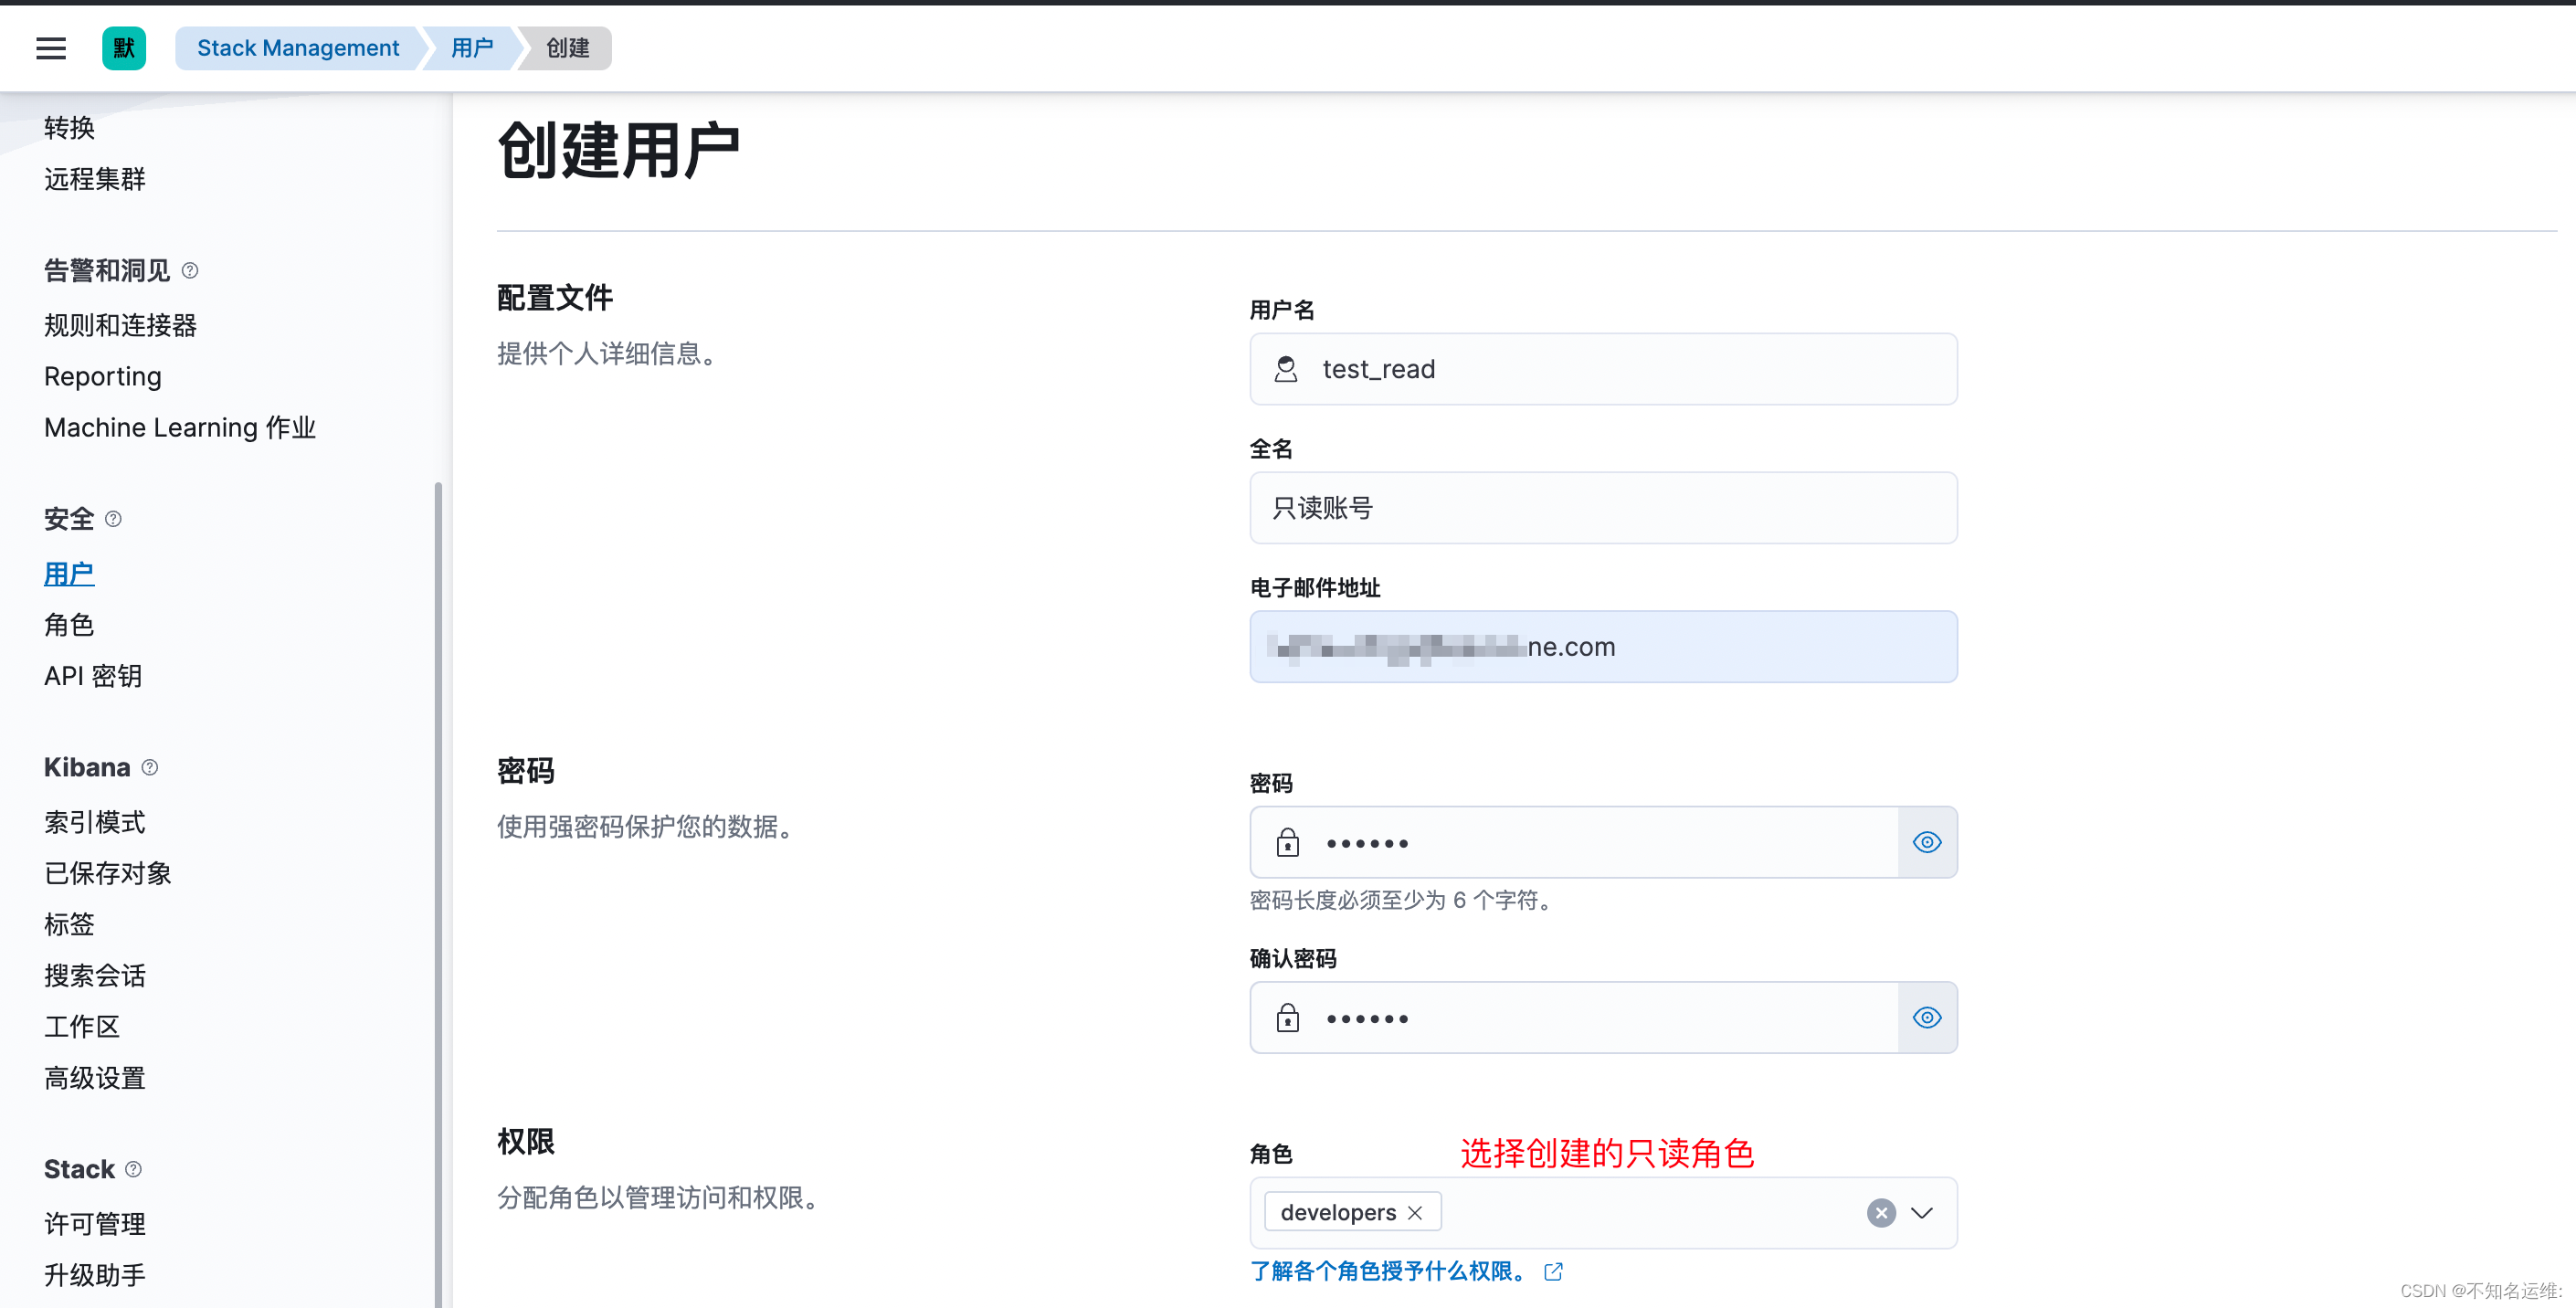
3.2创建用户
kibana界⾯⿏标依次点击如下:
(1)菜单栏;
(2)StackManagement;
(3)安全;
(4)用户;
(5)创建用户;
3.3只读账号登录效果如下:
可以查看日志

因为只是对索引的只读权限,不能对集群进行任何操作,包括通过Restful API的方式也不可以,会报403的错误 例如:
#查看所有的索引信息
[root@kafka01 conf.d]# curl --user test_read:123456 'http://10.8.0.2:9200/_cat/indices?v' -k
{"error":{"root_cause":[{"type":"security_exception","reason":"action [indices:monitor/stats] is unauthorized for user [test_read] with roles [developers], this action is granted by the index privileges [monitor,manage,all]","suppressed":[{"type":"security_exception","reason":"action [cluster:monitor/state] is unauthorized for user [test_read] with roles [developers], this action is granted by the cluster privileges [read_ccr,transport_client,manage_ccr,monitor,manage,all]"},{"type":"security_exception","reason":"action [cluster:monitor/health] is unauthorized for user [test_read] with roles [developers], this action is granted by the cluster privileges [monitor,manage,all]"}]}],"type":"security_exception","reason":"action [indices:monitor/stats] is unauthorized for user [test_read] with roles [developers], this action is granted by the index privileges [monitor,manage,all]","suppressed":[{"type":"security_exception","reason":"action [cluster:monitor/state] is unauthorized for user [test_read] with roles [developers], this action is granted by the cluster privileges [read_ccr,transport_client,manage_ccr,monitor,manage,all]"},{"type":"security_exception","reason":"action [cluster:monitor/health] is unauthorized for user [test_read] with roles [developers], this action is granted by the cluster privileges [monitor,manage,all]"}]},"status":403}
#查看es节点信息也会报错:

虽然我们在开启es认证时设置过"logstash_system"用户,但是这个用户并不能像kibana那样直接使用,如果直接使用"logstash_system"用户的话,在将数据写入索引的时候,会报403的错误,如下:
[2023-01-13T13:32:59,126][ERROR][logstash.outputs.elasticsearch][main][53f2ca2de58f24f94b83b4a2ddfacfaaa953df1f59b7c9426f204cd3cda13a80] Encountered a retryable error (will retry with exponential backoff) {:code=>403, :url=>"http://10.8.0.6:9200/_bulk", :content_length=>3145}
这是因为自带的"logstash_system"用户使用的"logstash_system"角色没有写入的权限,所以需要重新建个有写入权限的角色和用户
1.1 首先创建个角色,名为"logstash_write",集群权限为:monitor;
1.2 此角色对索引的操作权限为:write、delete、create_index monitor;
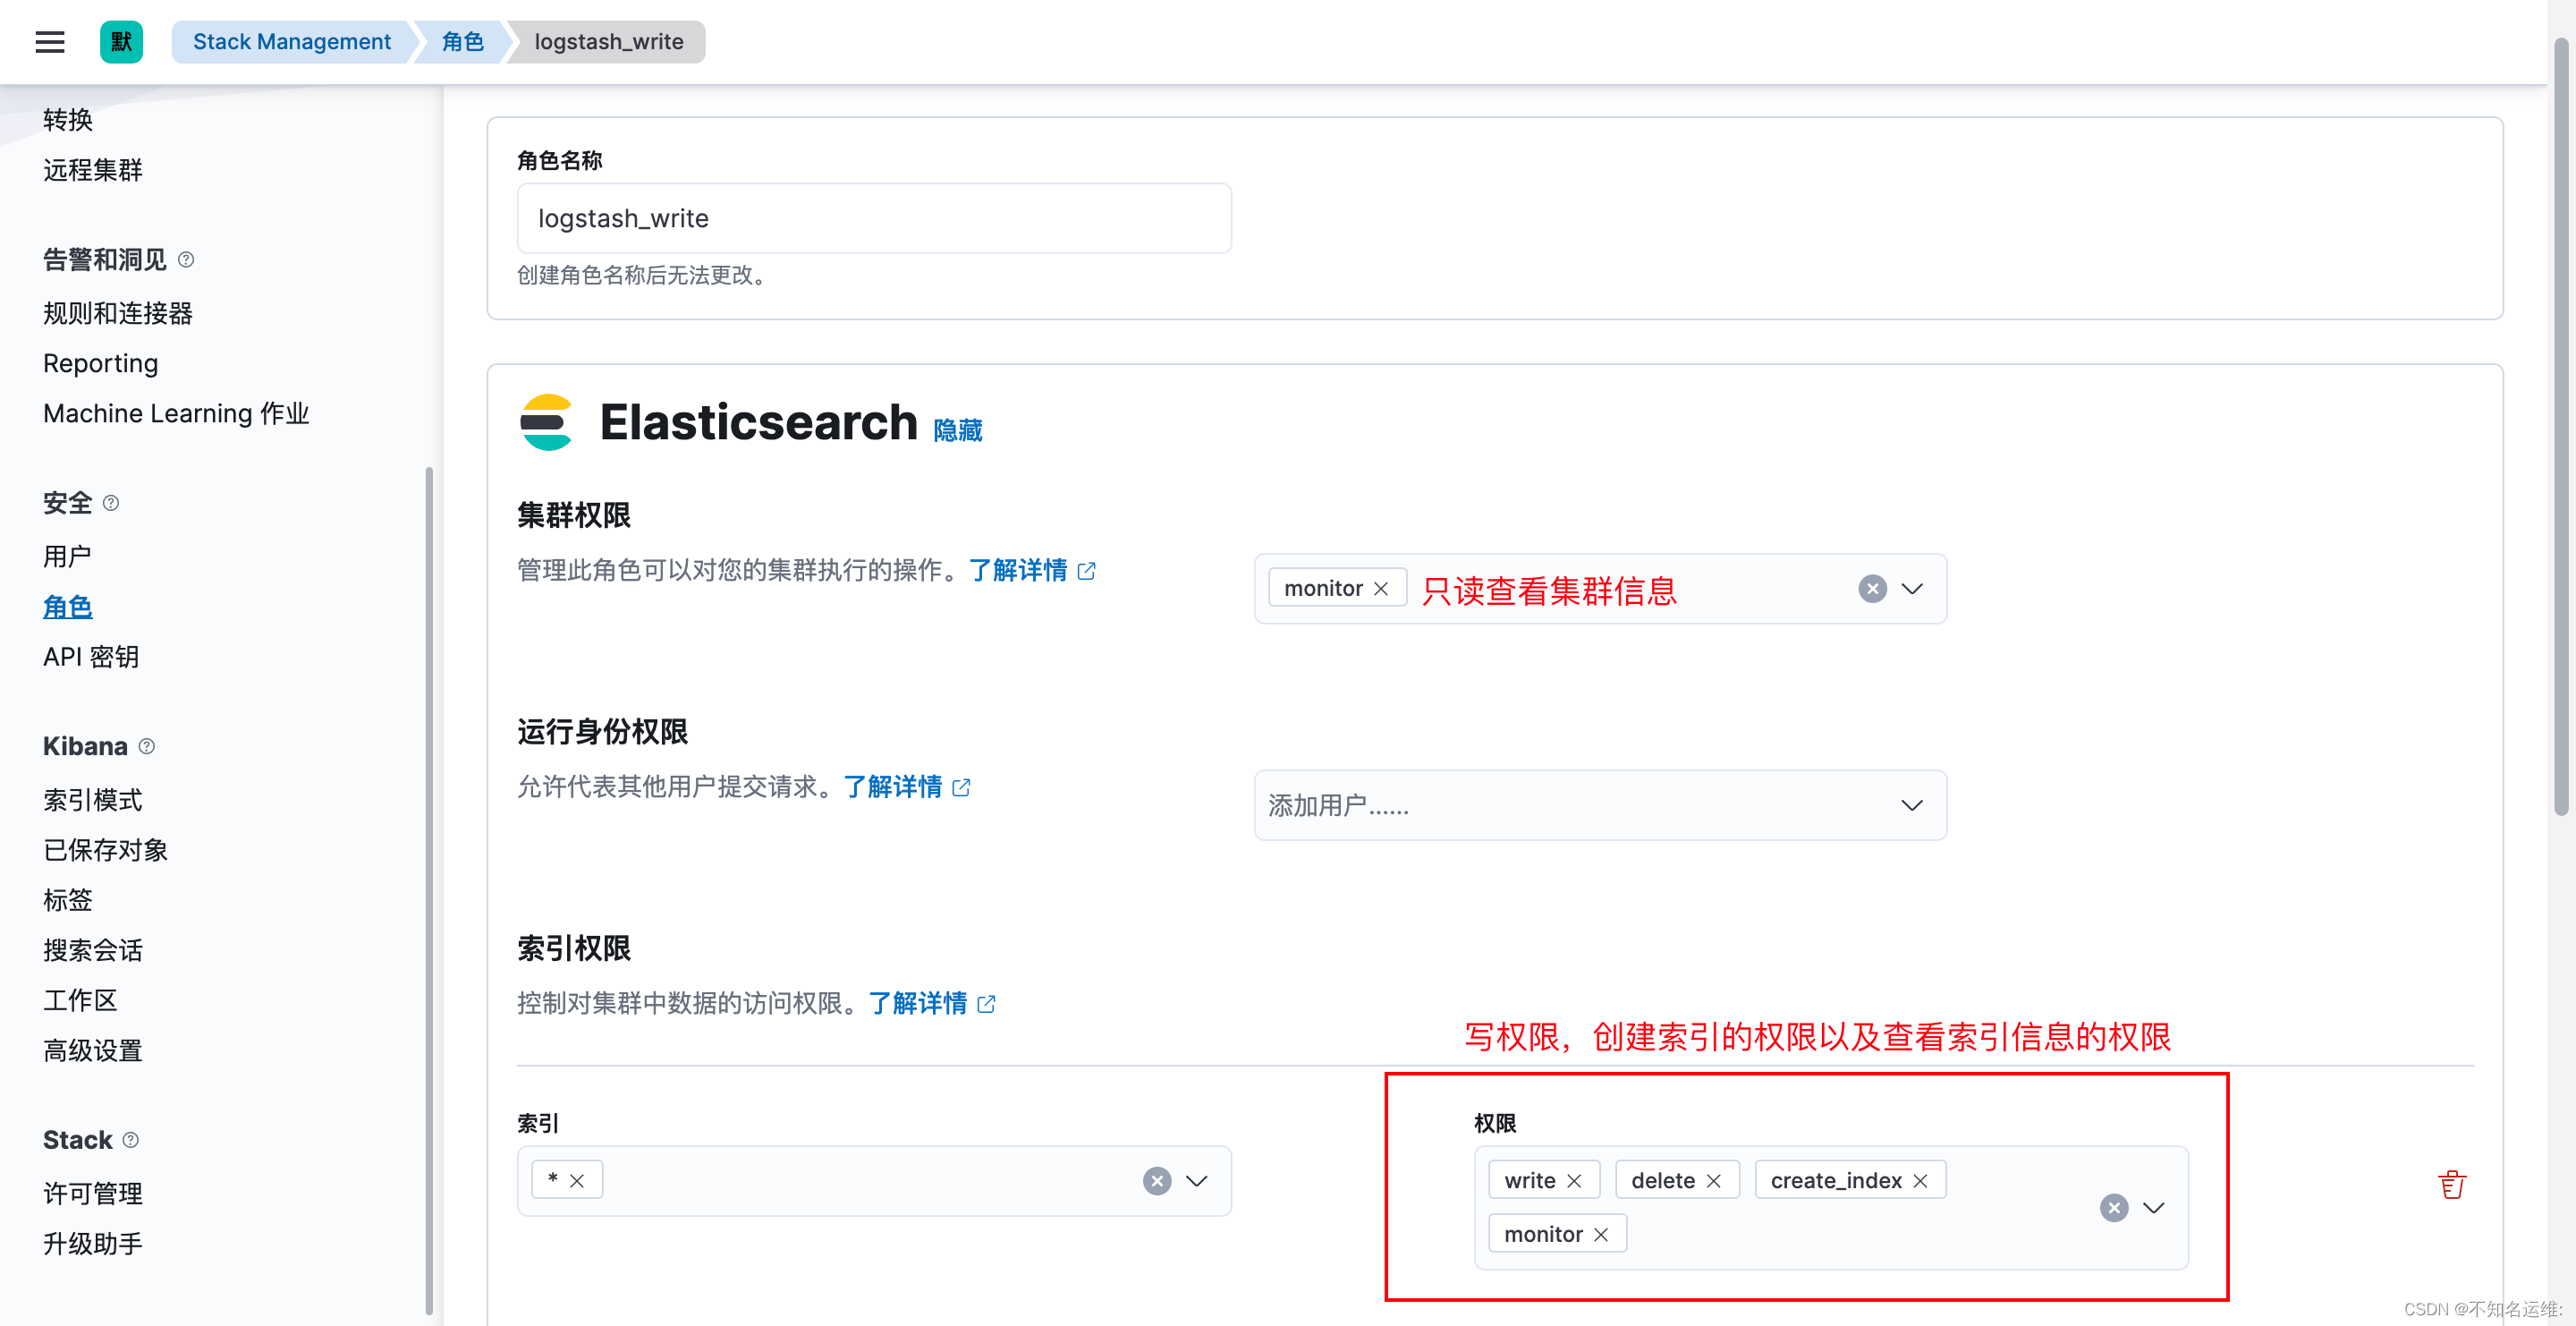
1.3 新建一个用户拥有此权限
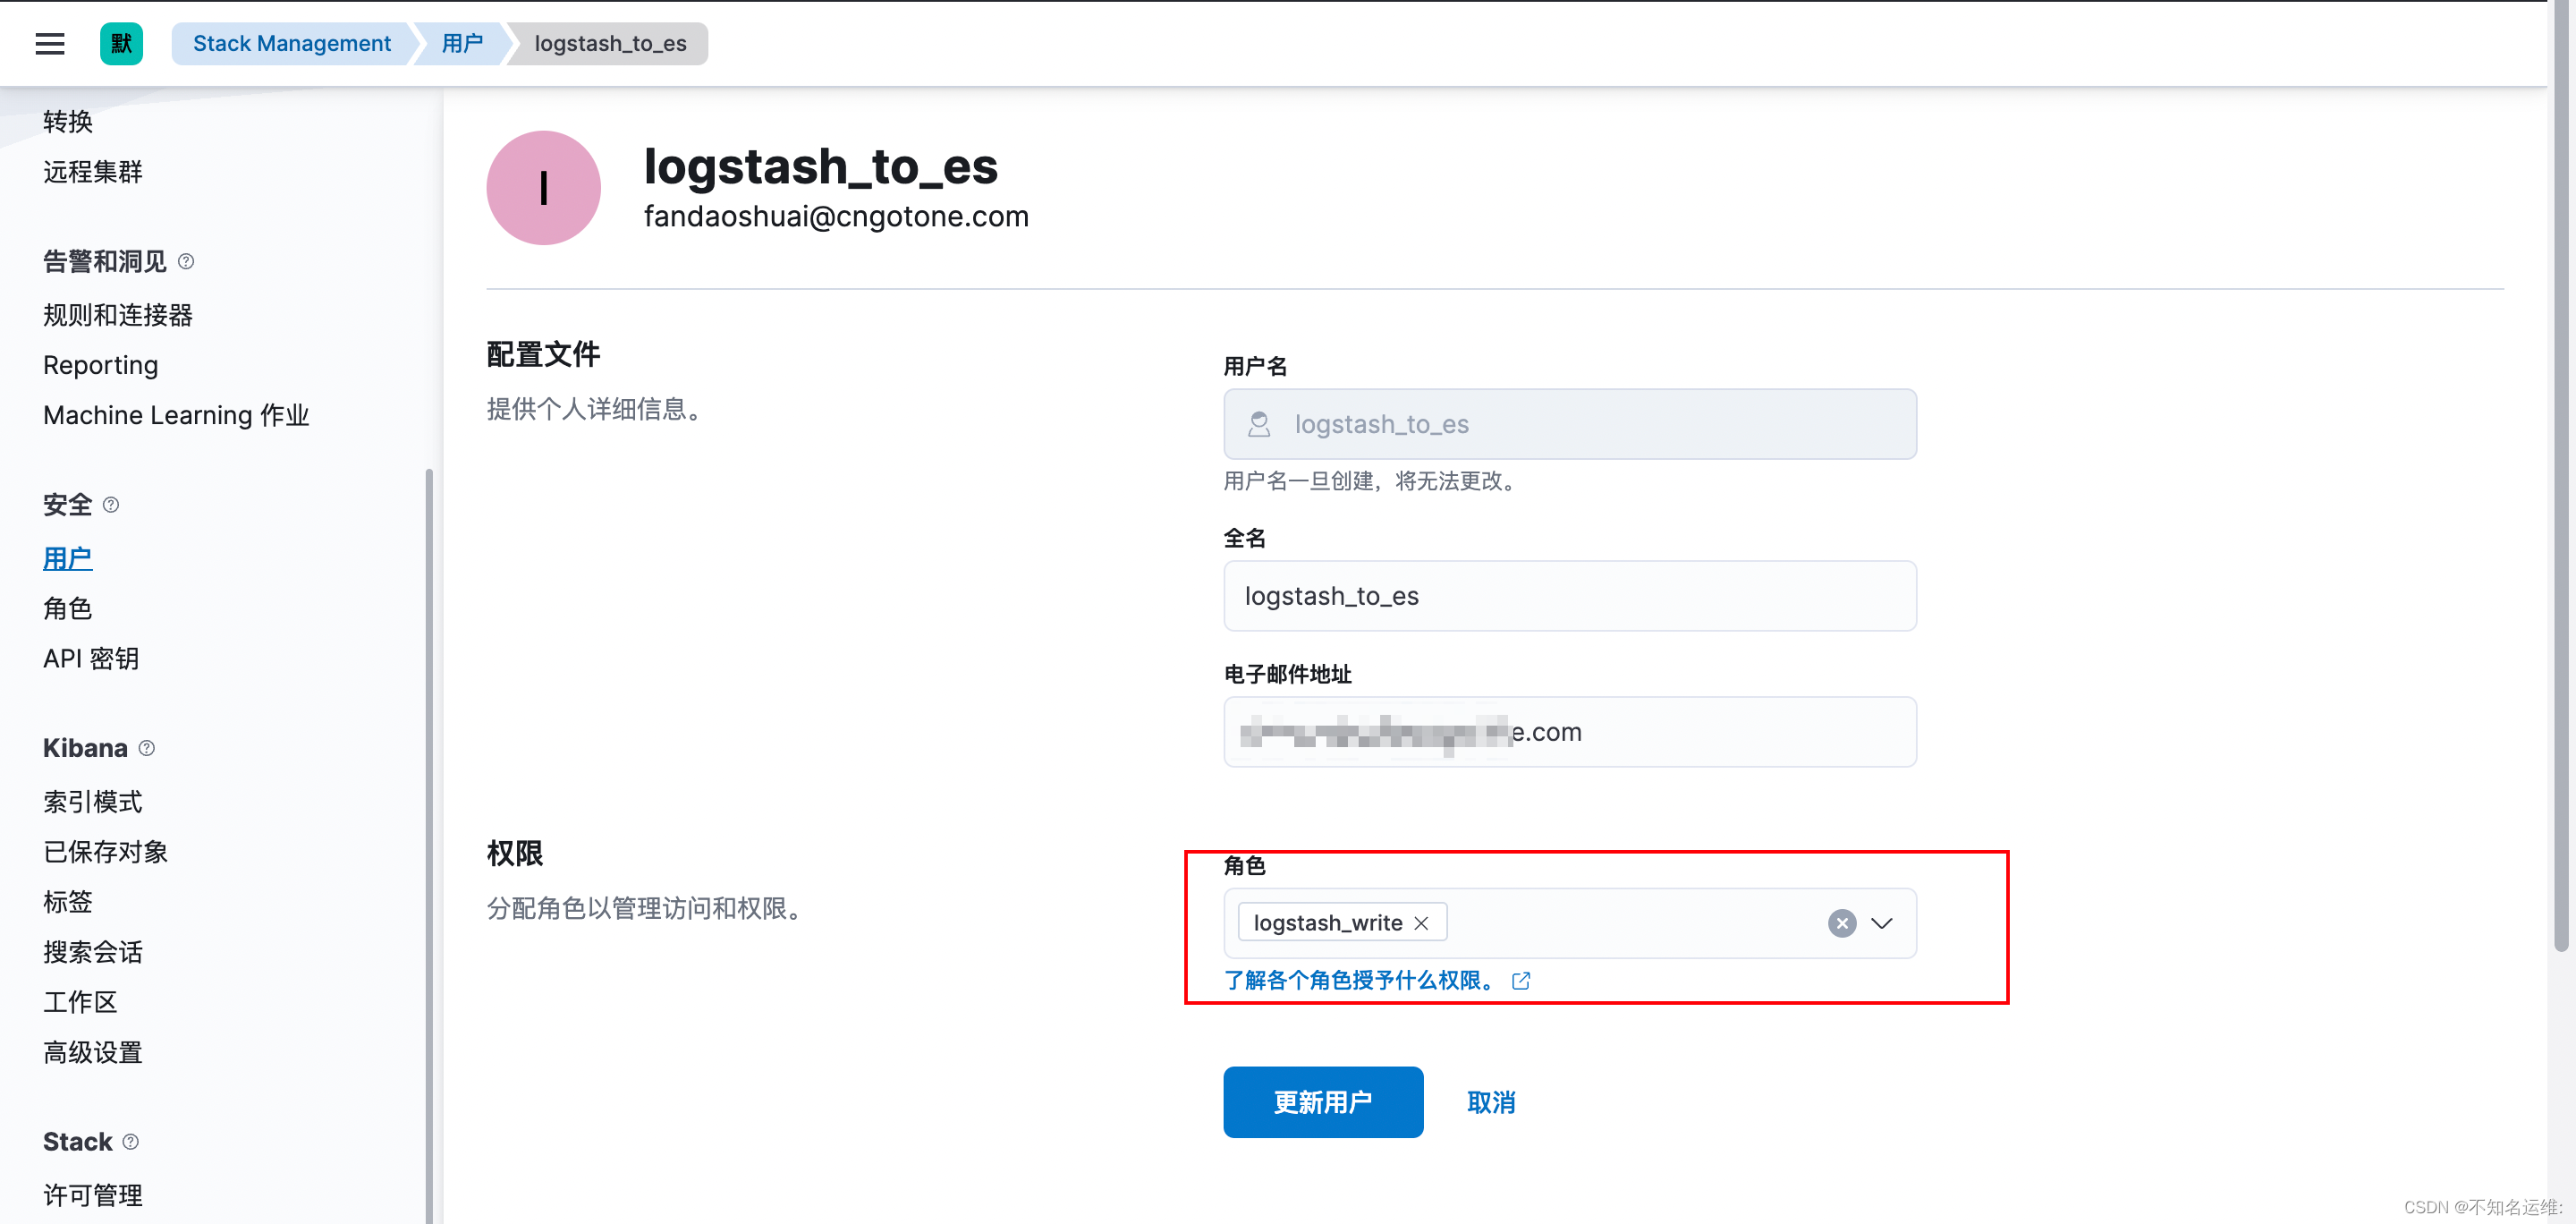
因为es开启了认证,所以需要在logstash output到es时添加上刚创建用户和密码
[root@kafka02 ~]# vim /hqtbj/hqtwww/logstash_workspace/conf.d/gotone-kafka-to-es.conf
...
 output {
  elasticsearch {
    #es集群地址
    hosts => ["10.8.0.2:9200","10.8.0.6:9200","10.8.0.9:9200"]
    #写入的索引名称
    index => "hqt-gotone-pro-%{+YYYY.MM.dd}"
    ##具有对索引写权限的用户
    user => "logstash_to_es"
    ##用户的密码
    password => "123456"
  }
}
修改完之后需要重启logstash;
fielbeat跟logstash的步骤基本是相同的,自带的“beats_system”用户一样不能用会报403错误,如下:
2023-01-13T13:52:19.569+0800 ERROR [publisher_pipeline_output] pipeline/output.go:154 Failed to connect to backoff(elasticsearch(http://10.8.0.9:9200)): Connection marked as failed because the onConnect callback failed: error loading template: failed to load template: couldn't load template: 403 Forbidden: {"error":{"root_cause":[{"type":"security_exception","reason":"action [indices:admin/index_template/put] is unauthorized for user [beats_system] with roles [beats_system], this action is granted by the cluster privileges [manage_index_templates,manage,all]"}],"type":"security_exception","reason":"action [indices:admin/index_template/put] is unauthorized for user [beats_system] with roles [beats_system], this action is granted by the cluster privileges [manage_index_templates,manage,all]"},"status":403}. Response body: {"error":{"root_cause":[{"type":"security_exception","reason":"action [indices:admin/index_template/put] is unauthorized for user [beats_system] with roles [beats_system], this action is granted by the cluster privileges [manage_index_templates,manage,all]"}],"type":"security_exception","reason":"action [indices:admin/index_template/put] is unauthorized for user [beats_system] with roles [beats_system], this action is granted by the cluster privileges [manage_index_templates,manage,all]"},"status":403}
1.1 首先创建个角色,名为"beats_write",集群权限为:monitor,manage_index_templates;
1.2 此角色对索引的操作权限为:write、delete、create_index monitor;
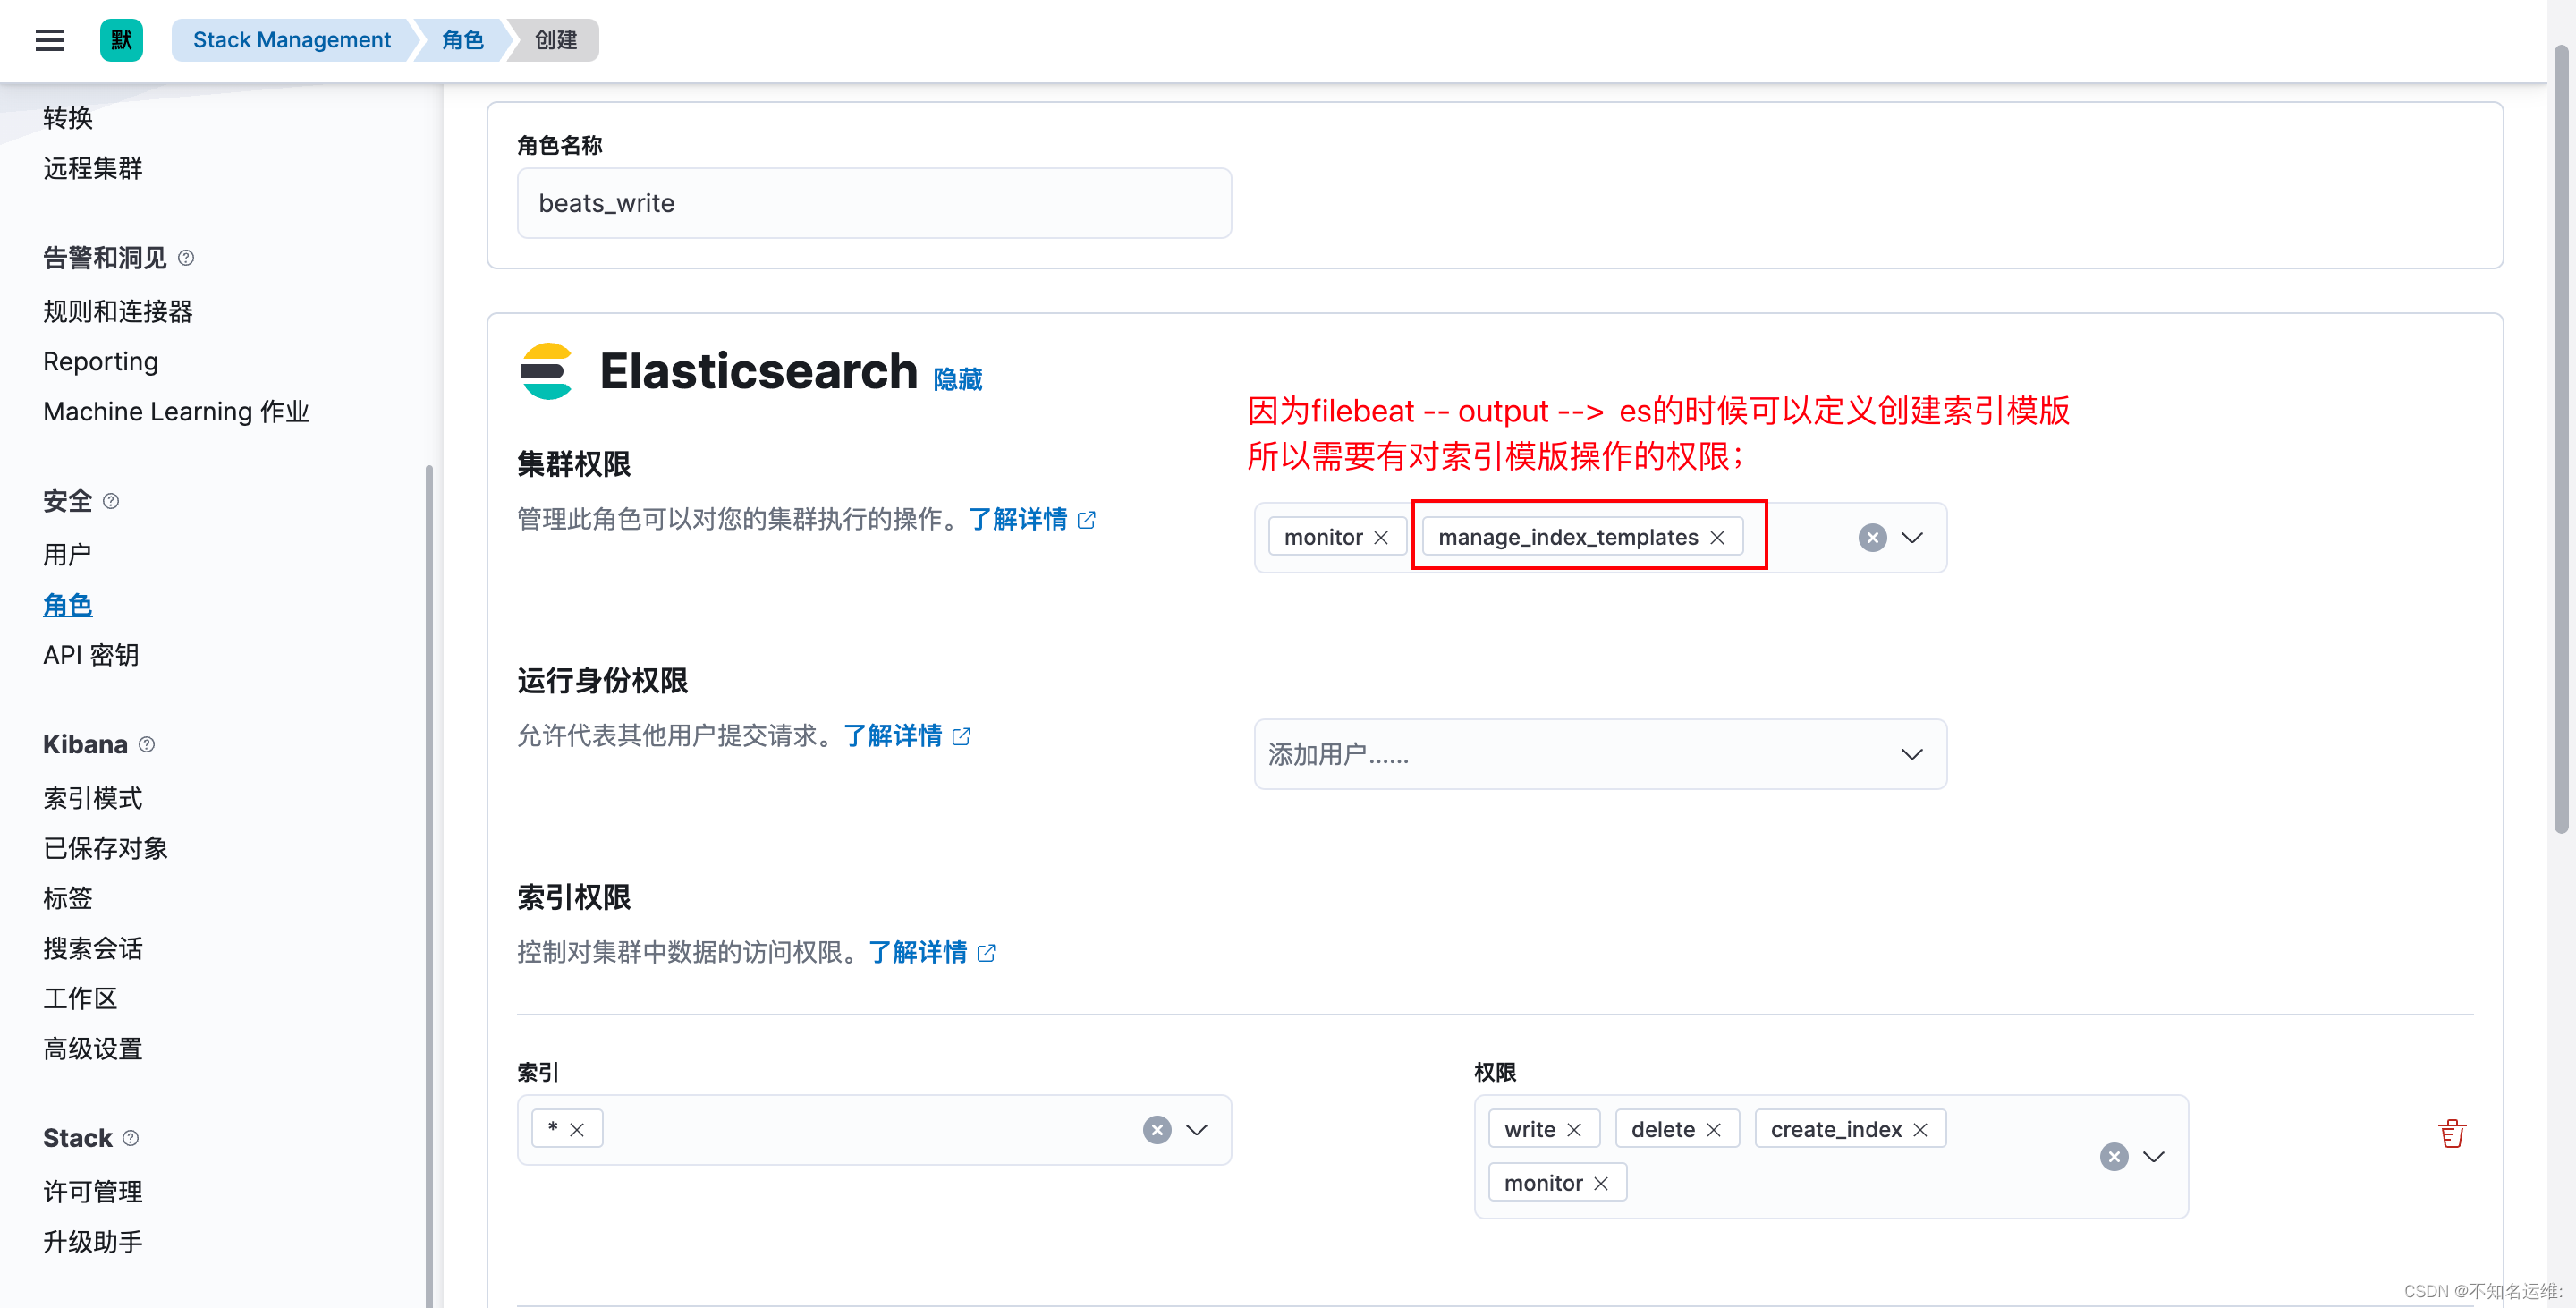
1.3 新建一个用户拥有此权限
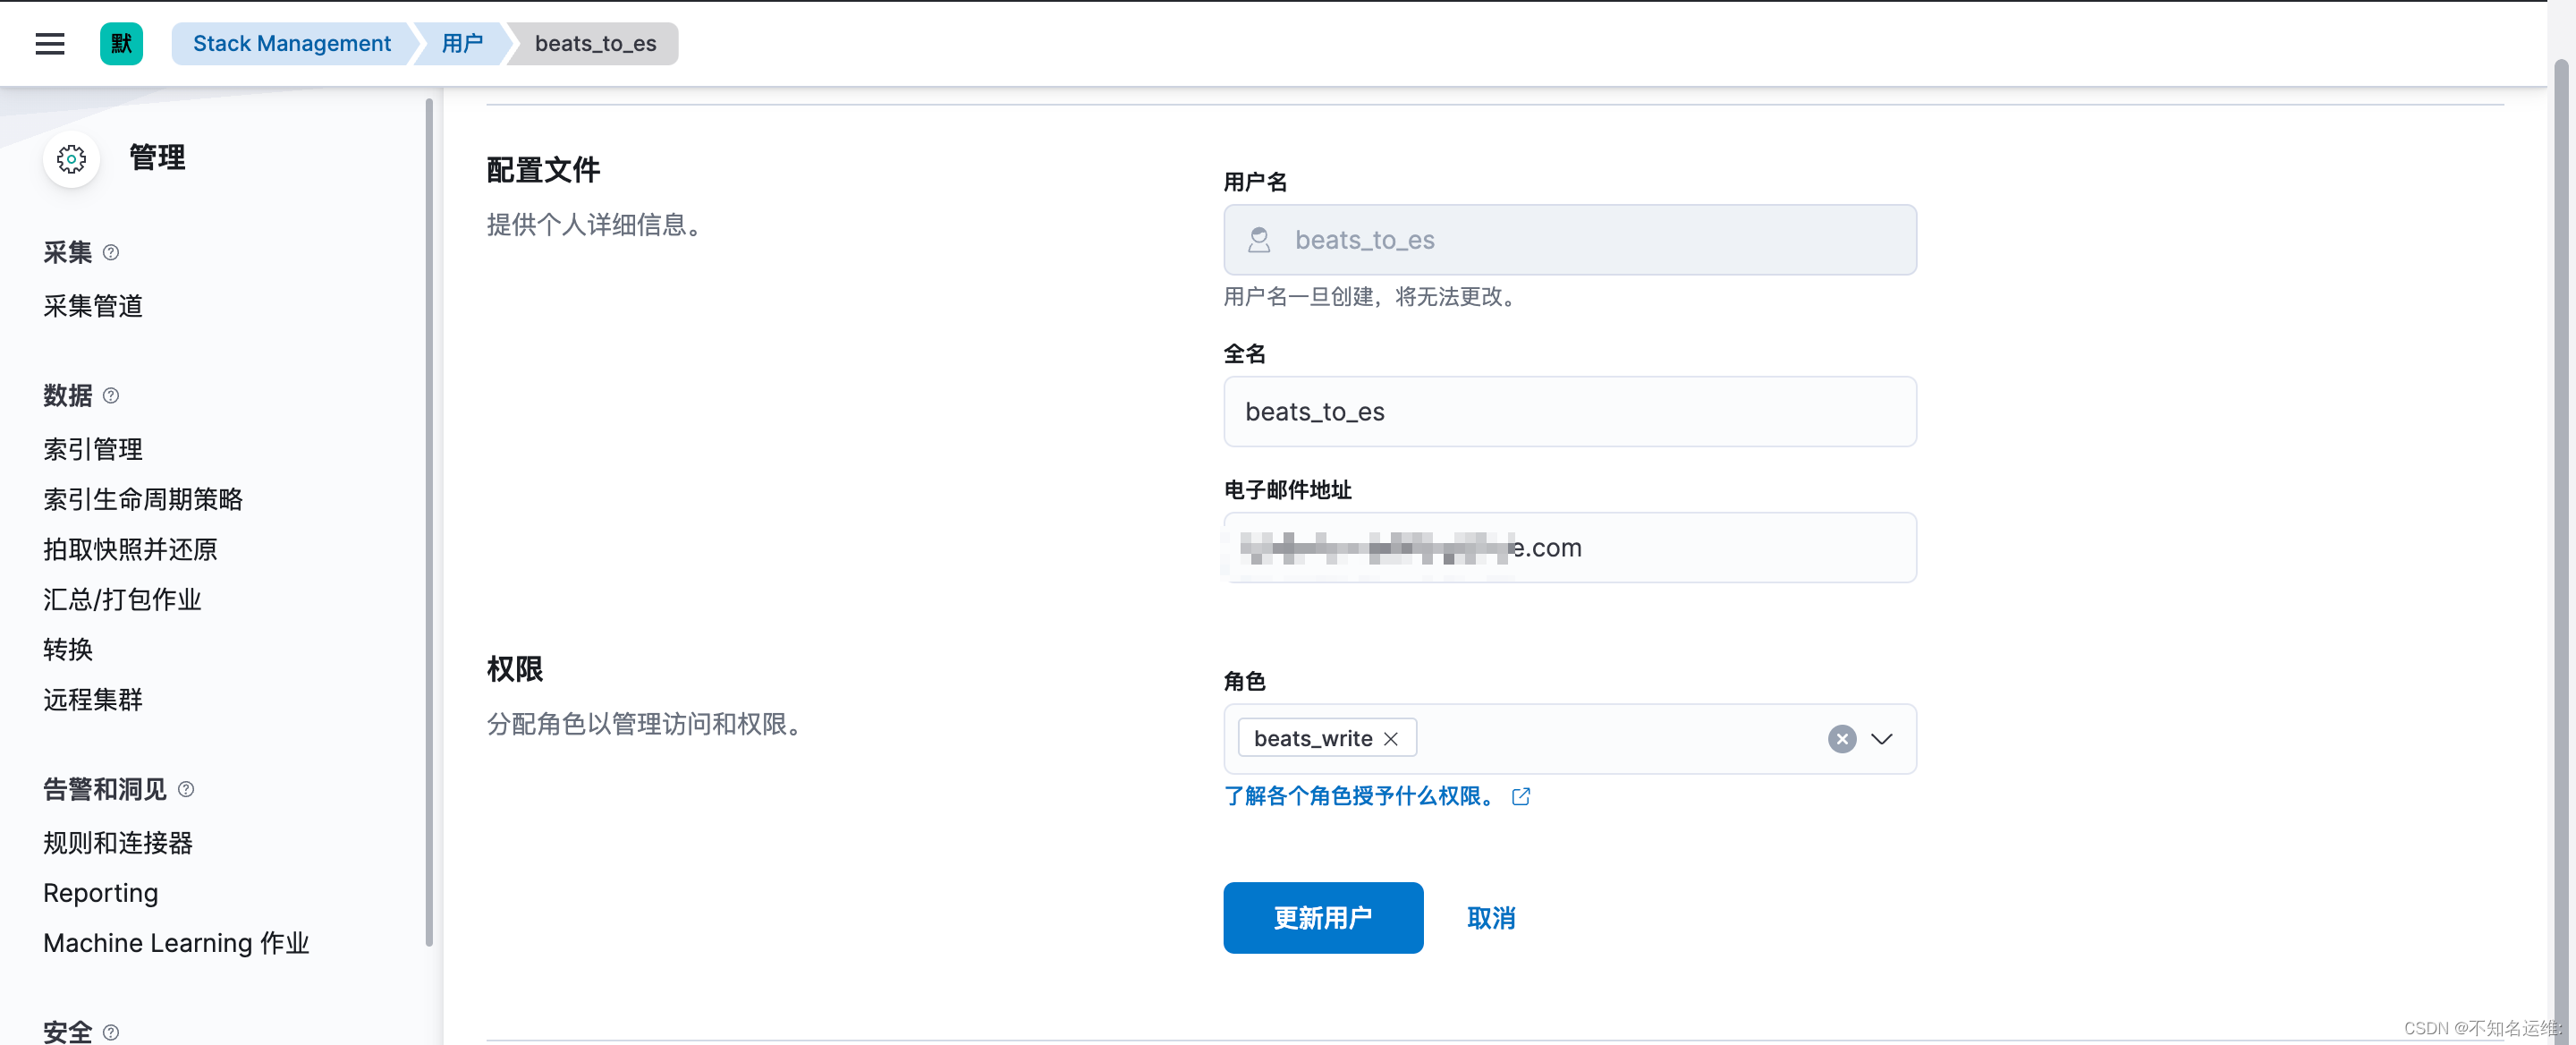
output.elasticsearch:
  enabled: true
  hosts: ["http://10.8.0.2:9200","http://10.8.0.6:9200","http://10.8.0.9:9200"]
  index: "oldboyedu-linux-elk-%{+yyyy.MM.dd}"
  #用户名
  username: "beats_to_es"
  #密码
  password: "123456"

##创建索引模版
#禁用索引生命周期管理,如果开启的话则会忽略我们自定义的索引;
setup.ilm.enabled: false
#设置索引模板的名称
setup.template.name: "oldboyedu-linux"
#设置索引模板的匹配模式
setup.template.pattern: "oldboyedu-linux-*"
修改完之后需要重启filebeat;
我正在编写一个小脚本来定位aws存储桶中的特定文件,并创建一个临时验证的url以发送给同事。(理想情况下,这将创建类似于在控制台上右键单击存储桶中的文件并复制链接地址的结果)。我研究过回形针,它似乎不符合这个标准,但我可能只是不知道它的全部功能。我尝试了以下方法:defauthenticated_url(file_name,bucket)AWS::S3::S3Object.url_for(file_name,bucket,:secure=>true,:expires=>20*60)end产生这种类型的结果:...-1.amazonaws.com/file_path/file.zip.A
在Ruby中是否有Gem或安全删除文件的方法?我想避免系统上可能不存在的外部程序。“安全删除”指的是覆盖文件内容。 最佳答案 如果您使用的是*nix,一个很好的方法是使用exec/open3/open4调用shred:`shred-fxuz#{filename}`http://www.gnu.org/s/coreutils/manual/html_node/shred-invocation.html检查这个类似的帖子:Writingafileshredderinpythonorruby?
文章目录一、概述简介原理模块二、配置Mysql使用版本环境要求1.操作系统2.mysql要求三、配置canal-server离线下载在线下载上传解压修改配置单机配置集群配置分库分表配置1.修改全局配置2.实例配置垂直分库水平分库3.修改group-instance.xml4.启动监听四、配置canal-adapter1修改启动配置2配置映射文件3启动ES数据同步查询所有订阅同步数据同步开关启动4.验证五、配置canal-admin一、概述简介canal是Alibaba旗下的一款开源项目,Java开发。基于数据库增量日志解析,提供增量数据订阅&消费。Git地址:https://github.co
ES一、简介1、ElasticStackES技术栈:ElasticSearch:存数据+搜索;QL;Kibana:Web可视化平台,分析。LogStash:日志收集,Log4j:产生日志;log.info(xxx)。。。。使用场景:metrics:指标监控…2、基本概念Index(索引)动词:保存(插入)名词:类似MySQL数据库,给数据Type(类型)已废弃,以前类似MySQL的表现在用索引对数据分类Document(文档)真正要保存的一个JSON数据{name:"tcx"}二、入门实战{"name":"DESKTOP-1TSVGKG","cluster_name":"elasticsear
我正在使用ruby2.1.0我有一个json文件。例如:test.json{"item":[{"apple":1},{"banana":2}]}用YAML.load加载这个文件安全吗?YAML.load(File.read('test.json'))我正在尝试加载一个json或yaml格式的文件。 最佳答案 YAML可以加载JSONYAML.load('{"something":"test","other":4}')=>{"something"=>"test","other"=>4}JSON将无法加载YAML。JSON.load("
默认情况下:回形针gem将所有附件存储在公共(public)目录中。出于安全原因,我不想将附件存储在公共(public)目录中,所以我将它们保存在应用程序根目录的uploads目录中:classPost我没有指定url选项,因为我不希望每个图像附件都有一个url。如果指定了url:那么拥有该url的任何人都可以访问该图像。这是不安全的。在user#show页面中:我想实际显示图像。如果我使用所有回形针默认设置,那么我可以这样做,因为图像将在公共(public)目录中并且图像将具有一个url:Someimage:看来,如果我将图像附件保存在公共(public)目录之外并且不指定url(同
简单代码require'net/http'url=URI.parse('getjson/otherdatahere[link]')req=Net::HTTP::Get.new(url.to_s)res=Net::HTTP.start(url.host,url.port){|http|http.request(req)}putsres.body只是想知道如何在phpcURL中放置身份验证token,我是这样做的 curl_setopt($ch,CURLOPT_HTTPHEADER,array('Authorization:Bearerxxx'));//Bearertokenfora
有没有人得到Logstash在Rails上使用ruby?我的客户告诉我将Logstash用于日志收集器等。我正在使用rubyonrails技术。大部分都快完成了。但要求是将日志记录到logstash中。请让我知道这可能吗? 最佳答案 我为此编写了一个gem-logstasher.它将Rails日志写入一个单独的文件,采用纯json格式,无需任何处理即可由logstash使用。查看我的blog有关如何设置Logstash和Kibana的完整说明 关于ruby-on-rails-Lo
在我的场景中,Logstash收到的系统日志行的“时间戳”是UTC,我们在Elasticsearch输出中使用事件“时间戳”:output{elasticsearch{embedded=>falsehost=>localhostport=>9200protocol=>httpcluster=>'elasticsearch'index=>"syslog-%{+YYYY.MM.dd}"}}我的问题是,在UTC午夜,Logstash在外时区(GMT-4=>America/Montreal)结束前将日志发送到不同的索引,并且索引在20小时(晚上8点)之后没有日志,因为“时间戳”是UTC。我们已
谁能提供一个使用HTTParty和digestauth的例子?我在网上找不到例子,希望有人能提供一些帮助。谢谢。 最佳答案 您可以在定义类时使用digest_auth方法设置用户名和密码classFooincludeHTTPartydigest_auth'username','password'end 关于ruby-HTTParty摘要认证,我们在StackOverflow上找到一个类似的问题: https://stackoverflow.com/questi