目录
学了HTML、CSS和JS有了一个月了,JS还未学完,偷懒写一个小项目,用了一个下午,顺便巩固一下所学知识。(内容比较简陋,适合新手)
源代码:https://github.com/yeziyuhai/QQ-login-interface
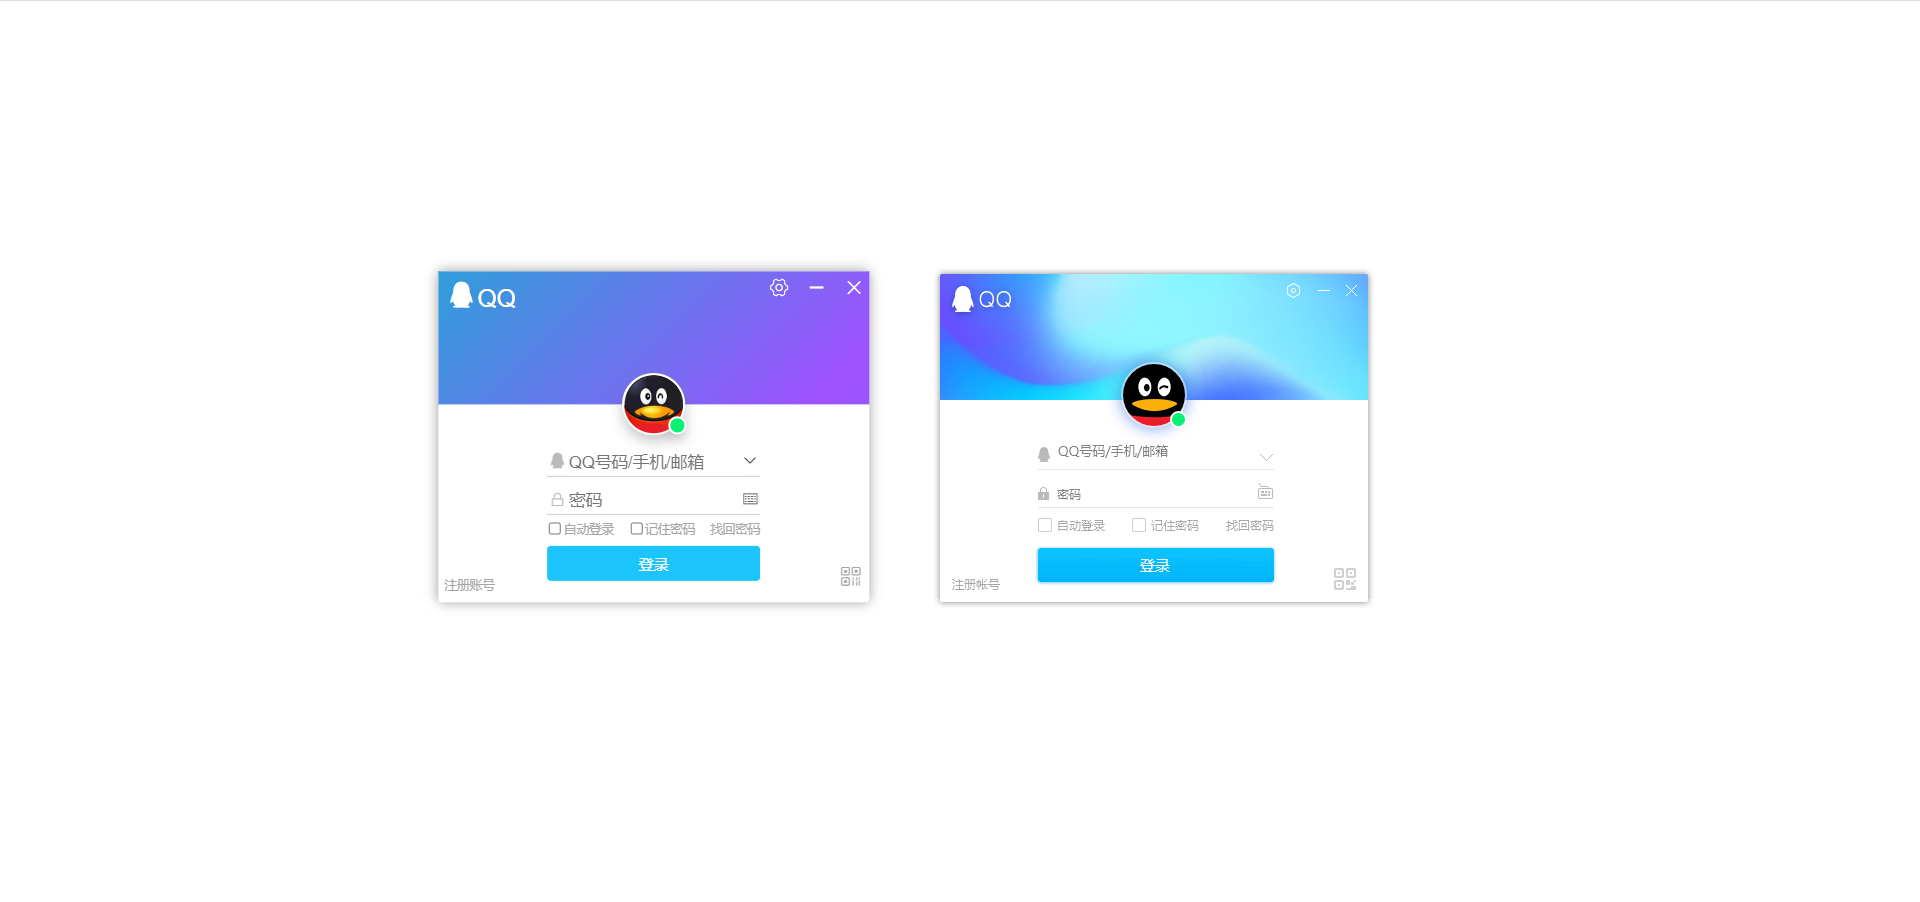
左边是我的,右边是官方的。没有设计稿和素材,只能自己找,所以是无法做到一模一样的,不够这样子也差不多了。
很明显,简陋的做法是上下两个盒子,中间头像可以定位上面的父级也可以定位下面的父级,这里我选择的是上面,中间内容用一个表单包裹。注册账号和二维码使用定位,父级是大盒子。
.html
<!-- 登录界面 -->
<div>
<div class="login">
<!-- 顶部 -->
<div class="top">
<div class="left">
<span class="iconfont icon-QQ"></span>QQ
</div>
<div class="right">
<span class="iconfont icon-shezhi"></span>
<span class="iconfont icon-jianhao"></span>
<span class="iconfont icon-chenghao"></span>
</div>
<div class="head">
<div class="green"></div>
</div>
</div>
<!-- 底部 -->
<div class="bottom">
<!-- 表单 -->
<form action="javascript:;">
<div class="input">
<div class="text">
<label for=""><span class="iconfont icon-QQ"></span></label>
<label for=""><span class="iconfont icon-xiala"></span></label>
<input type="text" placeholder="QQ号码/手机/邮箱" name="uname">
</div>
<div class="password">
<label for=""><span class="iconfont icon-suoding_huaban"></span></label>
<label for=""><span class="iconfont icon-jianpan_o"></span></label>
<input type="password" placeholder="密码">
</div>
</div>
<div class="check">
<!-- 点击文字也可以选中 -->
<label><input type="checkbox" >自动登录</label>
<label><input type="checkbox">记住密码</label>
<a href="https://accounts.qq.com/find?aquin" target="_blank">找回密码</a>
</div>
<input type="submit" value="登录" class="loginBtn">
</form>
<!-- 其他 -->
<a href="https://ssl.zc.qq.com/v3/index-chs.html?from=client®key=1720F6EE975B2AFF081EC88BCAE91F145C04012178E039924F1CC17DB69AC184&ADUIN=0&ADSESSION=0&ADTAG=CLIENT.QQ.5929_NewAccount_Btn.0&ADPUBNO=27255" class="signup" target="_blank">注册账号</a>
<span class="iconfont icon-ico"></span>
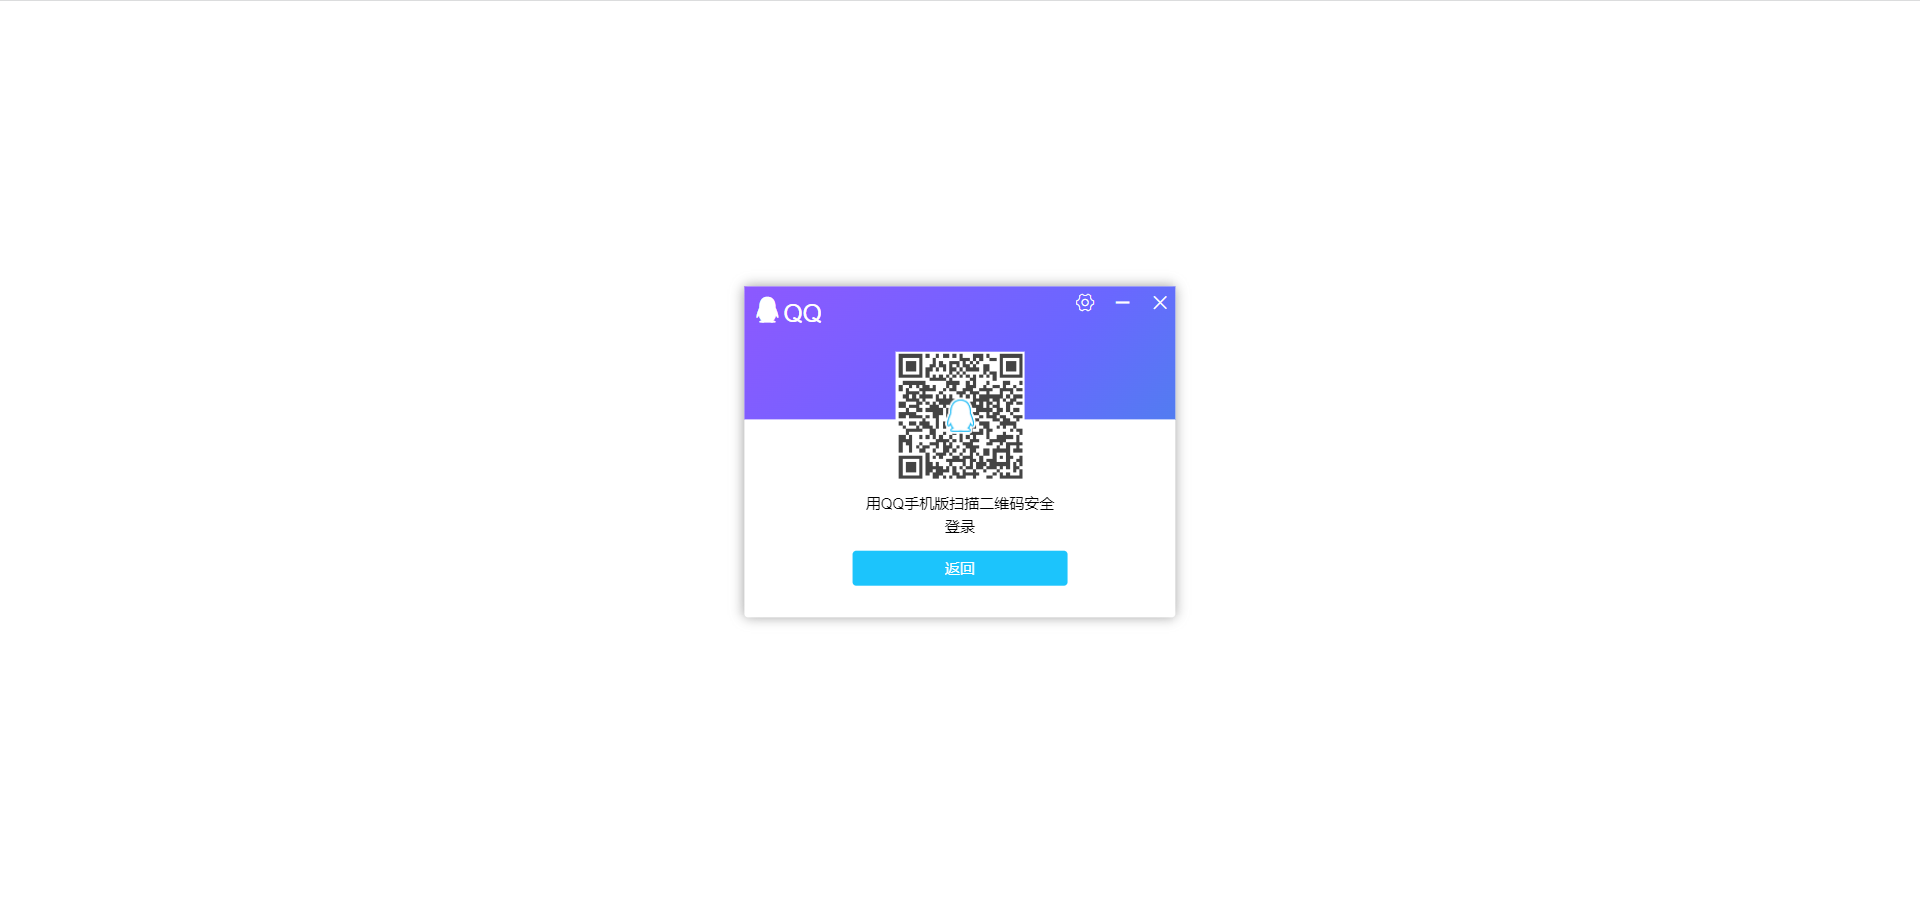
<!-- 手机登录二维码 -->
</div>
<div class="mobile">
<img src="./images/erweima.png" alt="">
<p>用QQ手机版扫描二维码安全登录</p>
<button class="back">返回</button>
</div>
<!-- 设置 -->
<div class="setup">
<p>懒得弄了</p>
<button class="back">返回</button>
</div>
</div>
</div>
思路是渐变45度角倾斜,之后动画改变定位,当然和官方的不一样,做出差不多效果就行。
.css
.login .top {
  position: relative;
  width: 100%;
  height: 40%;
  background: linear-gradient(-45deg, #23A6D5, rgba(106, 103, 255), rgba(158, 81, 255), #23A6D5, #23D5AB);
  background-size: 400% 400%;
  animation: bg 4s infinite linear forwards;
  color: #fff;
}

@keyframes bg {
  0% {
    background-position: 0 50%;
  }
  50% {
    background-position: 100% 50%;
  }
  100% {
    background-position: 0 50%;
  }
}
头像绝对定位,顶部相对定位,小绿点绝对定位。
.login .top .head {
  position: absolute;
  left: 50%;
  top: 100%;
  width: 50px;
  height: 50px;
  border-radius: 50%;
  border: 2px solid #fff;
  transform: translate(-50%, -50%);
  box-shadow: 0px 5px 10px 0px rgba(118, 118, 118, 0.4);
  background-image: url(/images/head.png);
  background-size: contain;
  background-repeat: no-repeat;
  background-color: rgba(234, 28, 39);
}
.login .top .head .green {
  position: absolute;
  right: -10px;
  bottom: -8px;
  width: 14px;
  height: 14px;
  border-radius: 50%;
  border: 2px solid #fff;
  transform: translate(-50%, -50%);
  box-shadow: 0px 5px 10px 0px rgba(118, 118, 118, 0.4);
  background-color: rgba(9, 241, 117);
}
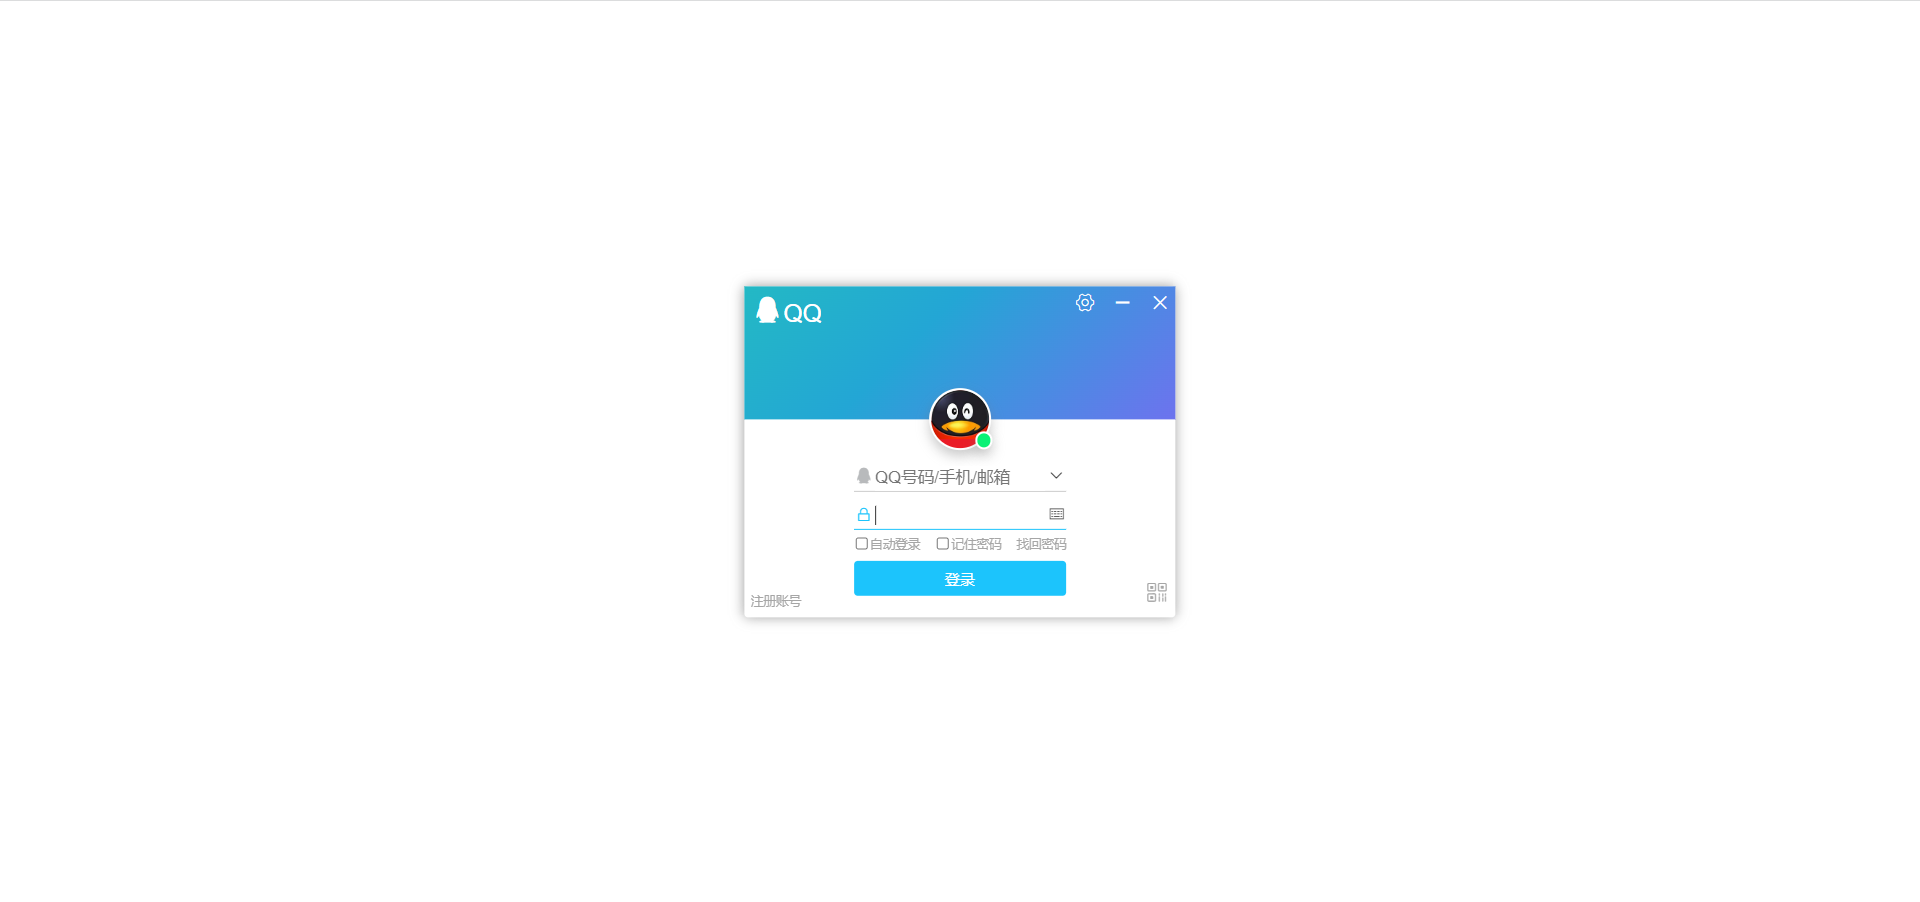
直接搬.less过来,清除一些。这里面挺多细节的,先说好字体大小浏览器最小只能是12px,除非你把自己浏览器最小字号调到10px,视觉上好看一些,不然下面复选框的字会换行。
添加了textChange类,因为需要点击输入框之后样式的改变。
这里耗费我比较多的时间,挺多细节,毕竟我这个人追求完美。
.less
form {
            position: absolute;
            left: 50%;
            top: 50%;
            transform: translate(-50%, -50%);

            text-align: center;
            margin-top: 8px;
            .input {
                .text {
                    position: relative;
                    width: 100%;
                    border-bottom: 1px solid #ccc;
                    margin-bottom: 5px;

                    .icon-QQ {
                        position: absolute;
                        left: 0;
                        top: 0;
                        color: rgba(184, 186, 188);
                    }

                    .icon-xiala {
                        position: absolute;
                        right: 0;
                        top: 0;
                    }
                }

                .password {
                    position: relative;
                    width: 100%;
                    border-bottom: 1px solid #ccc;

                    .icon-suoding_huaban {
                        position: absolute;
                        left: 2px;
                        top: 4px;
                        font-size: 12px;
                        color: rgba(184, 186, 188);
                    }

                    .icon-jianpan_o {
                        position: absolute;
                        right: 0;
                        top: 0;
                    }
                }

                // 要放在后面,不然层叠
                .textChange {
                    border-bottom: 1px solid rgba(28, 196, 252);
                    .icon-QQ {
                        color: rgba(28, 196, 252);
                    }
                }
                .passWordChange {
                    border-bottom: 1px solid rgba(28, 196, 252);
                    .icon-suoding_huaban {
                        color: rgba(28, 196, 252);
                    }
                }

                input {
                    width: 80%;
                    height: 20px;
                    /* 去掉默认边框样式 */
                    border: 0;
                    outline: none;
                }
            }

            .check {
                display: flex;
                justify-content: space-between;
                width: 100%;
                margin: 5px 0;
                font-size: 10px;
                color: rgba(166, 166, 166);

                // 多选框大小
                input {
                    // ohhhhhhhhhhh
                    float: left;
                    transform: scale(.8);
                }

                label {
                    position: relative;
                    margin-right: 12px;
                }

                a {
                    color: rgba(166, 166, 166);
                }

                a:hover {
                    color: rgba(166, 190, 177);
                }
            }

            // 点击登录
            .loginBtn {
                width: 100%;
                height: 28px;
                border-radius: 3px;
                background-color: rgba(28, 196, 252);
                color: #fff;
                font-size: 12px;
            }

            .loginBtn:active {
                background-color: rgba(34, 174, 250);
            }
        }

        .signup {
            position: absolute;
            left: 0;
            bottom: 0;
            margin: 5px;
            font-size: 10px;
            color: rgba(166, 166, 166);
        }
        .signup:hover {
            color: rgba(166, 190, 177)
        }
拖拽界面、界面关闭、输入框显示、点击二维码使用手机登录
.js
// window.onload是窗口(页面)加载事件,当文档内容完全加载完成会触发该事件(包括图像,脚本文件,CSS文件等),就调用的处理函数。
window.addEventListener('load', function() {
    // 1.登录界面
    // 关闭
    var jianhao = this.document.querySelector('.icon-jianhao');
    var chenghao = this.document.querySelector('.icon-chenghao');
    var login = this.document.querySelector('.login');
    jianhao.addEventListener('click', function() {
        login.style.display = 'none';
    })
    chenghao.addEventListener('click', function() {
        login.style.display = 'none';
    })

    // 输入框
    var text = this.document.querySelector('.text');
    var password = this.document.querySelector('.password');
    var textInput = text.querySelector('input');
    var passwordInput = password.querySelector('input');

    textInput.addEventListener('focus', function() {
        this.placeholder = '';
        text.className = 'text textChange';
    })
    textInput.addEventListener('blur', function() {
        this.placeholder = 'QQ号码/手机/邮箱';
        text.className = 'text';
    })
    passwordInput.addEventListener('focus', function() {
        this.placeholder = '';
        password.className = 'password passWordChange';
    })
    passwordInput.addEventListener('blur', function() {
        this.placeholder = '密码';
        password.className = 'password';
    })

    // 拖拽界面
    // 新的坐标 = 鼠标离盒子内距离 - 鼠标距离在网页距离
    var top = this.document.querySelector('.top');
    top.addEventListener('mousedown', function(e) {
        var x = e.pageX - login.offsetLeft;
        var y = e.pageY - login.offsetTop;
        document.addEventListener('mousemove', move);
        function move(e) {
            login.style.left = e.pageX - x + 'px';
            login.style.top = e.pageY - y + 'px';
        }
        document.addEventListener('mouseup', function() {
            document.removeEventListener('mousemove', move);
        })
    })

    // 手机登录
    var ico = this.document.querySelector('.icon-ico');
    var mobile = this.document.querySelector('.mobile');
    var bottom = this.document.querySelector('.bottom');
    var head = this.document.querySelector('.head');
    var back = this.document.querySelector('.back');
    ico.addEventListener('click', function() {
        mobile.style.display = 'block';
        bottom.style.display = 'none';
        head.style.display = 'none';
    })
    back.addEventListener('click', function() {
        bottom.style.display = 'block';
        head.style.display = 'block';
        mobile.style.display = 'none';
    })
})
多动手技术才会提升,写代码才会熟练,之后也会更新这一系列文章。
我想将html转换为纯文本。不过,我不想只删除标签,我想智能地保留尽可能多的格式。为插入换行符标签,检测段落并格式化它们等。输入非常简单,通常是格式良好的html(不是整个文档,只是一堆内容,通常没有anchor或图像)。我可以将几个正则表达式放在一起,让我达到80%,但我认为可能有一些现有的解决方案更智能。 最佳答案 首先,不要尝试为此使用正则表达式。很有可能你会想出一个脆弱/脆弱的解决方案,它会随着HTML的变化而崩溃,或者很难管理和维护。您可以使用Nokogiri快速解析HTML并提取文本:require'nokogiri'h
我在MiniTest::Spec和Capybara中使用以下规范:find_field('Email').must_have_css('[autofocus]')检查名为“电子邮件”的字段是否具有autofocus属性。doc说如下:has_css?(path,options={})ChecksifagivenCSSselectorisonthepageorcurrentnode.据我了解,字段“Email”是一个节点,因此调用must_have_css绝对有效!我做错了什么? 最佳答案 通过JonasNicklas得到了答案:No
在我的Controller中,我通过以下方式在我的index方法中支持HTML和JSON:respond_todo|format|format.htmlformat.json{renderjson:@user}end在浏览器中拉起它时,它会自然地以HTML呈现。但是,当我对/user资源进行内容类型为application/json的curl调用时(因为它是索引方法),我仍然将HTML作为响应。如何获取JSON作为响应?我还需要说明什么? 最佳答案 您应该将.json附加到请求的url,提供的格式在routes.rb的路径中定义。这
所以我在关注Railscast,我注意到在html.erb文件中,ruby代码有一个微弱的背景高亮效果,以区别于其他代码HTML文档。我知道Ryan使用TextMate。我正在使用SublimeText3。我怎样才能达到同样的效果?谢谢! 最佳答案 为SublimeText安装ERB包。假设您安装了SublimeText包管理器*,只需点击cmd+shift+P即可获得命令菜单,然后键入installpackage并选择PackageControl:InstallPackage获取包管理器菜单。在该菜单中,键入ERB并在看到包时选择
我正在使用Rails构建一个简单的聊天应用程序。当用户输入url时,我希望将其输出为html链接(即“url”)。我想知道在Ruby中是否有任何库或众所周知的方法可以做到这一点。如果没有,我有一些不错的正则表达式示例代码可以使用... 最佳答案 查看auto_linkRails提供的辅助方法。这会将所有URL和电子邮件地址变成可点击的链接(htmlanchor标记)。这是文档中的代码示例。auto_link("Gotohttp://www.rubyonrails.organdsayhellotodavid@loudthinking.
我正在学习http://ruby.railstutorial.org/chapters/static-pages上的RubyonRails教程并遇到以下错误StaticPagesHomepageshouldhavethecontent'SampleApp'Failure/Error:page.shouldhave_content('SampleApp')Capybara::ElementNotFound:Unabletofindxpath"/html"#(eval):2:in`text'#./spec/requests/static_pages_spec.rb:7:in`(root)'
我有一个div,它根据表单是否正确提交而改变。我想知道是否可以检查类的特定元素?开始元素看起来像这样。如果输入不正确,添加错误类。 最佳答案 试试这个:browser.div(:id=>"myerrortest").class_name更多信息:http://watir.github.com/watir-webdriver/doc/Watir/HTMLElement.html#class_name-instance_method另一种选择是只查看具有您期望的类的div是否存在browser.div((:id=>"myerrortes
我正在尝试将一个简单的CSV文件读入HTML表格以在浏览器中显示,但我遇到了麻烦。这就是我正在尝试的:Controller:defshow@csv=CSV.open("file.csv",:headers=>true)end查看:输出:NameStartDateEndDateQuantityPostalCode基本上我只获取标题,而不会读取和呈现CSV正文。 最佳答案 这最终成为最终解决方案:Controller:defshow#OpenaCSVfile,andthenreaditintoaCSV::Tableobjectforda
我想用Nokogiri解析HTML页面。页面的一部分有一个表,它没有使用任何特定的ID。是否可以提取如下内容:Today,3,455,34Today,1,1300,3664Today,10,100000,3444,Yesterday,3454,5656,3Yesterday,3545,1000,10Yesterday,3411,36223,15来自这个HTML:TodayYesterdayQntySizeLengthLengthSizeQnty345534345456563113003664354510001010100000344434113622315
考虑一下:现在这些情况:#output:http://domain.com/?foo=1&bar=2#output:http://domain.com/?foo=1&bar=2#output:http://domain.com/?foo=1&bar=2#output:http://domain.com/?foo=1&bar=2我需要用其他字符串输出URL。我如何保证&符号不会被转义?由于我无法控制的原因,我无法发送&。求助!把我的头发拉到这里:\编辑:为了澄清,我实际上有一个像这样的数组:@images=[{:id=>"fooid",:url=>"http://