目录:
(1)前台用户系统-阿里云OSS介绍
(2)阿里云oss代码入门案例
(3)上传文件到阿里云oss-接口开发
(4)用户认证-接口开发
(5)用户认证-前端整合
(1)前台用户系统-阿里云OSS介绍
扫码登录后显示用户的昵称,点击下面会显示一些下拉列表,下面完成这些功能

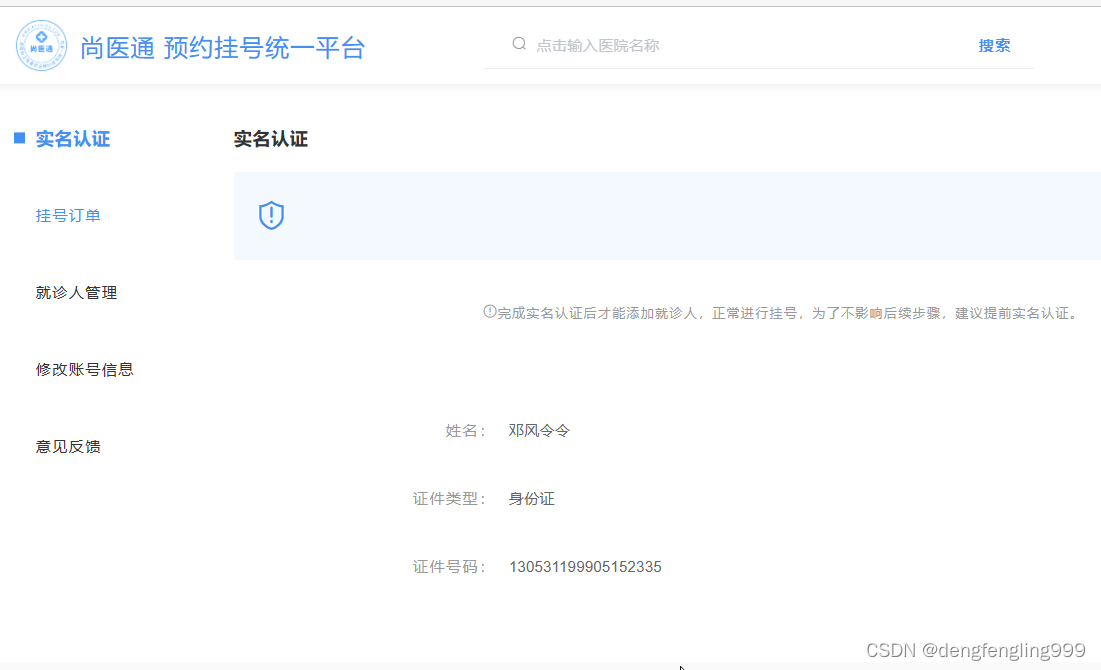
实名认证:在里面申请某些事情,注册某些软件,需要用到某些功能,需要做一个实名认证,比如说填写你的信息,上传身份证号等等,进行认证,提交之后由平台审核,审核通过之后才能进行预约挂号操作
挂号订单:通过它可以看到当天用户曾经挂了哪些 号,号是什么样的信息
就诊人管理:在挂号的时候可以填写由谁挂号,在注册用户里面可以添加多个就诊人,比如说把父母添加进去,帮他们挂号
先做实名认证功能:需要先了解一个技术:阿里云oss
做实名认证的时候需要,上传一些信息,比如说一个头像,上传身份证的正面,反面信息,上传内容需要存储到服务器里面,阿里云oss就是一个存储服务器,是阿里云为我们提供的一个文件存储系统,方便我们存储,实现文件的上传和下载功能。
用户认证需要上传证件图片、首页轮播也需要上传图片,因此我们要做文件服务,阿里云oss是一个很好的分布式文件服务系统,所以我们只需要集成阿里云oss即可
(1)申请阿里云账号
(2)实名认证
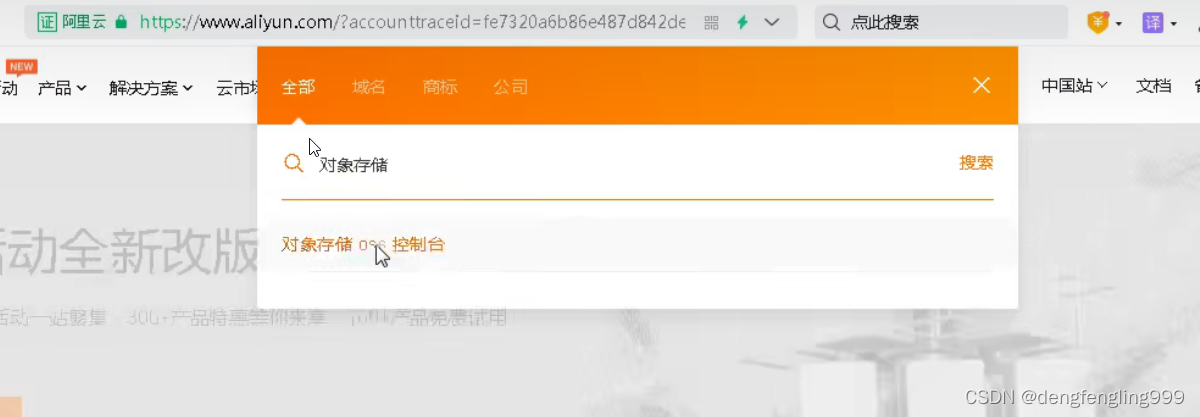
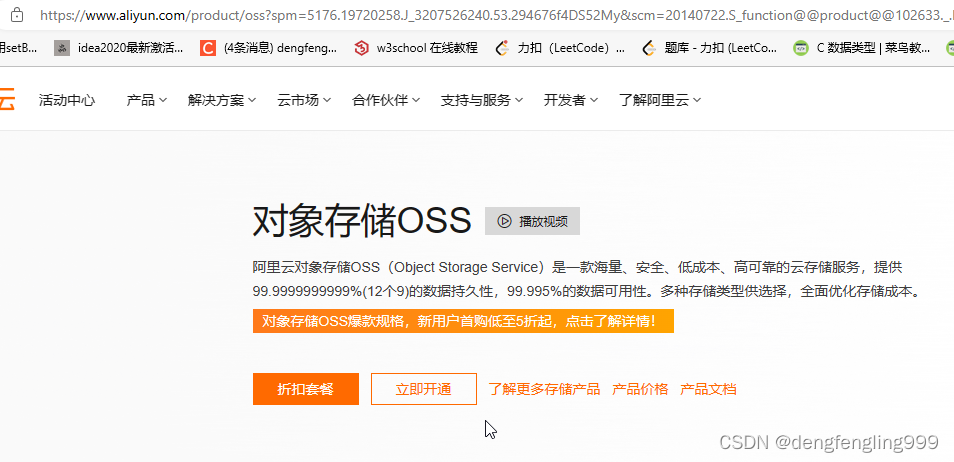
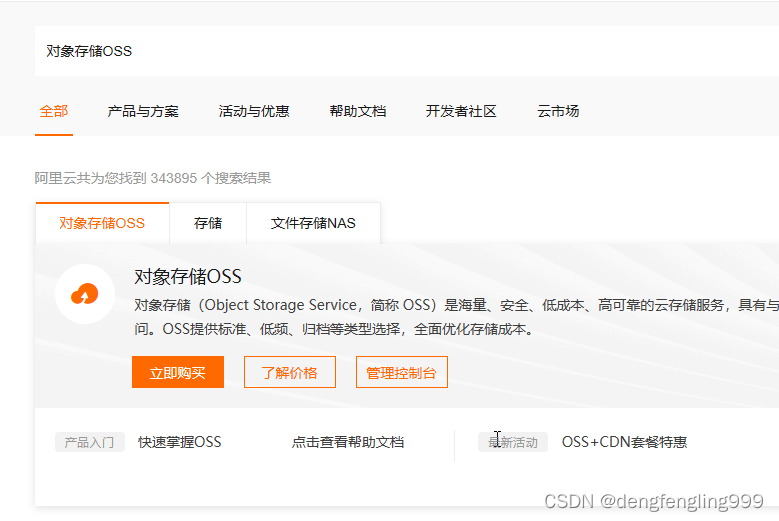
(3)开通“对象存储OSS”服务
(4)进入管理控制台
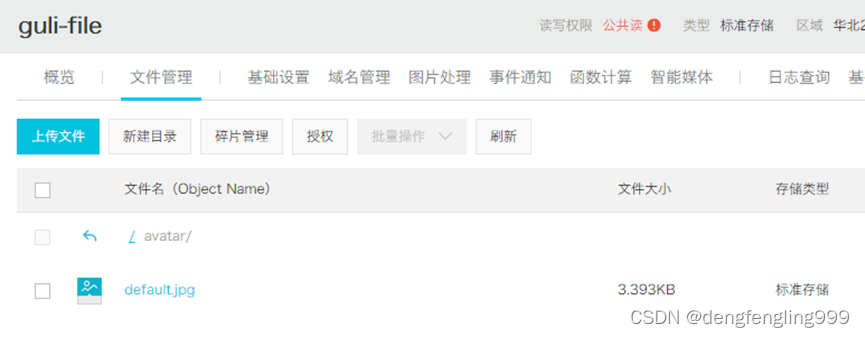
选择:标准存储、公共读、不开通

创建文件夹avatar,上传默认的用户头像
:
搜索:


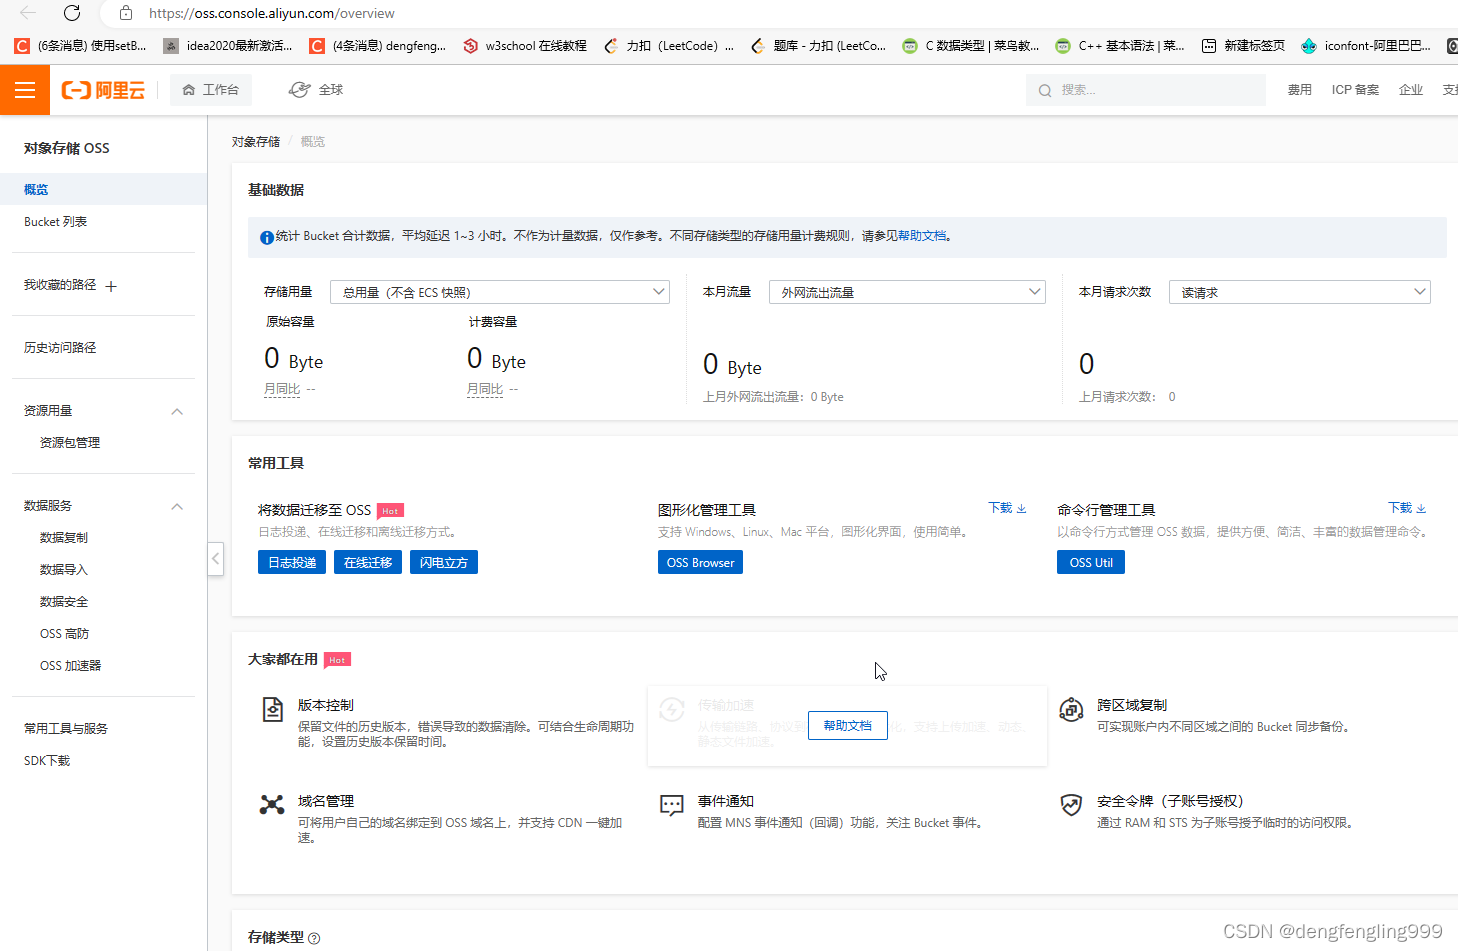
创建Bucket:点击Bucket列表:

点击创建Bucket:新用户标准存储免费一段时间

 点击确定:
点击确定: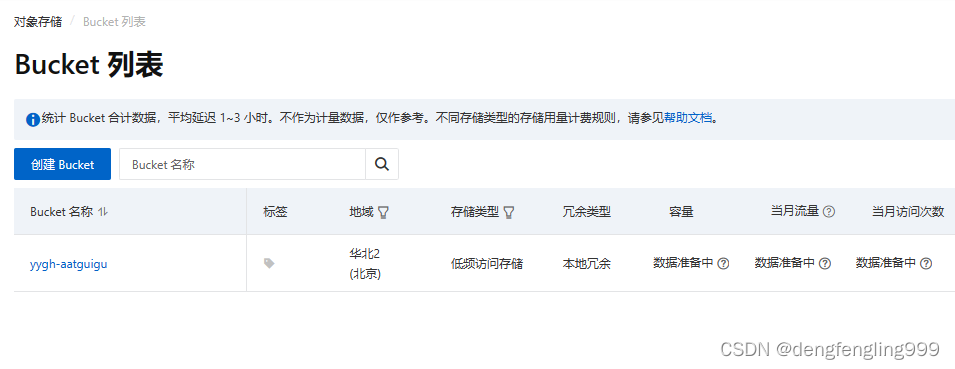
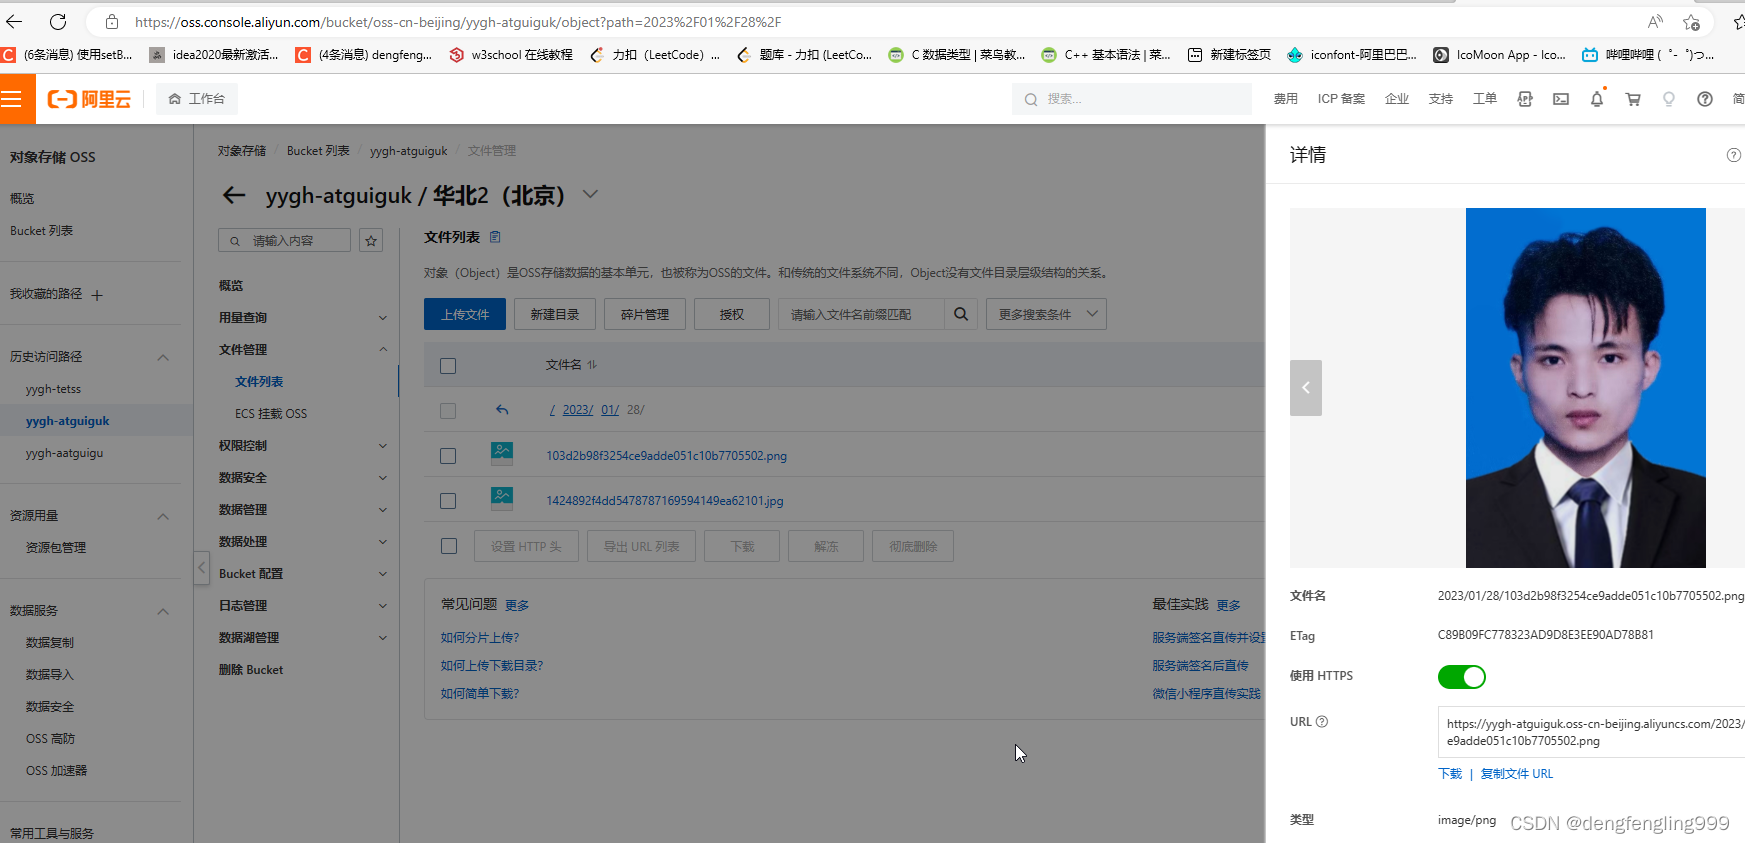
查看这个:下面有Bucket域名

测试以下存储:点击文件管理
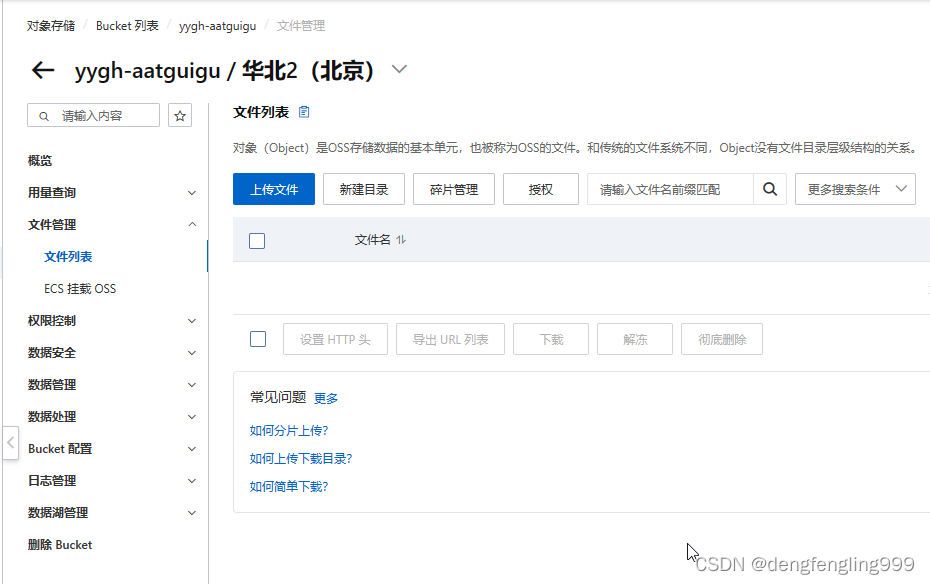
点击上传文件:
把一个图片拖拉到这里:

 点击上传文件:
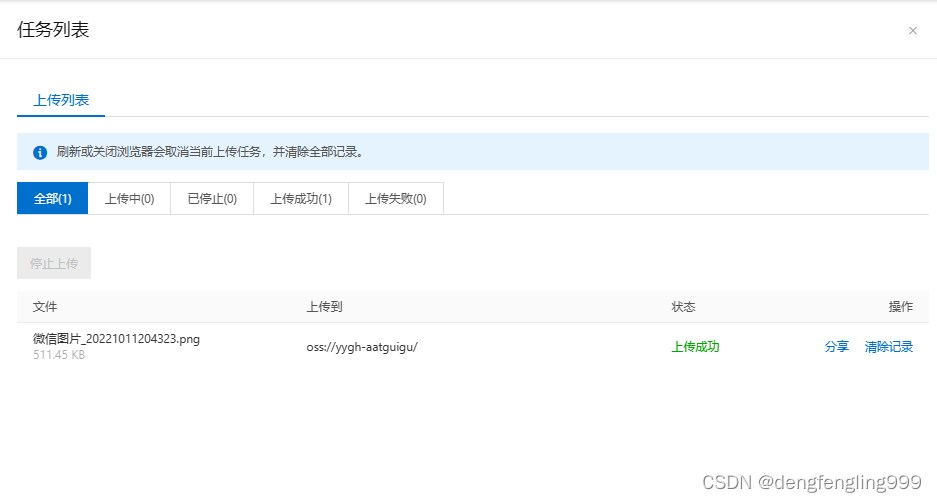

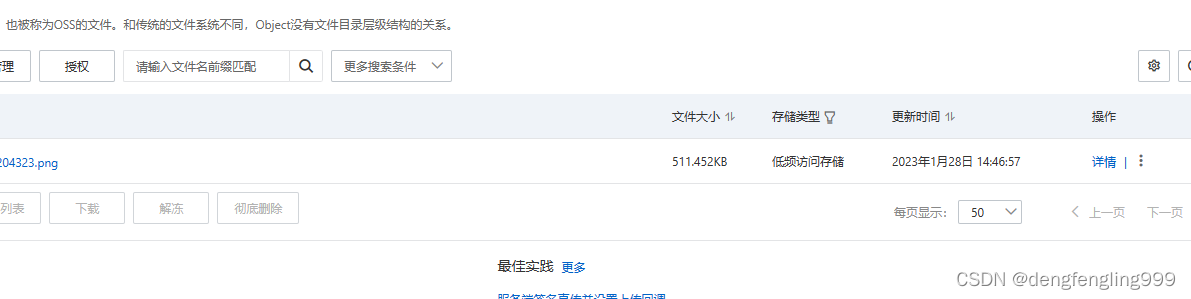
点击详情:
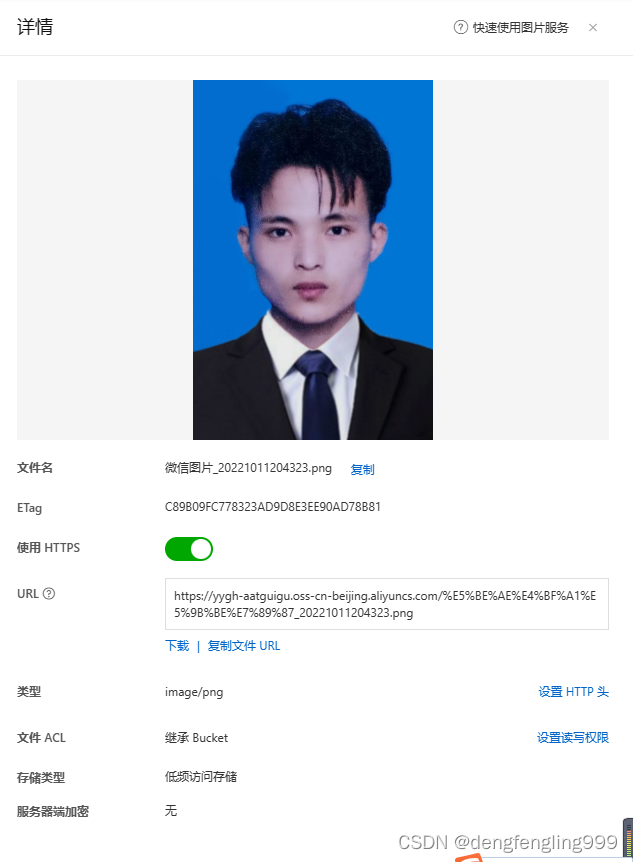
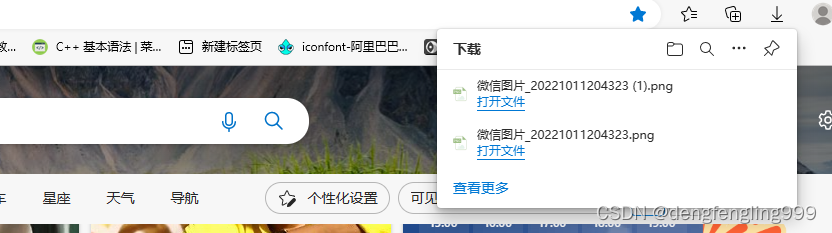
在浏览器输入地址:

直接下载了这个图片:
上面的操作我是通过控制台操作的,在实际的项目中通过代码实现,写代码需要用到 accesskeys:

使用当前账户的accessKeys里面的id和秘钥

(2)阿里云oss代码入门案例
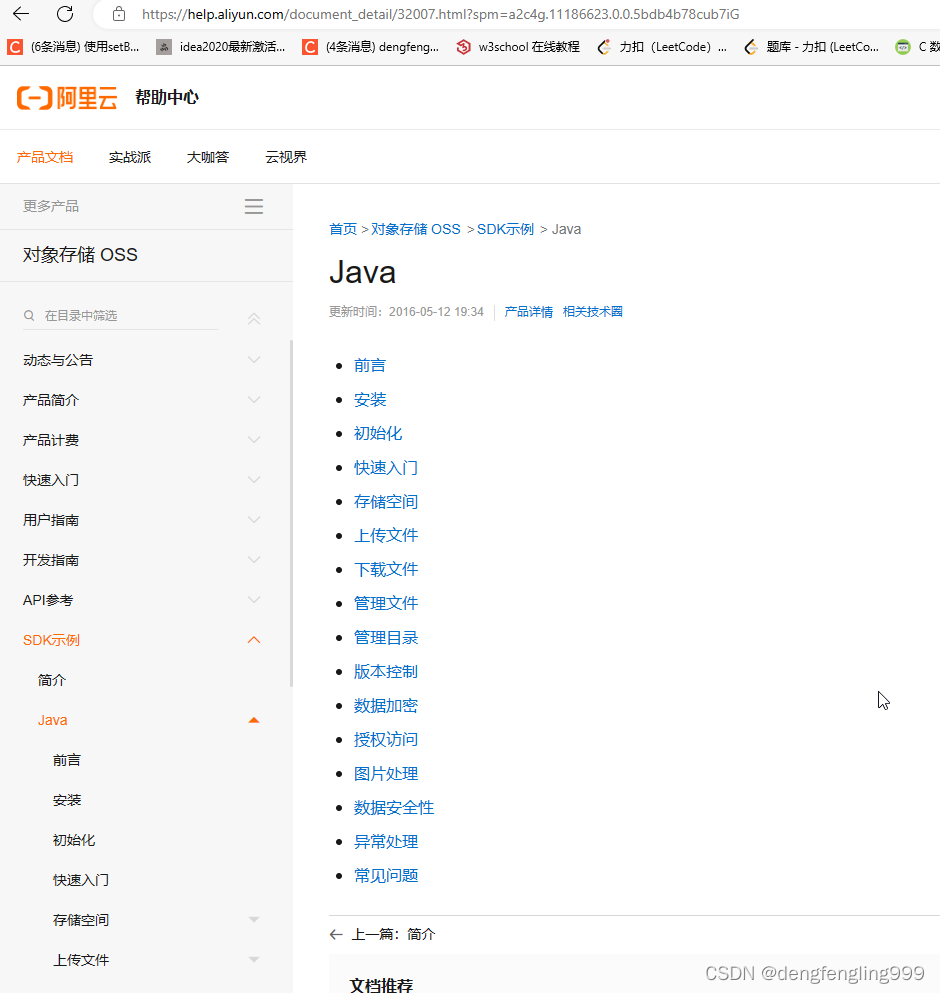
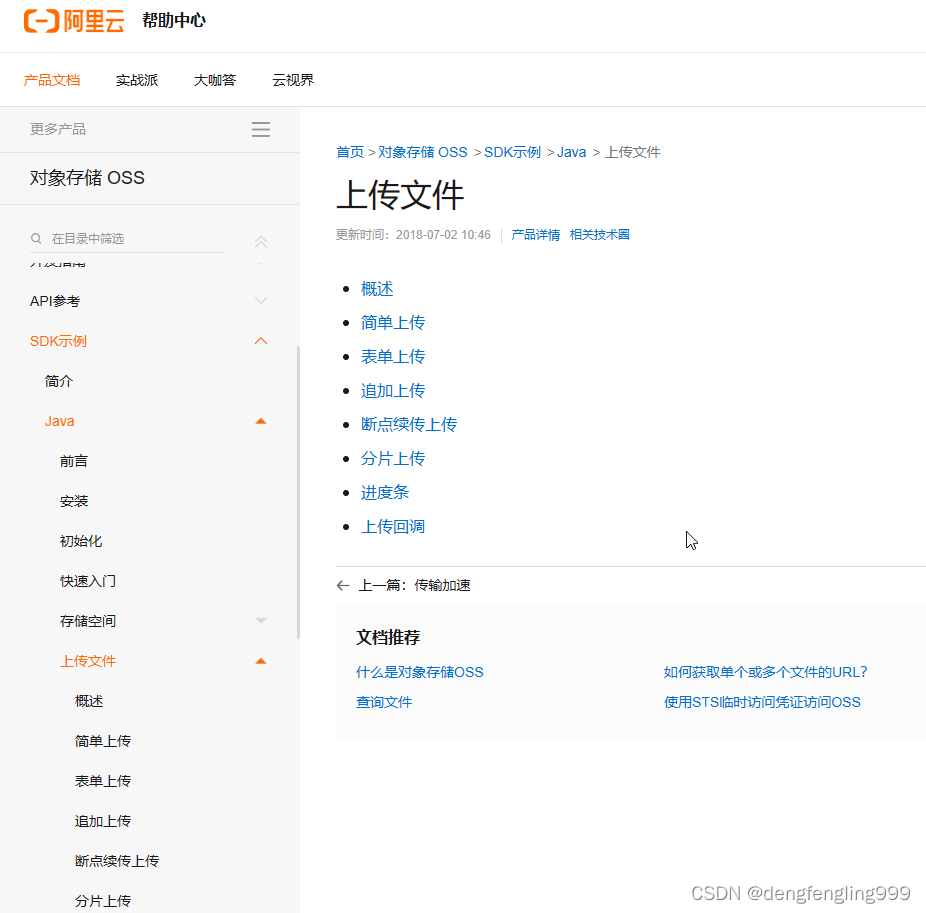
查看帮助文档:
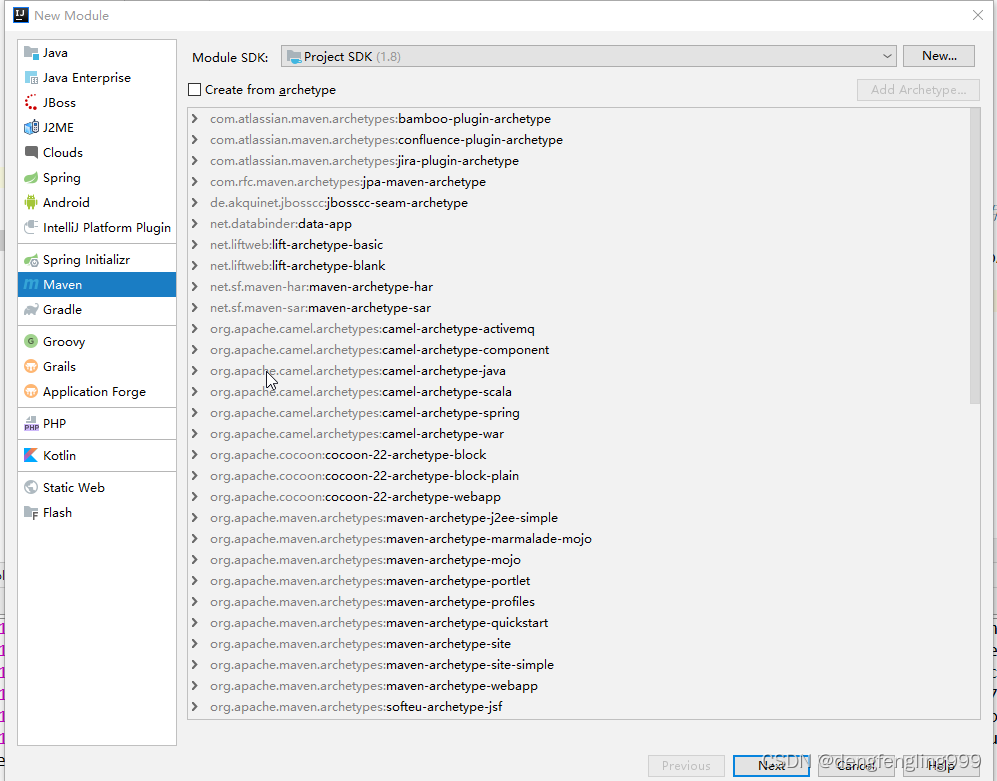
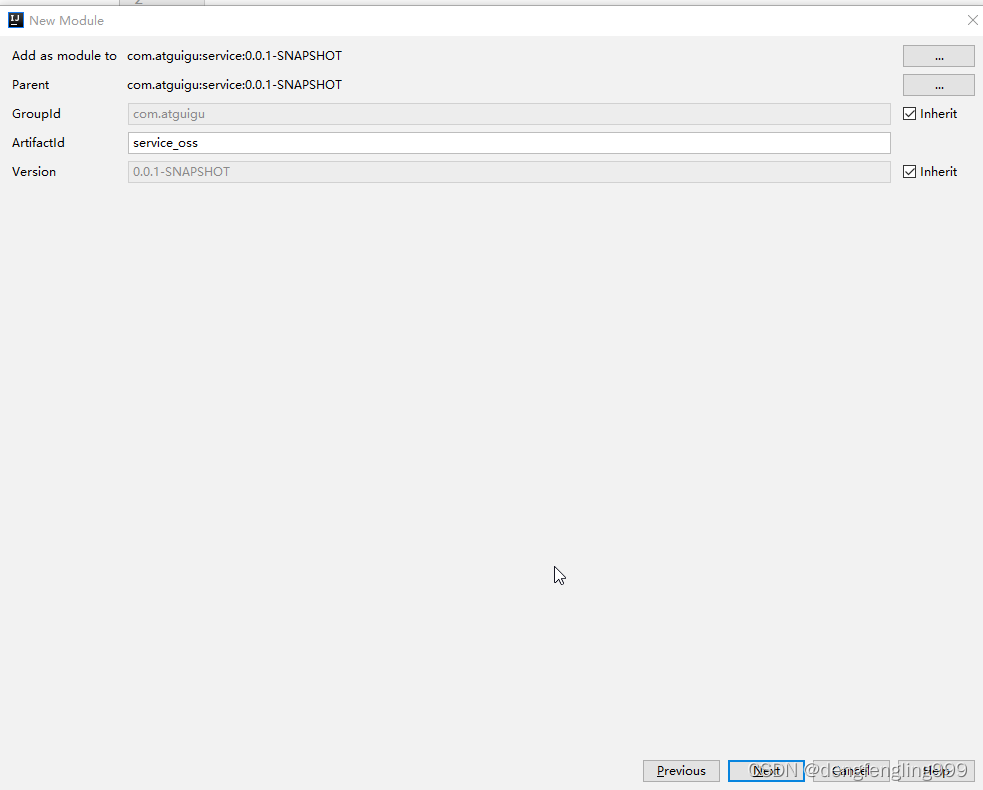
新建 一个Module:


在这个pom中引入依赖:
<?xml version="1.0" encoding="UTF-8"?>
<project xmlns="http://maven.apache.org/POM/4.0.0"
         xmlns:xsi="http://www.w3.org/2001/XMLSchema-instance"
         xsi:schemaLocation="http://maven.apache.org/POM/4.0.0 http://maven.apache.org/xsd/maven-4.0.0.xsd">
    <parent>
        <artifactId>service</artifactId>
        <groupId>com.atguigu</groupId>
        <version>0.0.1-SNAPSHOT</version>
    </parent>
    <modelVersion>4.0.0</modelVersion>

    <artifactId>service_oss</artifactId>

    <dependencies>
        <!-- 阿里云oss依赖 -->
        <dependency>
            <groupId>com.aliyun.oss</groupId>
            <artifactId>aliyun-sdk-oss</artifactId>
        </dependency>

        <!-- 日期工具栏依赖 -->
        <dependency>
            <groupId>joda-time</groupId>
            <artifactId>joda-time</artifactId>
        </dependency>
    </dependencies>


</project>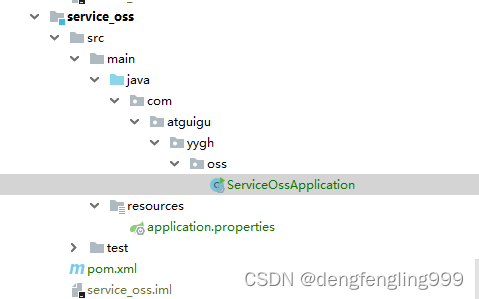
创建配置文件:application.properties:
# 服务端口
server.port=8205
# 服务名
spring.application.name=service-oss
#返回json的全局时间格式
spring.jackson.date-format=yyyy-MM-dd HH:mm:ss
spring.jackson.time-zone=GMT+8
# nacos服务地址
spring.cloud.nacos.discovery.server-addr=127.0.0.1:8848
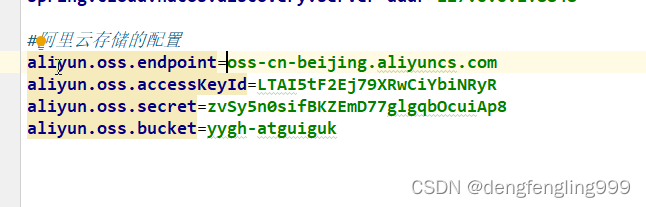
#阿里云存储的配置
aliyun.oss.endpoint=http://oss-cn-beijing.aliyuncs.com
aliyun.oss.accessKeyId=LTAI5tF2Ej79XRwCiYbiNRyR
aliyun.oss.secret=zvSy5n0sifBKZEmD77glgqbOcuiAp8
创建启动类:
package com.atguigu.yygh.oss;

import org.springframework.boot.SpringApplication;
import org.springframework.boot.autoconfigure.SpringBootApplication;
import org.springframework.boot.autoconfigure.jdbc.DataSourceAutoConfiguration;
import org.springframework.cloud.client.discovery.EnableDiscoveryClient;
import org.springframework.context.annotation.ComponentScan;

@SpringBootApplication(exclude = DataSourceAutoConfiguration.class)//取消数据源自动配置,配置文件中没有配置数据库的配置,所以这里需要取消加载数据库的配置
@EnableDiscoveryClient
@ComponentScan(basePackages = {"com.atguigu"})   //配置相同路径可以使用Swagger文档了
public class ServiceOssApplication {
    public static void main(String[] args) {
        SpringApplication.run(ServiceOssApplication.class, args);
    }
}
配置网关:

编写测试代码:
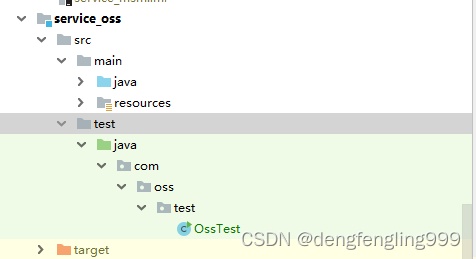
使用java代码创建bucket:
package com.oss.test;

import com.aliyun.oss.OSS;
import com.aliyun.oss.OSSClientBuilder;
import com.aliyun.oss.model.CannedAccessControlList;

public class OssTest {
    public static void main(String[] args) {
        // Endpoint以华东1(杭州)为例,其它Region请按实际情况填写。
        String endpoint = "https://oss-cn-beijing.aliyuncs.com";
        // 阿里云账号AccessKey拥有所有API的访问权限,风险很高。强烈建议您创建并使用RAM用户进行API访问或日常运维,请登录RAM控制台创建RAM用户。
        String accessKeyId = "LTAI5tF2Ej79XRwCiYbiNRyR";
        String accessKeySecret = "zvSy5n0sifBKZEmD77glgqbOcuiAp8";
        // 填写Bucket名称,例如examplebucket。
        String bucketName = "yygh-tetss";

        // 创建OSSClient实例。
        OSS ossClient = new OSSClientBuilder().build(endpoint, accessKeyId, accessKeySecret);

        // 创建存储空间。
        ossClient.createBucket(bucketName);

        // 设置存储空间的读写权限。例如将examplebucket的读写权限ACL设置为公有
        ossClient.setBucketAcl(bucketName, CannedAccessControlList.PublicRead);

        //关闭ossClient
        ossClient.shutdown();
    }
}
查看阿里云页面:成功创建yygh-tetss名称的Bucket:


(3)上传文件到阿里云oss-接口开发
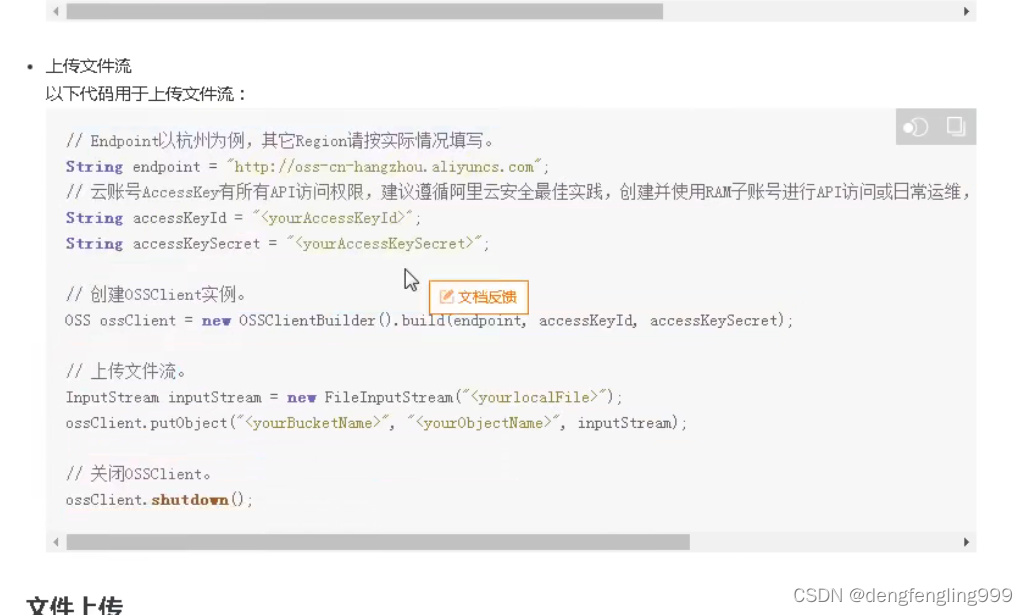
查看阿里云文档:上传文件:
使用文件流作为我们的上传代码:

创建controller:
package com.atguigu.yygh.oss.controller;

import com.atguigu.yygh.common.result.Result;
import com.atguigu.yygh.oss.service.FileService;
import org.springframework.beans.factory.annotation.Autowired;
import org.springframework.web.bind.annotation.PostMapping;
import org.springframework.web.bind.annotation.RequestMapping;
import org.springframework.web.bind.annotation.RestController;
import org.springframework.web.multipart.MultipartFile;

@RestController
@RequestMapping("/api/oss/file")
public class FileApiController {

    @Autowired
    private FileService fileService;


    //上传文件到阿里云oss
    @PostMapping("fileUpload")
    public Result fileUpload(MultipartFile file) {
        //获取上传文件
        String url = fileService.upload(file);
        return Result.ok(url);
    }

}
创建service:
package com.atguigu.yygh.oss.service;

import org.springframework.web.multipart.MultipartFile;

public interface FileService {
    //上传文件到阿里云oss
    String upload(MultipartFile file);
}
在配之类中添加:
添加工具类,获取这些数据:
package com.atguigu.yygh.oss.utils;

import org.springframework.beans.factory.InitializingBean;
import org.springframework.beans.factory.annotation.Value;
import org.springframework.stereotype.Component;

@Component
public class ConstantOssPropertiesUtils implements InitializingBean {

    @Value("${aliyun.oss.endpoint}")
    private String endpoint;

    @Value("${aliyun.oss.accessKeyId}")
    private String accessKeyId;

    @Value("${aliyun.oss.secret}")
    private String secret;

    @Value("${aliyun.oss.bucket}")
    private String bucket;

    public static String EDNPOINT;
    public static String ACCESS_KEY_ID;
    public static String SECRECT;
    public static String BUCKET;

    @Override
    public void afterPropertiesSet() throws Exception {
        EDNPOINT=endpoint;
        ACCESS_KEY_ID=accessKeyId;
        SECRECT=secret;
        BUCKET=bucket;
    }
}
实现类:FileServiceImpl
package com.atguigu.yygh.oss.service.impl;

import com.aliyun.oss.OSS;
import com.aliyun.oss.OSSClientBuilder;
import com.atguigu.yygh.oss.service.FileService;
import com.atguigu.yygh.oss.utils.ConstantOssPropertiesUtils;
import org.joda.time.DateTime;
import org.springframework.stereotype.Service;
import org.springframework.web.multipart.MultipartFile;

import java.io.IOException;
import java.io.InputStream;
import java.util.UUID;

@Service
public class FileServiceImpl implements FileService {

    //上传文件到阿里云oss
    @Override
    public String upload(MultipartFile file) {
        String endpoint = ConstantOssPropertiesUtils.EDNPOINT;//工具类中的地域节点
        String accessKeyId = ConstantOssPropertiesUtils.ACCESS_KEY_ID;//工具类中的access-key
        String accessKeySecret = ConstantOssPropertiesUtils.SECRECT;//工具类中的secrect
        String bucketName = ConstantOssPropertiesUtils.BUCKET;//工具类上的指定的Bucket存储地址
        try {
            // 创建OSSClient实例。
            OSS ossClient = new OSSClientBuilder().build(endpoint, accessKeyId, accessKeySecret);
            // 上传文件流。
            InputStream inputStream = file.getInputStream();
            String fileName = file.getOriginalFilename();

            //生成随机唯一值,使用uuid,添加到文件名称里面,防止相同文件名导致文件覆盖,因为用户上传的文件名可能会一致
            String uuid = UUID.randomUUID().toString().replaceAll("-",""); //把生成的uuid里面的-替换掉
            fileName = uuid+fileName;

            //按照当前日期,创建文件夹2021/02/02/,上传到创建的文件夹里面, 结果形式为:2021/02/02/uuid01.jpg。
            //因为前面引入了依赖joda-time,所以转日期可以直接.toString("yyyy/MM/dd")
            String timeUrl = new DateTime().toString("yyyy/MM/dd");
            fileName = timeUrl+"/"+fileName;

            //调用方法实现上传
            ossClient.putObject(bucketName, fileName, inputStream);
            // 关闭OSSClient。
            ossClient.shutdown();

            //上传之后文件路径  格式要和阿里云上面的一致
            // https://yygh-atguigu.oss-cn-beijing.aliyuncs.com/uuid01.jpg
            String url = "https://"+bucketName+"."+endpoint+"/"+fileName;
            //返回
            return url;
        } catch (IOException e) {
            e.printStackTrace();
            return null;
        }
    }

}
使用swaggert文档进行测试:
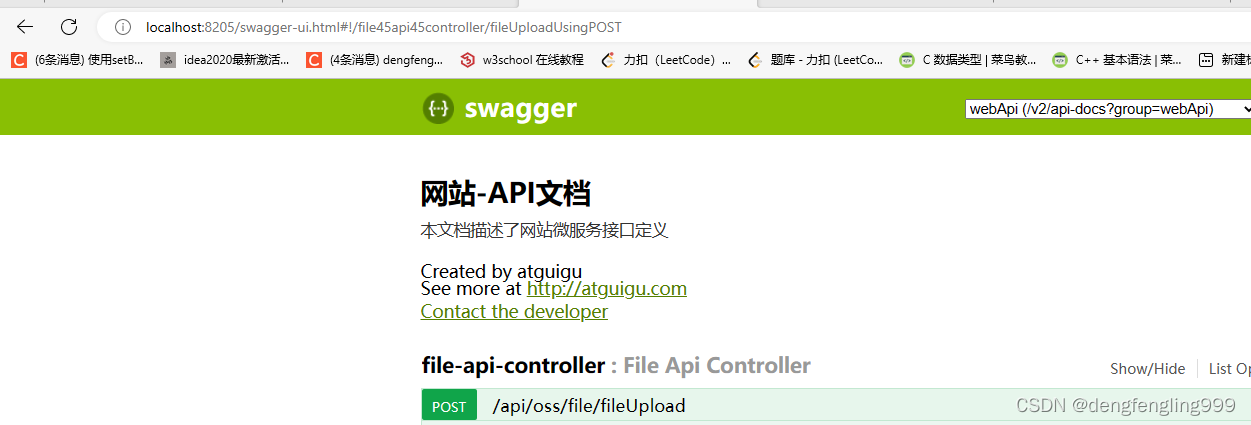
 选择文件上传:

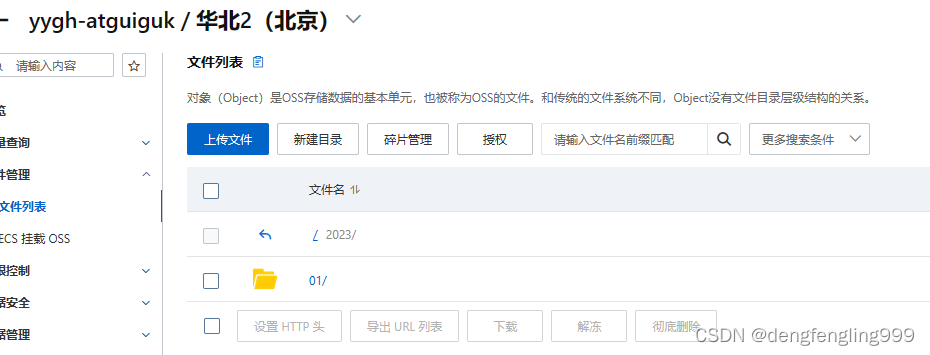
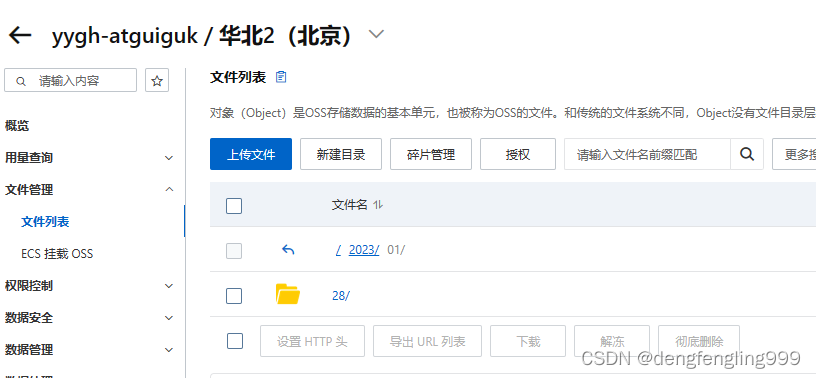
 在Bucket中成功上传:

(4)用户认证-接口开发
需求分析
用户登录成功后都要进行身份认证,认证通过后才可以预约挂号
认证过程:用户填写信息(姓名、证件类型、证件号码和证件照片)==> 平台审批
用户认证设计接口:
首先创建一个工具类,获取用户的信息,这个工具类,在别的地方可能会用到,所以放在common-utils模块中:
创建utils:
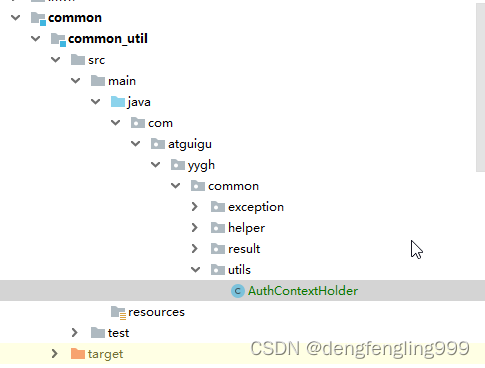
package com.atguigu.yygh.common.utils;

import com.atguigu.yygh.common.helper.JwtHelper;

import javax.servlet.http.HttpServletRequest;

//获取当前用户信息工具类
public class AuthContextHolder {

    //获取当前用户id
    public static Long getUserId(HttpServletRequest request) {
        //从header获取token
        String token = request.getHeader("token");
        //jwt从token获取userid
        Long userId = JwtHelper.getUserId(token);
        return userId;
    }

    //获取当前用户名称
    public static String getUserName(HttpServletRequest request) {
        //从header获取token
        String token = request.getHeader("token");
        //jwt从token获取userid
        String userName = JwtHelper.getUserName(token);
        return userName;
    }
}
用户认证的操作在service-user中进行编写:
创建认证的实体类:封装的条件

UserAuthVo :
package com.atguigu.yygh.vo.user;

import com.baomidou.mybatisplus.annotation.TableField;
import io.swagger.annotations.ApiModel;
import io.swagger.annotations.ApiModelProperty;
import lombok.Data;

@Data
@ApiModel(description="会员认证对象")
public class UserAuthVo {

    @ApiModelProperty(value = "用户姓名")
    @TableField("name")
    private String name;

    @ApiModelProperty(value = "证件类型")
    @TableField("certificates_type")
    private String certificatesType;

    @ApiModelProperty(value = "证件编号")
    @TableField("certificates_no")
    private String certificatesNo;

    @ApiModelProperty(value = "证件路径")
    @TableField("certificates_url")
    private String certificatesUrl;

}
在UserInfoApiController:继续添加接口访问:用户认证接口:
//用户认证接口
    @PostMapping("auth/userAuth")
    public Result userAuth(@RequestBody UserAuthVo userAuthVo, HttpServletRequest request) {
        //其实就是往user_info补充添加一些认证数据进去,根据id查出记录会修改记录
        //传递两个参数,第一个参数用户id,第二个参数认证数据vo对象
        userInfoService.userAuth(AuthContextHolder.getUserId(request),userAuthVo);
        return Result.ok();
    }
service接口:UserInfoService

package com.atguigu.yygh.user.service;

import com.atguigu.yygh.model.user.UserInfo;
import com.atguigu.yygh.vo.user.LoginVo;
import com.atguigu.yygh.vo.user.UserAuthVo;
import com.baomidou.mybatisplus.extension.service.IService;

import java.util.Map;

public interface UserInfoService extends IService<UserInfo> {
    //用户手机登录接口
    Map<String, Object> login(LoginVo loginVo);

    //根据openid判断数据库是否存在微信的扫描人信息
    UserInfo selectWxInfoOpenId(String openid);

    //用户认证接口
    void userAuth(Long userId, UserAuthVo userAuthVo);
}
实现类:UserInfoService Impl:
//用户认证接口
    @Override
    public void userAuth(Long userId, UserAuthVo userAuthVo) {
        //刚开始数据库中有这条用户信息,只是信息不完善,需要先把他查询出来,在进行更新
        //根据用户id查询用户信息
        UserInfo userInfo = baseMapper.selectById(userId);
        //设置认证信息
        //认证人姓名
        userInfo.setName(userAuthVo.getName());
        //其他认证信息
        userInfo.setCertificatesType(userAuthVo.getCertificatesType());
        userInfo.setCertificatesNo(userAuthVo.getCertificatesNo());
        userInfo.setCertificatesUrl(userAuthVo.getCertificatesUrl());
        userInfo.setAuthStatus(AuthStatusEnum.AUTH_RUN.getStatus());
        //进行信息更新
        baseMapper.updateById(userInfo);
    }
就是更新表中字段的其他信息:

在UserInfoApiController:中继续添加用去用户信息接口
package com.atguigu.yygh.user.controller;
import com.atguigu.yygh.common.result.Result;
import com.atguigu.yygh.common.utils.AuthContextHolder;
import com.atguigu.yygh.model.user.UserInfo;
import com.atguigu.yygh.user.service.UserInfoService;
import com.atguigu.yygh.vo.user.LoginVo;
import com.atguigu.yygh.vo.user.UserAuthVo;
import io.swagger.annotations.ApiOperation;
import org.springframework.beans.factory.annotation.Autowired;
import org.springframework.web.bind.annotation.*;
import javax.servlet.http.HttpServletRequest;
import java.util.Map;
@RestController
@RequestMapping("/api/user")
public class UserInfoApiController {
@Autowired
private UserInfoService userInfoService;
//用户手机登录接口
@ApiOperation(value = "用户登录")
@PostMapping("login")
public Result login(@RequestBody LoginVo loginVo) {
Map<String, Object> info = userInfoService.login(loginVo);
return Result.ok(info);
}
//用户认证接口
@PostMapping("auth/userAuth")
public Result userAuth(@RequestBody UserAuthVo userAuthVo, HttpServletRequest request) {
//其实就是往user_info补充添加一些认证数据进去,根据id查出记录会修改记录
//传递两个参数,第一个参数用户id,第二个参数认证数据vo对象
userInfoService.userAuth(AuthContextHolder.getUserId(request),userAuthVo);
return Result.ok();
}
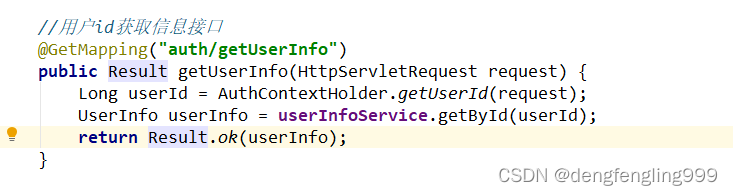
//用户id获取信息接口
@GetMapping("auth/getUserInfo")
public Result getUserInfo(HttpServletRequest request) {
Long userId = AuthContextHolder.getUserId(request);
UserInfo userInfo = userInfoService.getById(userId);
return Result.ok(userInfo);
}
}
(5)用户认证-前端整合

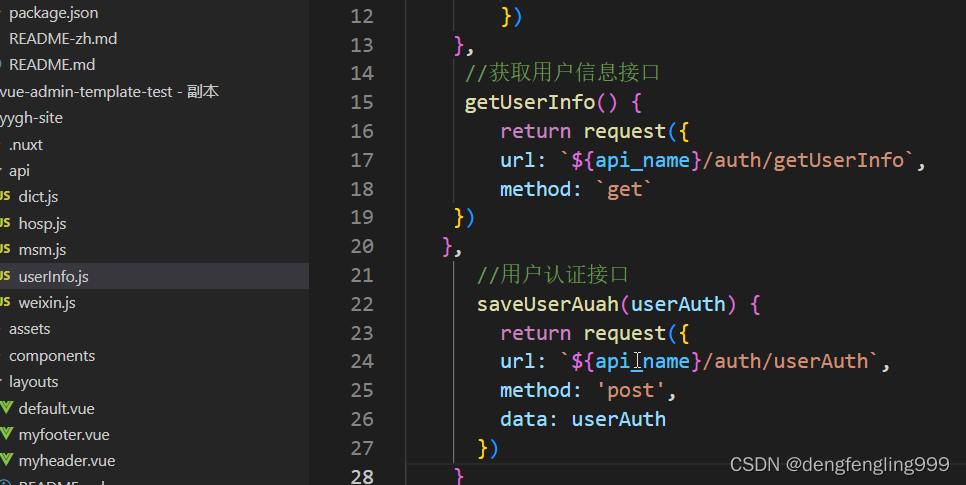
在userInfo.js中继续添加两个路径 :
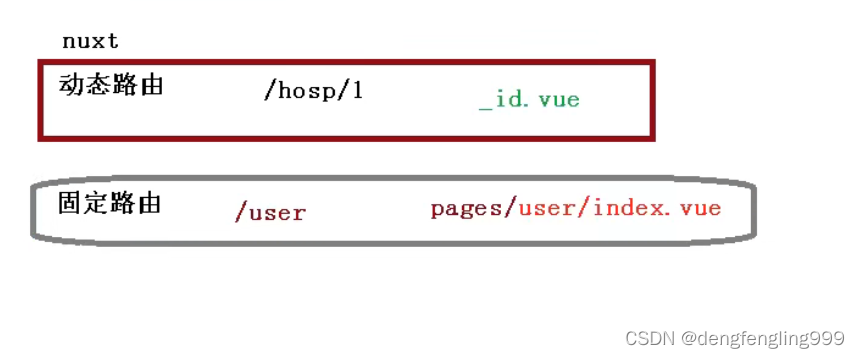
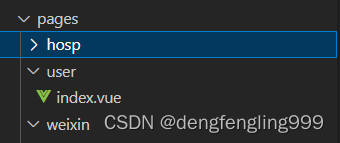
在page目录下创建
<template>
<!-- header -->
<div class="nav-container page-component">
<!--左侧导航 #start -->
<div class="nav left-nav">
<div class="nav-item selected">
<span
class="v-link selected dark"
onclick="javascript:window.location='/user'"
>实名认证
</span>
</div>
<div class="nav-item">
<span
class="v-link selected dark"
onclick="javascript:window.location='/order'"
>
挂号订单
</span>
</div>
<div class="nav-item">
<span
class="v-link clickable dark"
onclick="javascript:window.location='/patient'"
>
就诊人管理
</span>
</div>
<div class="nav-item">
<span class="v-link clickable dark"> 修改账号信息 </span>
</div>
<div class="nav-item">
<span class="v-link clickable dark"> 意见反馈 </span>
</div>
</div>
<!-- 左侧导航 #end -->
<!-- 右侧内容 #start -->
<div class="page-container">
<div>
<div class="title">实名认证</div>
<div class="status-bar">
<div class="status-wrapper">
<span class="iconfont"></span>{{ userInfo.param.authStatusString }}
</div>
</div>
<div class="tips">
<span class="iconfont"></span>
完成实名认证后才能添加就诊人,正常进行挂号,为了不影响后续步骤,建议提前实名认证。
</div>
<div class="form-wrapper" v-if="userInfo.authStatus == 0">
<div>
<el-form
:model="userAuah"
label-width="110px"
label-position="left"
>
<el-form-item prop="name" label="姓名:" class="form-normal">
<div class="name-input">
<el-input
v-model="userAuah.name"
placeholder="请输入联系人姓名全称"
class="input v-input"
/>
</div>
</el-form-item>
<el-form-item prop="certificatesType" label="证件类型:">
<el-select
v-model="userAuah.certificatesType"
placeholder="请选择证件类型"
class="v-select patient-select"
>
<el-option
v-for="item in certificatesTypeList"
:key="item.value"
:label="item.name"
:value="item.name"
>
</el-option>
</el-select>
</el-form-item>
<el-form-item prop="certificatesNo" label="证件号码:">
<el-input
v-model="userAuah.certificatesNo"
placeholder="请输入联系人证件号码"
class="input v-input"
/>
</el-form-item>
<el-form-item prop="name" label="上传证件:">
<div class="upload-wrapper">
<div class="avatar-uploader">
<el-upload
class="avatar-uploader"
:action="fileUrl"
:show-file-list="false"
:on-success="onUploadSuccess"
>
<div class="upload-inner-wrapper">
<img
v-if="userAuah.certificatesUrl"
:src="userAuah.certificatesUrl"
class="avatar"
/>
<i v-else class="el-icon-plus avatar-uploader-icon"></i>
<div v-if="!userAuah.certificatesUrl" class="text">
上传证件合照
</div>
</div>
</el-upload>
</div>
<img
src="//img.114yygh.com/static/web/auth_example.png"
class="example"
/>
</div>
</el-form-item>
</el-form>
<div class="bottom-wrapper">
<div class="button-wrapper">
<div class="v-button" @click="saveUserAuah()">
{{ submitBnt }}
</div>
</div>
</div>
</div>
</div>
<div class="context-container" v-if="userInfo.authStatus != 0">
<div>
<el-form
:model="formData"
label-width="110px"
label-position="right"
>
<el-form-item prop="name" label="姓名:" class="form-normal">
<div class="name-input">
{{ userInfo.name }}
</div>
</el-form-item>
<el-form-item prop="name" label="证件类型:">
{{ userInfo.certificatesType }}
</el-form-item>
<el-form-item prop="name" label="证件号码:">
{{ userInfo.certificatesNo }}
</el-form-item>
</el-form>
</div>
</div>
</div>
</div>
<!-- 右侧内容 #end -->
<!-- 登录弹出框 -->
</div>
<!-- footer -->
</template>
<script>
import "~/assets/css/hospital_personal.css";
import "~/assets/css/hospital.css";
import "~/assets/css/personal.css";
import dictApi from "@/api/dict";
import userInfoApi from "@/api/userInfo";
const defaultForm = {
name: "",
certificatesType: "", //证件类型
certificatesNo: "", //证件编号
certificatesUrl: "", //
};
export default {
data() {
return {
userAuah: defaultForm,
certificatesTypeList: [],
fileUrl: "http://localhost/api/oss/file/fileUpload",
userInfo: {
param: {},
},
submitBnt: "提交",
};
},
created() {
this.init();
},
methods: {
init() {
this.getUserInfo(); //得到用户信息
this.getDict(); //得到字典信息
},
//得到用户信息
getUserInfo() {
userInfoApi.getUserInfo().then((response) => {
this.userInfo = response.data;
});
},
//认证操作方法
saveUserAuah() {
if (this.submitBnt == "正在提交...") {
this.$message.info("重复提交");
return;
}
this.submitBnt = "正在提交...";
userInfoApi
.saveUserAuah(this.userAuah)
.then((response) => {
this.$message.success("提交成功");
window.location.reload();
})
.catch((e) => {
this.submitBnt = "提交";
});
},
getDict() {
dictApi.findByDictCode("CertificatesType").then((response) => {
this.certificatesTypeList = response.data;
});
},
onUploadSuccess(response, file) {
if (response.code !== 200) {
this.$message.error("上传失败");
return;
}
// 填充上传文件列表
this.userAuah.certificatesUrl = file.response.data;
},
},
};
</script>
<style>
.header-wrapper .title {
font-size: 16px;
margin-top: 0;
}
.content-wrapper {
margin-left: 0;
}
.patient-card .el-card__header .detail {
font-size: 14px;
}
.page-container .title {
letter-spacing: 1px;
font-weight: 700;
color: #333;
font-size: 16px;
margin-top: 0;
margin-bottom: 20px;
}
.page-container .tips {
width: 100%;
padding-left: 0;
}
.page-container .form-wrapper {
padding-left: 92px;
width: 580px;
}
.form-normal {
height: 40px;
}
.bottom-wrapper {
width: 100%;
padding: 0;
margin-top: 0;
}
</style>


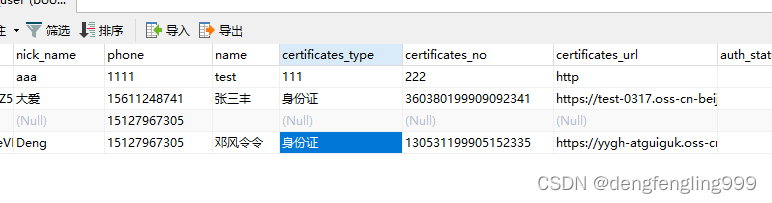
点击提交:
数据库中:user_info:中的登录的用户数据成功进行了认证,数据进行了更新

我正在编写一个包含C扩展的gem。通常当我写一个gem时,我会遵循TDD的过程,我会写一个失败的规范,然后处理代码直到它通过,等等......在“ext/mygem/mygem.c”中我的C扩展和在gemspec的“扩展”中配置的有效extconf.rb,如何运行我的规范并仍然加载我的C扩展?当我更改C代码时,我需要采取哪些步骤来重新编译代码?这可能是个愚蠢的问题,但是从我的gem的开发源代码树中输入“bundleinstall”不会构建任何native扩展。当我手动运行rubyext/mygem/extconf.rb时,我确实得到了一个Makefile(在整个项目的根目录中),然后当
我已经在Sinatra上创建了应用程序,它代表了一个简单的API。我想在生产和开发上进行部署。我想在部署时选择,是开发还是生产,一些方法的逻辑应该改变,这取决于部署类型。是否有任何想法,如何完成以及解决此问题的一些示例。例子:我有代码get'/api/test'doreturn"Itisdev"end但是在部署到生产环境之后我想在运行/api/test之后看到ItisPROD如何实现? 最佳答案 根据SinatraDocumentation:EnvironmentscanbesetthroughtheRACK_ENVenvironm
我们的git存储库中目前有一个Gemfile。但是,有一个gem我只在我的环境中本地使用(我的团队不使用它)。为了使用它,我必须将它添加到我们的Gemfile中,但每次我checkout到我们的master/dev主分支时,由于与跟踪的gemfile冲突,我必须删除它。我想要的是类似Gemfile.local的东西,它将继承从Gemfile导入的gems,但也允许在那里导入新的gems以供使用只有我的机器。此文件将在.gitignore中被忽略。这可能吗? 最佳答案 设置BUNDLE_GEMFILE环境变量:BUNDLE_GEMFI
这似乎非常适得其反,因为太多的gem会在window上破裂。我一直在处理很多mysql和ruby-mysqlgem问题(gem本身发生段错误,一个名为UnixSocket的类显然在Windows机器上不能正常工作,等等)。我只是在浪费时间吗?我应该转向不同的脚本语言吗? 最佳答案 我在Windows上使用Ruby的经验很少,但是当我开始使用Ruby时,我是在Windows上,我的总体印象是它不是Windows原生系统。因此,在主要使用Windows多年之后,开始使用Ruby促使我切换回原来的系统Unix,这次是Linux。Rub
我正在玩HTML5视频并且在ERB中有以下片段:mp4视频从在我的开发环境中运行的服务器很好地流式传输到chrome。然而firefox显示带有海报图像的视频播放器,但带有一个大X。问题似乎是mongrel不确定ogv扩展的mime类型,并且只返回text/plain,如curl所示:$curl-Ihttp://0.0.0.0:3000/pr6.ogvHTTP/1.1200OKConnection:closeDate:Mon,19Apr201012:33:50GMTLast-Modified:Sun,18Apr201012:46:07GMTContent-Type:text/plain
无论您是想搭建桌面端、WEB端或者移动端APP应用,HOOPSPlatform组件都可以为您提供弹性的3D集成架构,同时,由工业领域3D技术专家组成的HOOPS技术团队也能为您提供技术支持服务。如果您的客户期望有一种在多个平台(桌面/WEB/APP,而且某些客户端是“瘦”客户端)快速、方便地将数据接入到3D应用系统的解决方案,并且当访问数据时,在各个平台上的性能和用户体验保持一致,HOOPSPlatform将帮助您完成。利用HOOPSPlatform,您可以开发在任何环境下的3D基础应用架构。HOOPSPlatform可以帮您打造3D创新型产品,HOOPSSDK包含的技术有:快速且准确的CAD
在应用开发中,有时候我们需要获取系统的设备信息,用于数据上报和行为分析。那在鸿蒙系统中,我们应该怎么去获取设备的系统信息呢,比如说获取手机的系统版本号、手机的制造商、手机型号等数据。1、获取方式这里分为两种情况,一种是设备信息的获取,一种是系统信息的获取。1.1、获取设备信息获取设备信息,鸿蒙的SDK包为我们提供了DeviceInfo类,通过该类的一些静态方法,可以获取设备信息,DeviceInfo类的包路径为:ohos.system.DeviceInfo.具体的方法如下:ModifierandTypeMethodDescriptionstatic StringgetAbiList()Obt
1.postman介绍Postman一款非常流行的API调试工具。其实,开发人员用的更多。因为测试人员做接口测试会有更多选择,例如Jmeter、soapUI等。不过,对于开发过程中去调试接口,Postman确实足够的简单方便,而且功能强大。2.下载安装官网地址:https://www.postman.com/下载完成后双击安装吧,安装过程极其简单,无需任何操作3.使用教程这里以百度为例,工具使用简单,填写URL地址即可发送请求,在下方查看响应结果和响应状态码常用方法都有支持请求方法:getpostputdeleteGet、Post、Put与Delete的作用get:请求方法一般是用于数据查询,
@作者:SYFStrive @博客首页:HomePage📜:微信小程序📌:个人社区(欢迎大佬们加入)👉:社区链接🔗📌:觉得文章不错可以点点关注👉:专栏连接🔗💃:感谢支持,学累了可以先看小段由小胖给大家带来的街舞👉微信小程序(🔥)目录自定义组件-behaviors 1、什么是behaviors 2、behaviors的工作方式 3、创建behavior 4、导入并使用behavior 5、behavior中所有可用的节点 6、同名字段的覆盖和组合规则总结最后自定义组件-behaviors 1、什么是behaviorsbehaviors是小程序中,用于实现
作为新的阿里云用户,您可以50免费试用多种优惠,价值高达1,700美元(或8,500美元)。这将让您了解和体验阿里云平台上提供的一系列产品和服务。如果您以个人身份注册免费试用,您将获得价值1,700美元的优惠。但是,如果您是注册公司,您可以选择企业免费试用,提交基本信息通过企业实名注册验证,即可开始价值$8,500的免费试用!本教程介绍了如何设置您的帐户并使用您的免费试用版。关于免费试用在我们开始此试用之前,您还必须遵守以下条款和条件才能访问您的免费试用:只有在一年内创建的账户才有资格获得阿里云免费试用。通过此免费试用优惠,用户可以免费试用免费试用活动页面上列出的每种产品一次。如果您有多个帐